Sunday, October 31, 2010

Tutorial: Costume Ears

Instead of buying some expensive, ill-fitting & uncomfortable black-cat-ears-on-a-headband, Pat convinced me to make my own. Am I ever glad I did! These were super cute, took minutes to put together & stayed put all night (even in strong winds)!

[sorry for the lack of photos - I will put up more later, when I take them, first I wanted to get this tutorial up so it may still be useful for this Halloween!]Materials:

2 alligator clips
3/8" (10mm) wide black ribbon (preferably grosgrain)
cardboard
black felt
black lace
hot glue gun
scissors

Methods:

Warning: Be careful not to glue the clip shut!

1. Cover your alligator clip with ribbon. Measure a length of ribbon that will cover the top half of the clip, starting on the inside, and the end part you squeeze. Secure the ribbon with glue gun. You can also find these on Etsy already covered (which is what I used - which is why they aren't black).

2. Make a cardboard template of the ear shape you want.
Make sure the bottom edge of the ears are cut in the shape of the clip (i.e. one edge of the triangle will be trimmed so it isn't a perfect triangle).

3. Using the template, cut out the ears in felt. The number of felt ears will depend on the thickness of your felt.
I needed 4 for each ear (I cut out 8 total) to make the ears as thick/wide as the clips.

4. Glue the ears together with a hot glue gun. Once set, glue the ears to the clips.

5. This part is optional if your ribbon is the same colour as your ears. Cut a length of lace that is about twice as long as the perimeter of your clip (at least 8" long) - make it as wide as you like, I went with about 2.5" (6cm). Starting at the center of the piece of lace, glue it to the back of your alligator clip (the part you squeeze). Bunch up the lace a bit so you get a bit of a frill.

6. Working your way along one side of the clip at a time, glue the lace down, bunching/ruching it to make it frilly. Glue down the ends to the front of your clip (cutting off any excess).

7. Clip into your hair & go! These alligator clips are great - they don't slip, even in my baby-fine hair.

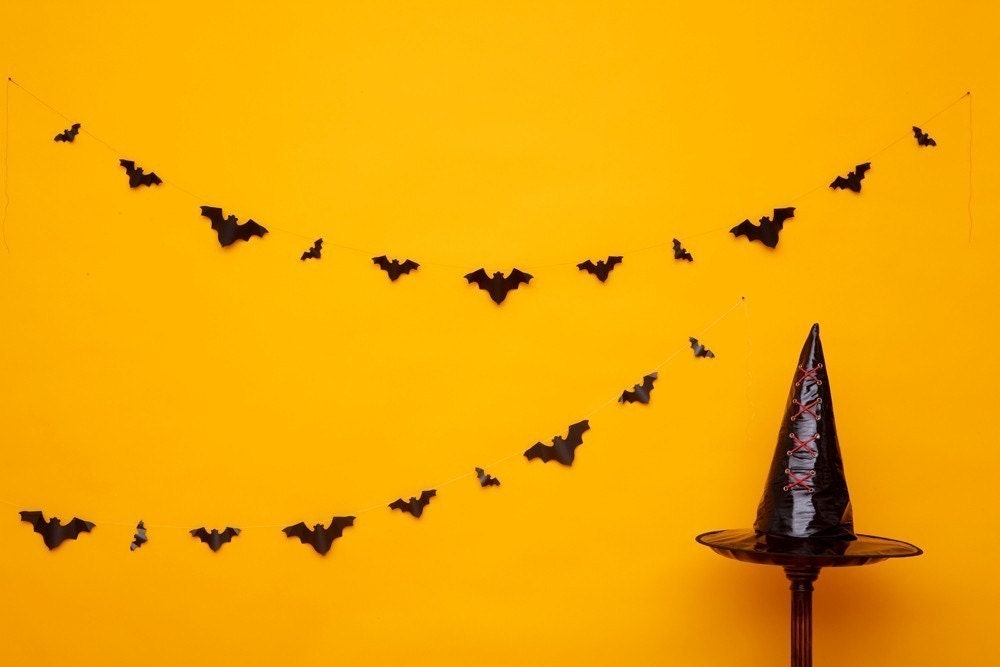
Alternatives: These would work well as bat, cat or fox ears. Just use a different colour of ribbon, felt & lace (rust for a fox, grey, orange, white or brown for a cat). As I mentioned above, feel free to omit the lace, or use some other form of trim to do the trick. You can also experiment with the ear shape - elf, bear, lion, dog, bunny - anything would be doable.

If you make some of these, make sure to link up some photos in the comments!

Saturday, October 30, 2010

My Halloween Costume

This Halloween, I decided to go for something a little different: a bat. I wanted to make my costume myself this year - I already showed you the fabric & how I was going to do it. Here's how it turned out for the social the grad student council organized. (Sorry about the blurry pictures - Pat took these late at night & was more worried about the bad lighting than the focus..)
The wingspread was pretty awesome if I do say so myself.
I had lots of fun with it!
The sequins were the perfect choice for the look I was going for & the trim was great for the ties.
Noticed my cute little ears?
I made those too & thought they turned out adorable! They're so quick & easy to whip up - and stay in place really well with the little clips I used. I'm planning on making a simple tutorial for you so you can make some too!

Friday, October 29, 2010

Friday Five

This week was a scramble to find time to finish up my costume:
  1. With a surgeon back on board, I've been getting lots of fat samples in - which is awesome. I need them to finish up my labwork (only 2 more months!)...
  2. We had a lab meeting on Wednesday & Param told me to write up an abstract for ATS, a conference that will be held in Denver this year. If that doesn't work out though, I'll submit to another couple of conferences, one in Amsterdam & one in Hawaii! I'm kinda almost hoping this first one doesn't work out...
  3. I cut my bat wings out on Tuesday & sewed them together yesterday. I just have to put some finishing touches on them today - pictures later, I promise!
  4. I went to our grad student council meeting last night. We're organizing the holiday ball & tonight is the Halloween social. Which is why I need to hurry to finish up my costume!
  5. I listed some holiday mini notebook sets (perfect stocking stuffers!):

Thursday, October 28, 2010

Item of the day: Black Cat Plate

This adorable kitty plate from firecat is perfect for serving Halloween candy!

My Creative Space

A while back, I signed up for The Sketchbook Project (I talk about it here). The idea behind this project is to create a collection of sketchbooks, filled around the world - each a reflection of the artists' environments & inspirations. The collection will be on tour in March 2011 & then permanently housed at the Brooklyn Art Library. I'm thrilled to be able to have my work included!

As I mentioned, I chose the red moleskine & went with the "facing forward" theme. I received my notebook in good time & have been dabbling in it ever since. Most of the pages I've started on are not finished - this notebook has been a place where I use up any leftover paint & collage scraps from my artistic endeavours. I also write & sketch over things & generally just make a fun mess of it.

Want to see my progress? The pages are in order, starting with the front cover:

"Wisdom is knowing when to change your mind."
(unfinished)
(unfinished)
(unfinished)
(left side unfinished)
(unfinished)
(left side unfinished)
(unfinished)
(unfinished)

So obviously there's still a lot of work to be done! As such, this sketchbook will be in & out of my creative space - you're sure to see it again soon!

Did you sign up for The Sketchbook Project? If not, it isn't too late! If so, I'd love to see/hear about your progress!

Tuesday, October 26, 2010

Item of the day: Coffee Board

What a great gift idea for someone who has everything: These beautiful & functional coasters by tauntongreen are a unique size, perfect for keeping track of your snack along with your mug of tea.

Recipe: Tuna Snack

I've been craving tuna lately. So I went ahead & made myself a sandwich the other day, the exact same way I've always made a tuna sandwich: tuna + mayo + bread = sandwich. I was less than thrilled with the results... something was missing. I wanted my tuna salad to be fresher & livelier, like a real salad. After a bit of trial & error, I ended up with this tuna snack for lunch yesterday & boy, was it ever delicious!

Tuna Snack

Ingredients:

1 carrot
1 radish
1 green onion
salt, pepper & chervil leaves
small can of tuna (99g / 3.5oz)
Miracle Whip or mayonnaise

Methods:

1. Finely dice vegetables.

2. Flake tuna with a fork. Mix with vegetables. Season with salt, pepper & chervil leaves.

3. Mix in mayo to desired consistency.
I don't like mine too runny, so I added about 2 tablespoons of mayo.

Serve on crackers or in a sandwich.
Enjoy!

Variations: Feel free to adjust the vegetables & spices to your taste. I probably would have included celery if I had some. Parsley can be substituted for the chervil leaves (a milder member of the parsley family). Lemon might be a nice flavouring to try, if you like lemon with your fish.

Saturday, October 23, 2010

Friday, October 22, 2010

Friday Five

This week was a sad one:
  1. Pat's great aunt passed away on Monday. She had been suffering from Alzheimer's for a few years now & it progressed extremely quickly these last couple months. The wake is today & the funeral tomorrow. Prayers for Pat's family are much appreciated.
  2. I was super busy at work: I got some fat samples in, ran a few experiments, helped a few people with their work, TAed...
  3. I was super busy crafting too. Or I tried to be. I cut some Christmas fabric into wine cozies, punched out some holiday tags (as seen on Wednesday), finished some tags & mini notebooks...
  4. I took tons of pictures. I also found some holiday tags I made last year & some regular tags I made this summer that had never photographed. I still have a ways to go before I'm done.
  5. I listed lots of new holiday tags - these are my favourites:

Thursday, October 21, 2010

My Creative Space

This week has been SO busy, particularly at work - but I have been trying to be creative too. Especially preparing for the holidays...

Here's what I'm working on now though:

A custom globe for my friend Deana (just the ribbon left).
A coptic notebook for the same wonderful friend. The covers will be in this fabric:
How awesome will that look (when I'm done)?!???

Next up - my Halloween costume:
The sequined fabric that will form the body of my bat wings - and the lace for accents:
And some trim:
Here's how I think I'll make my pattern:

I can't wait to get working on it!

Hop of over to kootoyoo to check out more creative spaces!

Tuesday, October 19, 2010

Item of the day: Stuffed Bat

While searching for cute bats to feature this week, this one by cocodollz made me laugh out loud:
What a riot!

My Boat Ride, Painted

Last week I flooded you with photos of the marshes & the river my parents live by. I found the scenery enchanting. But that's just me...... so I was more than thrilled when an artist, my friend Deana of BELLACOSAART, asked permission to use my photos as inspiration for a piece!!! Of course I said yes - I couldn't wait to see! Needless to say, I was not disappointed:
How amazing is that?!?!!

Here's the side by side comparison:
So awesome! I love the impressionistic feel & muted gray tones. Great job Deana, thank you so much for the honour!

Monday, October 18, 2010

Item of the day: Silver Bat

I know I've featured this necklace by ANORIGINALJEWELRY before (and purchased the oxidized version for myself), but I have to show him off again since bats are on my mind this week:
It's my favourite necklace for the month of October - I barely take it off!

Mosaic Monday

Bats (chosen for the MSOE team monthly challenge - and my Halloween costume)!

Want to play along this week? Link up your mosaic (blog post, not blog) below!

Sunday, October 17, 2010

Reflections

In some spots along the way last Sunday morning, the water was a looking glass.
It was absolutely beautiful.
The water itself was mesmerizing.
I was particularly drawn to the contrast between the texture of the waves. Smooth ridges versus tiny ripples.
OK, that's the last set of photos I'll show you, I promise! Head on over to my Flickr photostream if you want to see more.