
Wednesday, October 31, 2012
Tuesday, October 30, 2012
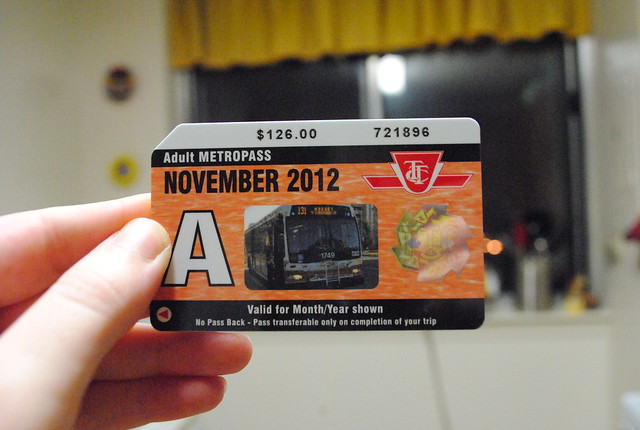
My First Day
Yesterday was my first day of work! I had a great day - mostly getting myself oriented, finding things and meeting people. Our commute is 7AM - 7PM (brutal!) so things are going to be a little quiet over here for the next 2 or 3 weeks. I will try to get those other banner tutorials up though!
I can't wait to move and cut our commuting time in three! I'm also looking forward to starting my 1-9 shift so that I can have my mornings back...
Anyway, we're off. Have a great day everyone!
I can't wait to move and cut our commuting time in three! I'm also looking forward to starting my 1-9 shift so that I can have my mornings back...
Anyway, we're off. Have a great day everyone!
Monday, October 29, 2012
Tutorial: Fall Banner
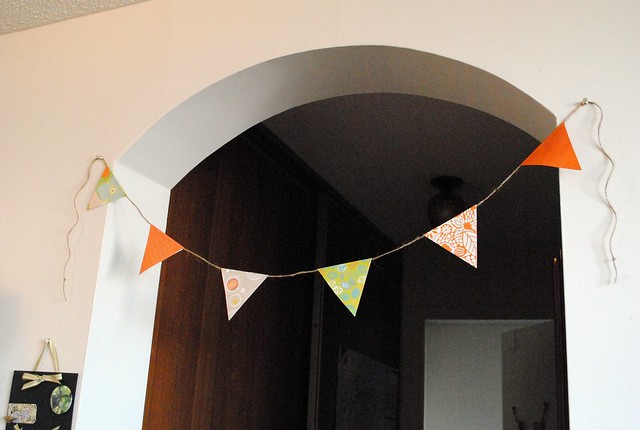
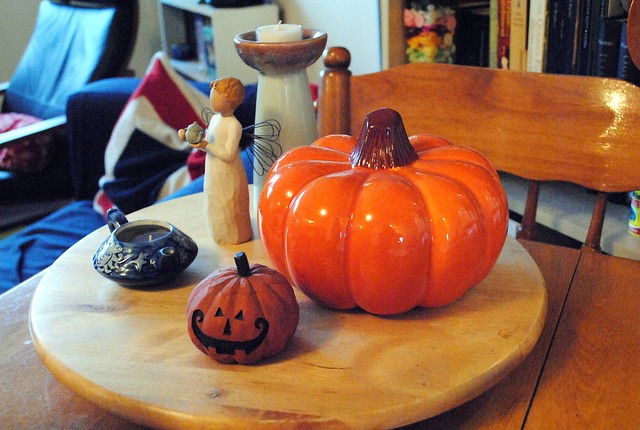
Even though I'll soon be packing up my fall decor, I wanted to make a few quick and easy fall / Halloween banners to make the place a little festive for my favourite season. Since I start work this week, I thought this would be the perfect time to schedule a few simple tutorials for the banners I made!
This first one was very simple and came together in no time.
Materials:
coloured and/or patterned cardstock paper
twine, ribbon or some other string
scissors
glue stick
graph paper
pencil
ruler
Methods:
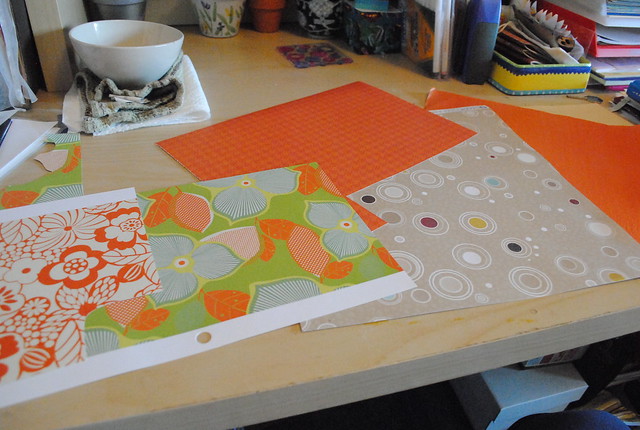
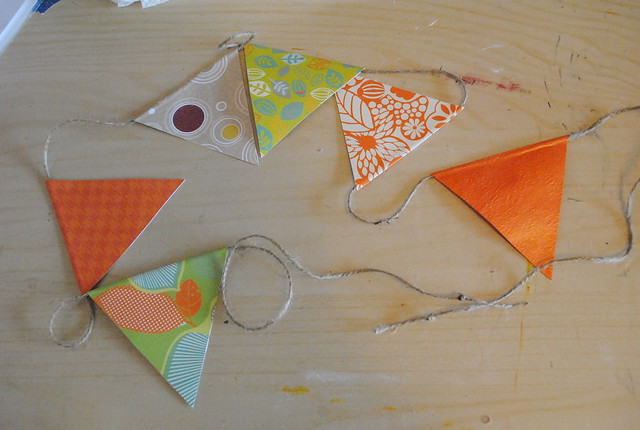
1. Choose your paper. I wanted to make a short banner, so I chose 6 different patterned / textured papers (I added a green one to this bunch).
2. Make a template. I used graph paper to make it easy. And it really is easy... just not so easy to explain. Let me try...
Using the ruler and pencil, I drew a diagonal that would make a triangle in the size I wanted for my flags (starting and ending at an intersection on the graph paper). Next, I made the triangle shape by counting the graph squares to the (soon-to-be) center of the (soon-to-be) diamond shape, then counting out that same number to determine the width of the diamond (this line completes the triangle now drawn). Once the second diagonal was drawn, I repeated the same steps along the vertical center line and filled in the final two diagonals. In other words, you should be able to connect the points of the diamond to create a cross that has arms of equal length and a top and bottom of equal length (typically a little bigger than the arms).

3. Cut out your template, then use it to trace a diamond on each of your papers. Cut them out (and erase any pencil marks if necessary).
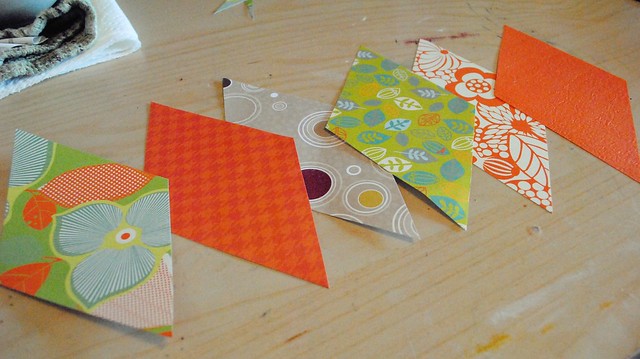
4. Fold each diamond shape in half lengthwise to create your flags. Decide what side you want as the "front" and in what order you want them.
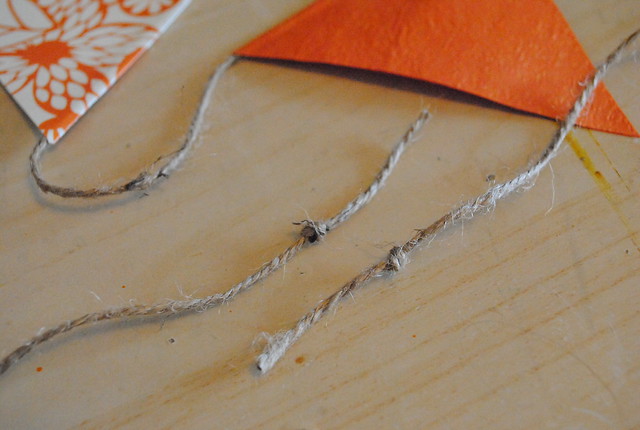
5. Cut out your twine. I estimated the length by placing my my flags on my desk, separated approximately by the distance I wanted them to be apart, and then just measured out the twine to accommodate this with extra for the ends. I then marked where I wanted to flags to go so that they would be centered (you could easily trim your twine at the end to skip this step).
6. Glue your triangles together (sandwich-style), capturing the twine along the fold.
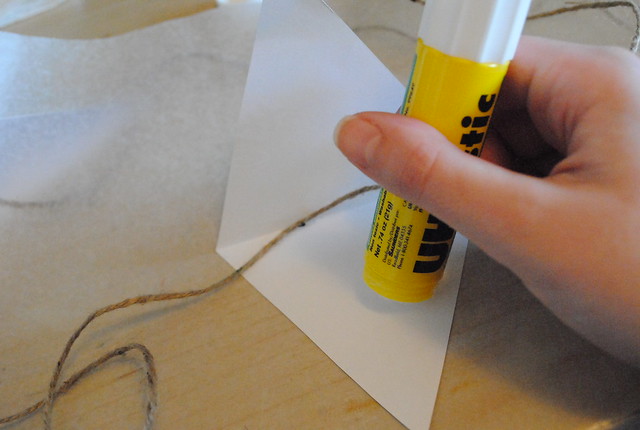

7. Continue until all your flags are glued to the twine.
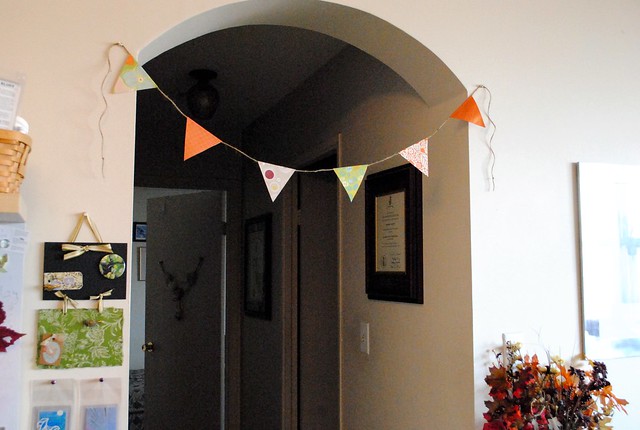
8. Trim the flag edges if necessary. I then finished the ends of the twine with a knot.
Hang it up and celebrate the season!
Variations: I think it's fairly obvious that you can make these in any size you want. Experiment with different string and papers. You could easily adapt this for any holiday or occasion. Click here to see a variation I made.
Tip: The paper flags may curl if the paper you use is too thin or lightweight. To prevent this, use a thicker cardstock or glue a thin piece of cardstock (from a cereal box for example) between the triangles.
If you end up making a quick paper banner, be sure to leave me a link in the comments!
This first one was very simple and came together in no time.
Materials:
coloured and/or patterned cardstock paper
twine, ribbon or some other string
scissors
glue stick
graph paper
pencil
ruler
Methods:
1. Choose your paper. I wanted to make a short banner, so I chose 6 different patterned / textured papers (I added a green one to this bunch).
2. Make a template. I used graph paper to make it easy. And it really is easy... just not so easy to explain. Let me try...
Using the ruler and pencil, I drew a diagonal that would make a triangle in the size I wanted for my flags (starting and ending at an intersection on the graph paper). Next, I made the triangle shape by counting the graph squares to the (soon-to-be) center of the (soon-to-be) diamond shape, then counting out that same number to determine the width of the diamond (this line completes the triangle now drawn). Once the second diagonal was drawn, I repeated the same steps along the vertical center line and filled in the final two diagonals. In other words, you should be able to connect the points of the diamond to create a cross that has arms of equal length and a top and bottom of equal length (typically a little bigger than the arms).
3. Cut out your template, then use it to trace a diamond on each of your papers. Cut them out (and erase any pencil marks if necessary).
4. Fold each diamond shape in half lengthwise to create your flags. Decide what side you want as the "front" and in what order you want them.
5. Cut out your twine. I estimated the length by placing my my flags on my desk, separated approximately by the distance I wanted them to be apart, and then just measured out the twine to accommodate this with extra for the ends. I then marked where I wanted to flags to go so that they would be centered (you could easily trim your twine at the end to skip this step).
6. Glue your triangles together (sandwich-style), capturing the twine along the fold.
7. Continue until all your flags are glued to the twine.
8. Trim the flag edges if necessary. I then finished the ends of the twine with a knot.
Hang it up and celebrate the season!
Variations: I think it's fairly obvious that you can make these in any size you want. Experiment with different string and papers. You could easily adapt this for any holiday or occasion. Click here to see a variation I made.
Tip: The paper flags may curl if the paper you use is too thin or lightweight. To prevent this, use a thicker cardstock or glue a thin piece of cardstock (from a cereal box for example) between the triangles.
If you end up making a quick paper banner, be sure to leave me a link in the comments!
Sunday, October 28, 2012
Sunday Seven

Sunday: signing our lease!
Monday: being home for when Pat's sick
Tuesday: delicious mac'n'cheese leftovers
Wednesday: afternoon skating
Thursday: afternoon shopping
Friday: leaving early and missing most of the bad traffic on our way North
Saturday: having a great time at my cousin's wedding
What are you thankful for this week?
Friday, October 26, 2012
Photo-An-Hour: Last Days Off
Seeing as this was my last week off, I really wanted to make the most of it. As a way to remember these carefree months without a job, I decided to document my day on Wednesday with a photo an hour, a photo-journaling technique I first saw on the Dainty Squid.


 As excited as I am to start working (and to start seeing some money come in!), I'm really going to miss being off. I love the leisurely time spent at home, crafting, baking and reading, not to mention the freedom to go skating at noon. Still, the income will allow for different luxuries - such as our nice new apartment! Only 2 more weeks before we get the keys!
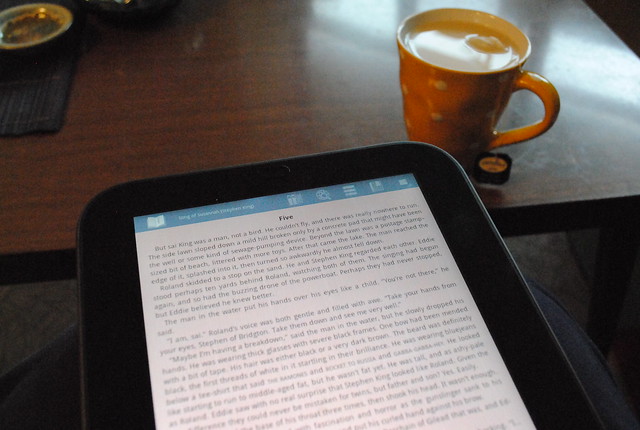
9AM: reading with a mug of tea
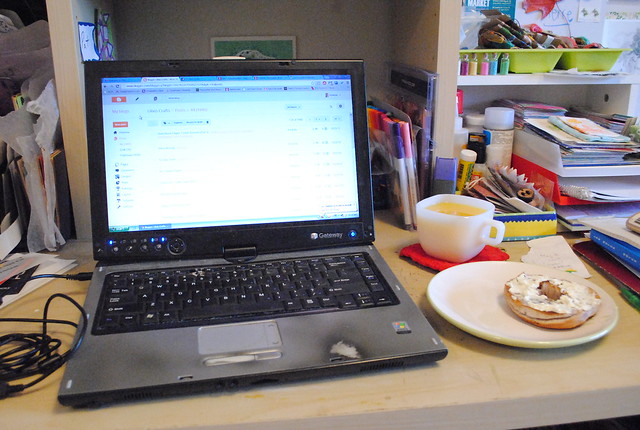
10AM: blogging and a bagel breakfast
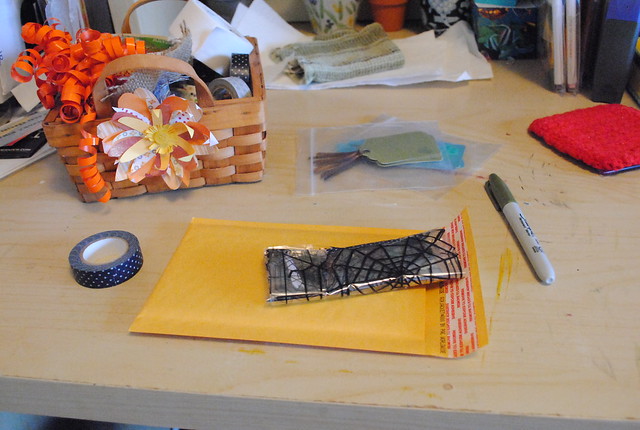
11AM: packaging an order and taking care of some business online
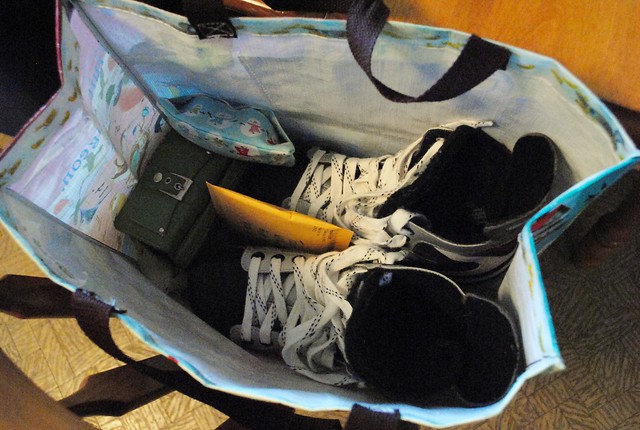
12PM: my tote, ready to go to the post office and skating
1PM: at the rink
2PM: leftover mac'n'cheese for lunch (along with some more reading)
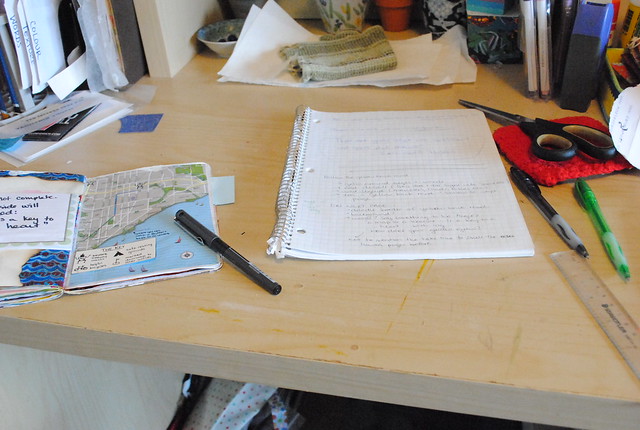
3PM: brainstorming ideas for the Sketchbook Project Collaboration
4PM: sketchbook and canvas collages
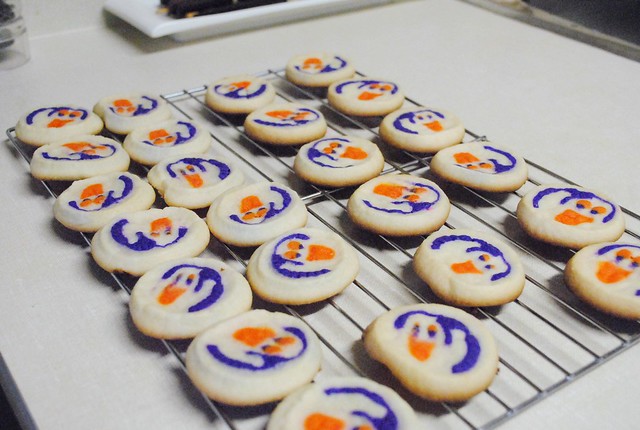
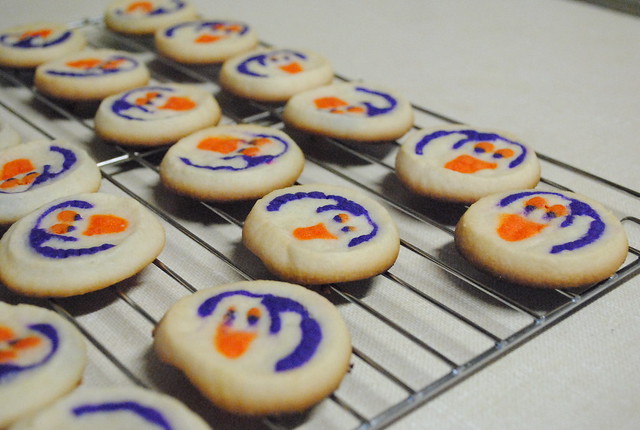
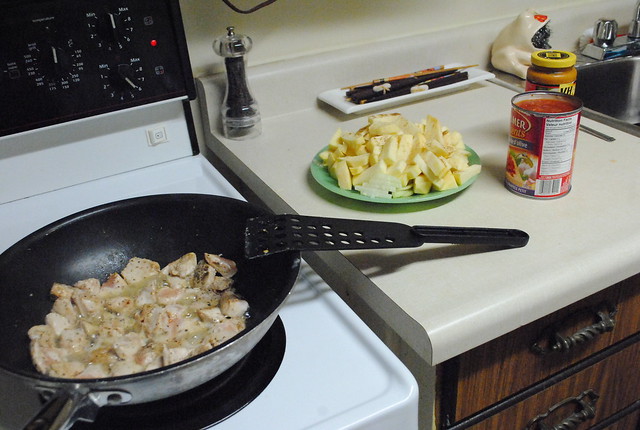
5PM: cleaning up the kitchen and baking cookies (out of a box but still tasty)
6PM: starting supper a bit early to let it simmer
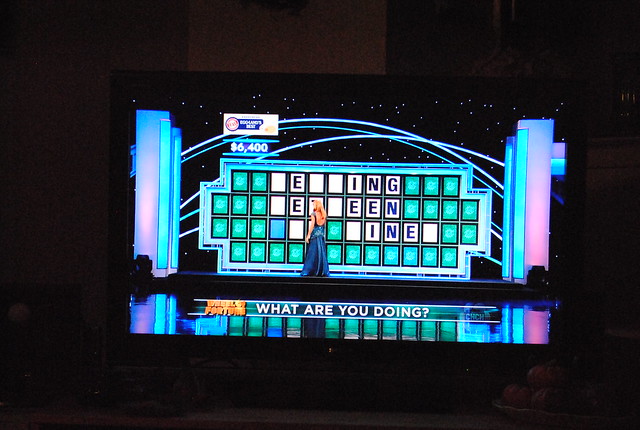
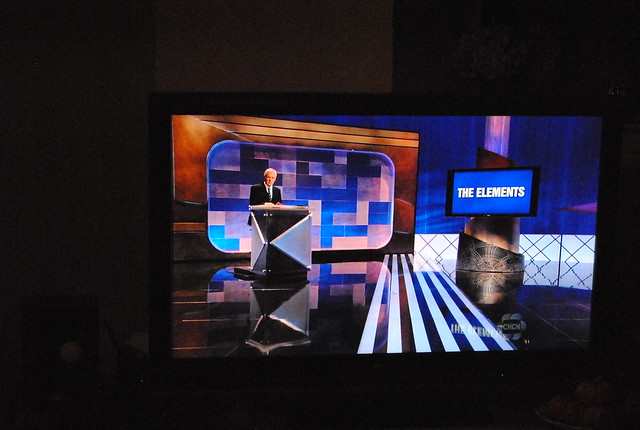
7PM: Wheel of Fortune and Jeopardy while waiting for Pat to get home
Thursday, October 25, 2012
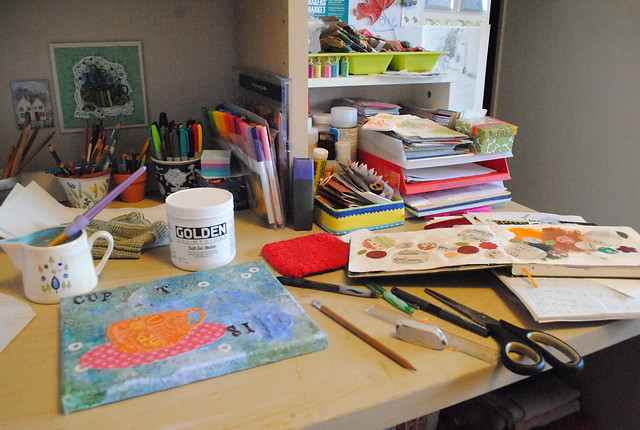
My Creative Space
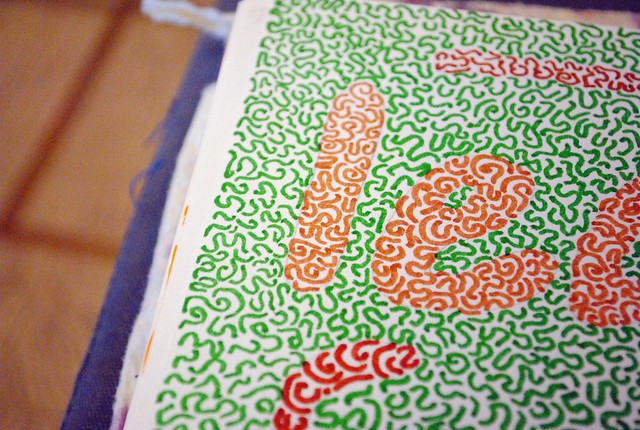
Besides the sketchbook page I showed you on Monday, I've been working a lot on my Sketchbook Projects. I'm only just getting started on my own and, of course, I can't show you much more than this from the collaborative one before I send that book back to Angie:
 I must say though - this project is SO inspiring!
I've also been working away in my 366Pages notebook - here's a quick look at that:
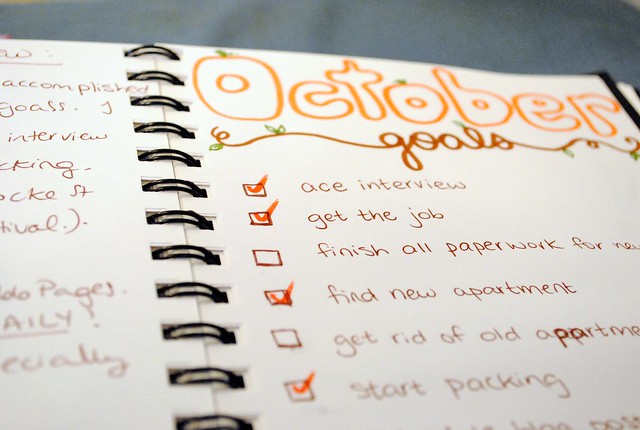
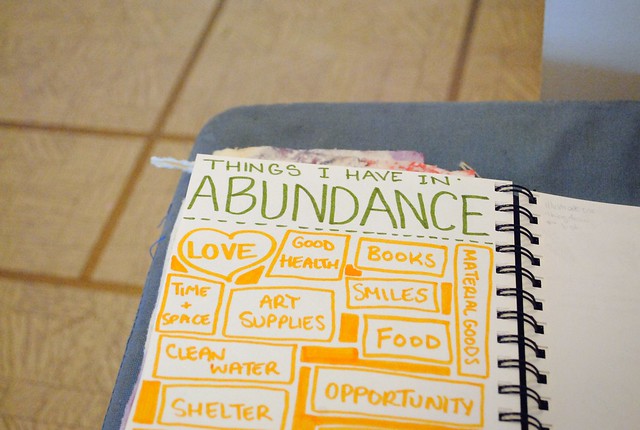
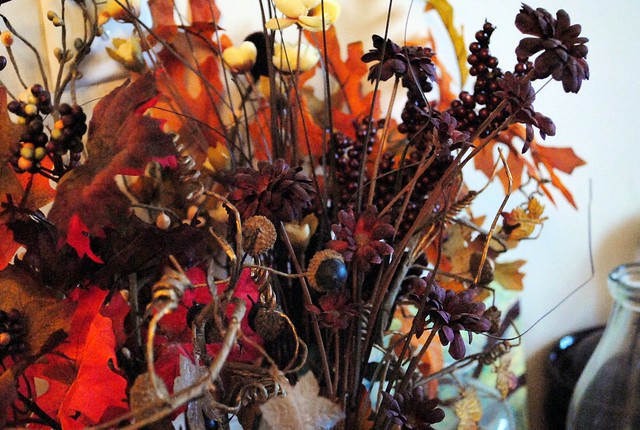
 So much fall goodness! I'm quite pleased with how many items I've been able to cross of my goal list too - it's been such a busy month!
Lastly, here are a couple quick sketches from my everyday journal:
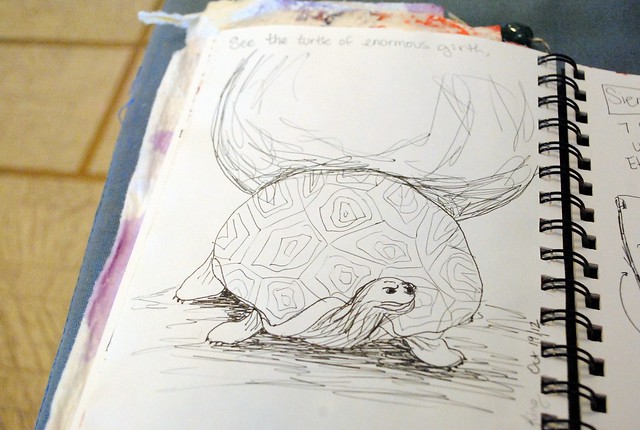 That last one is inspired by the book I'm reading - the Dark Tower series by Stephen King. I'm on #6: Song of Susannah. This one line from the novels needed to be drawn: "See the turtle of enormous girth, upon his back he carries the earth." (more or less in those words).
I love my sketchbooks! I think I'll have to pick up a smaller one for when I'm commuting... I always like to have one on me for those impromptu bolts of inspiration.
Head on over here for more Creative Spaces.
I've also been working away in my 366Pages notebook - here's a quick look at that:
Lastly, here are a couple quick sketches from my everyday journal:
I love my sketchbooks! I think I'll have to pick up a smaller one for when I'm commuting... I always like to have one on me for those impromptu bolts of inspiration.
Head on over here for more Creative Spaces.
Wednesday, October 24, 2012
Tuesday, October 23, 2012
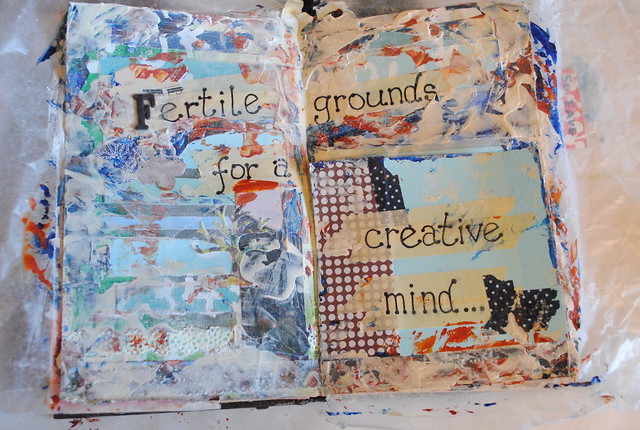
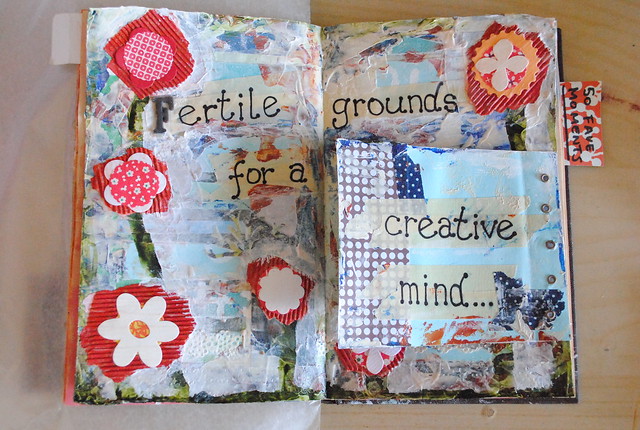
Sketchbook Pages: Fertile Grounds (Part 2)
Between cleaning, packing and showing the apartment, I finally got around to finishing the last sketchbook page I showed you. Click on this link to see where I left off.
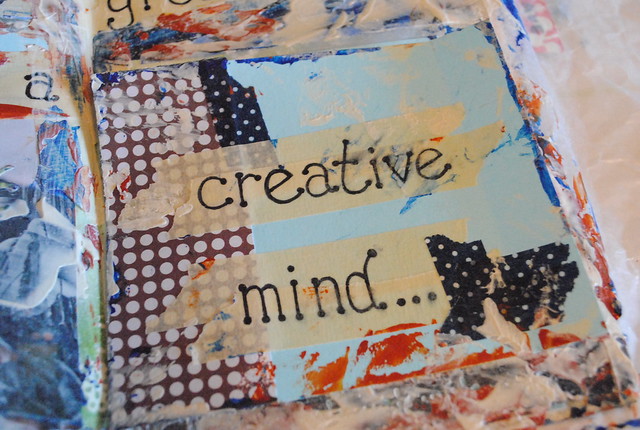
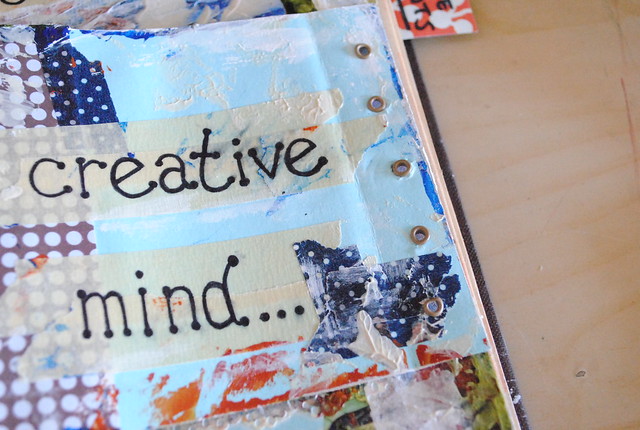
I was really happy with how the spread was shaping up. I wrote in my quote next - "Fertile grounds for a creative mind..." and then added paint with a palette knife (titan buff, anthraquinone blue and an orangey-brown made mixing Indian yellow hue, irridescent copper light and quinacridone magenta). I loved the bright colours... but it was too over-powering. So I white-washed with gesso and then remembered to take photos:


 This is the "aw crap, I ruined it" phase. The step where I sit back and wish I hadn't just added that last layer. I really liked what the page looked like before - sure, it didn't look quite finished, but it was nice! Now it's ugly!
Save it. I can save it.
The quote makes me think of a garden full of creative ideas, so I decided to add flowers to mine. Bright red ones. I chose a few die-cuts, ripped some red corrugated paper and found an arrangement I liked. Before gluing them down, I dripped some watered-down paint (sap green hue) to make the stems. The flowers didn't really pop though - the background was too busy - so I highlighted everything with a bit of gesso.
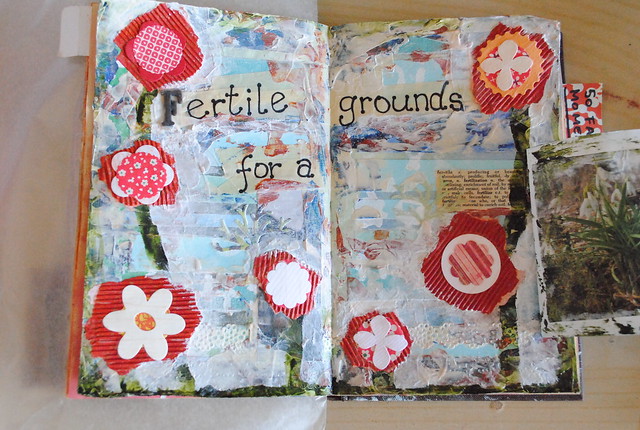

 The flap I attached with tiny eyelets. The back was finished off with some gesso, a collaged image of a flower and a bit of sap green paint.
 I am so in love with this page! I'm so happy I didn't stop at a place I was OK with and continued until it felt right. Done. Happy.
Fertile grounds for my creative spirit. Find yours today!
I was really happy with how the spread was shaping up. I wrote in my quote next - "Fertile grounds for a creative mind..." and then added paint with a palette knife (titan buff, anthraquinone blue and an orangey-brown made mixing Indian yellow hue, irridescent copper light and quinacridone magenta). I loved the bright colours... but it was too over-powering. So I white-washed with gesso and then remembered to take photos:
Save it. I can save it.
The quote makes me think of a garden full of creative ideas, so I decided to add flowers to mine. Bright red ones. I chose a few die-cuts, ripped some red corrugated paper and found an arrangement I liked. Before gluing them down, I dripped some watered-down paint (sap green hue) to make the stems. The flowers didn't really pop though - the background was too busy - so I highlighted everything with a bit of gesso.
Fertile grounds for my creative spirit. Find yours today!
Monday, October 22, 2012
We're Moving!
As I've been alluding to, I have some pretty exciting news in the works. If you read my Sunday seven, you'll have already guessed it..... that's right! We're moving!
Since finding a job downtown Toronto (I start in exactly one week!), where Pat also happens to work, we decided we needed to cut down on our commuting time significantly. So we went apartment shopping last weekend and found the perfect place:
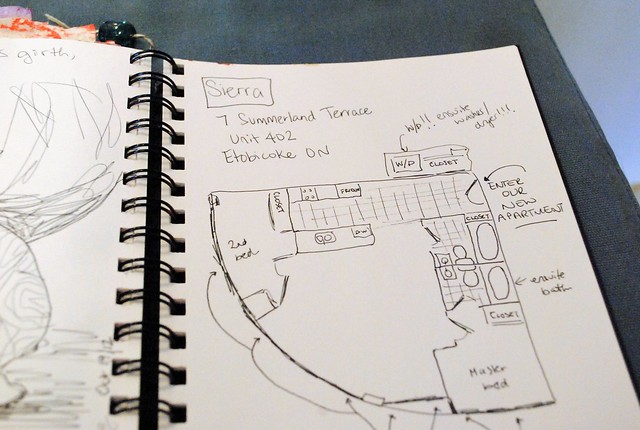
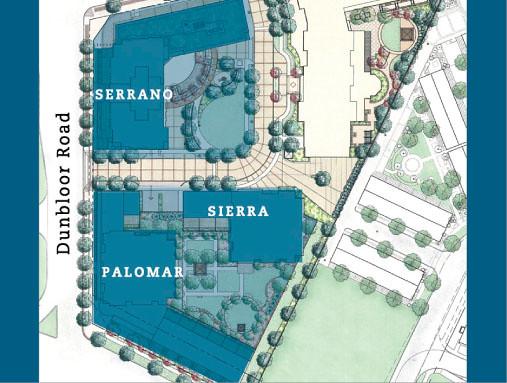 The first apartment we looked at in this trio of buildings was a one-bedroom in Serrano. I loved the location - one block from the subway station, in a quiet little neighborhood (the white building across from Serrano is an exclusive retirement home), new and well-maintained - but the place was a little too small. So we asked to see a two-bedroom the next day. There was only one available in the Sierra building:
 It was love at first sight! I love the rounded walls (which are lined with floor-to-ceiling windows), the stacked front-loading washer and dryer, the dishwasher, the spare room and bathroom..... it's huge! It's perfect!
We submitted an application that day. After a week of running around (and some complications with our old place), it's official. We signed the lease yesterday. We'll get the keys November 10th and (hopefully) be completely moved in by the end of the month.
Well... moved in but not necessarily unpacked! I expect it'll take a while to organize ourselves. But I can't wait to get started! Already we've packed up some large plastic bins and filled three garbage bags of clothes to donate. This being my last week off - and seeing as we have plans for the next two weekends - we definitely want to get started on things.
Anyway, that's it for now. We only have to wait and pack, pack and wait. I'm sure I'll be flooding my blog with new apartment photos during the move-in and decorating process!
Since finding a job downtown Toronto (I start in exactly one week!), where Pat also happens to work, we decided we needed to cut down on our commuting time significantly. So we went apartment shopping last weekend and found the perfect place:
We submitted an application that day. After a week of running around (and some complications with our old place), it's official. We signed the lease yesterday. We'll get the keys November 10th and (hopefully) be completely moved in by the end of the month.
Well... moved in but not necessarily unpacked! I expect it'll take a while to organize ourselves. But I can't wait to get started! Already we've packed up some large plastic bins and filled three garbage bags of clothes to donate. This being my last week off - and seeing as we have plans for the next two weekends - we definitely want to get started on things.
Anyway, that's it for now. We only have to wait and pack, pack and wait. I'm sure I'll be flooding my blog with new apartment photos during the move-in and decorating process!
Subscribe to:
Posts (Atom)