There are some exciting things happening over here... but I can't share just yet. Let's just say things are going to be very busy in the next 2 months! In the meantime, here's that coconut cupcake recipe I promised a while ago.
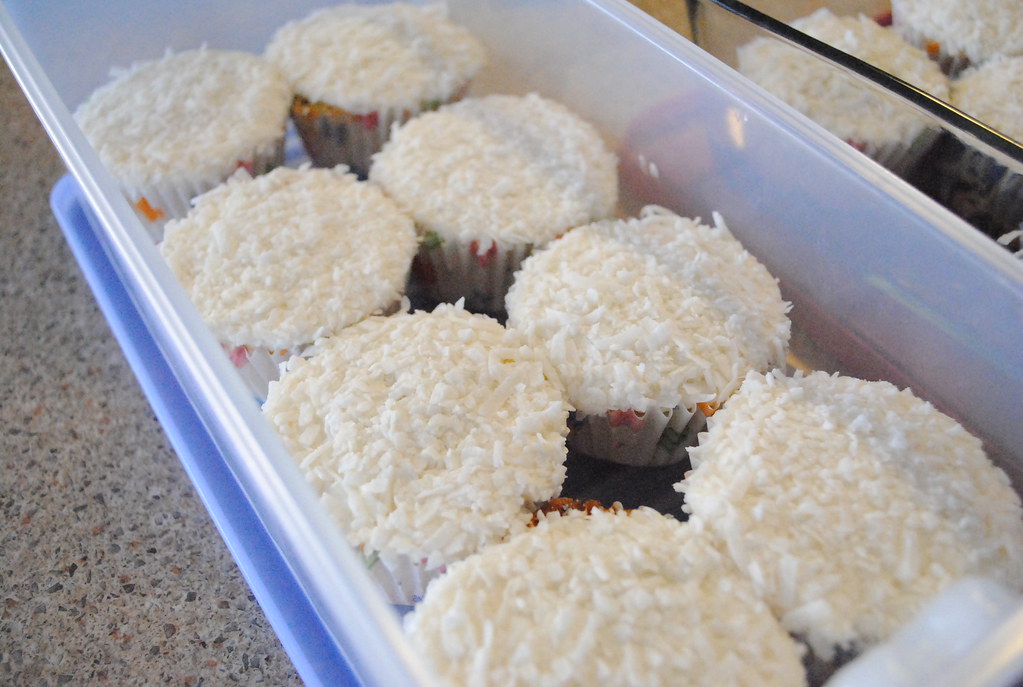
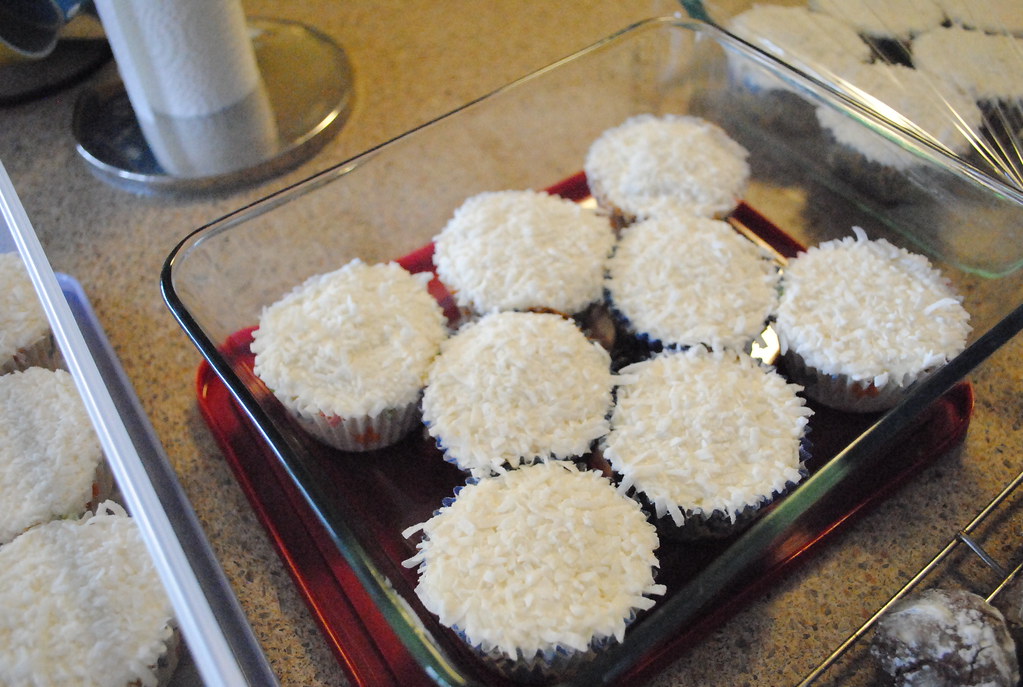
These are my go-to coconut cupcakes - it's a very good recipe I've been using for a number of years which always yields delicious, moist cakes. They freeze really well too. This time, since I was bringing them to a party, I wanted to ice them too. So I found a simple buttercream recipe online and substituted in some of the leftover coconut milk to give it a subtle flavour. Finally, I topped them all off with some shredded coconut for extra texture and a bit of sparkle (from the sugar crystals in the sweetened coconut). These are amazing and easy to make - I highly recommend you whip up a batch for dessert tonight!
Coconut Cupcakes with Coconut Buttercream Icing
Ingredients:
cupcakes:
3/4 cup butter (I've used both salted or unsalted, doesn't make a big difference which you use)
1 1/4 cup sugar
3 eggs
1 cup canned coconut milk, well shaken
1 tsp vanilla
2 1/4 cups flour
1 tsp salt
1 tsp baking powder
1/2 to 3/4 cup dessicated coconut (sweetened or not)
icing:
1/2 cup salted butter
2 tsp vanilla
2 cups icing (powdered) sugar
2 to 3 tbsp coconut milk
sweetened shredded coconut, to garnish
Methods:
cupcakes:
1. Preheat oven to 350F. Prepare your muffin tin with cupcake liners.
2. Cream the butter until fluffy. Cream in the sugar. Add one egg at a time, beating for at least 30 seconds between each one.
3. Mix the flour, salt and baking powder in a separate bowl. Combine the coconut milk and vanilla in another small bowl (or the mixing cup).
4. Alternate adding in dry and wet ingredients to the butter mixture, beating well to incorporate each addition. Start with a third of the dry ingredients, half the wet, another third of the dry, the remaining wet and finally the remaining flour mixture.
5. Fold in the coconut.
6. Fill liners with batter to about 2/3 to 3/4 full. Bake for 18 to 22 minutes, rotating the pan halfway through. Cool completely on a wire rack before icing.
icing:
1. Cream the butter (this time it's important to use salted).
2. Beat in the icing sugar (since powdered sugar goes stale, make sure to use a fresh bag).
3. Mix in the coconut milk and vanilla. Less coconut milk will give a stiffer icing, more will make it more spreadable. Add a bit at a time until you're happy with the consistency.
4. Ice cupcakes, dipping each in a small bowl of shredded coconut to completely cover.
Enjoy!

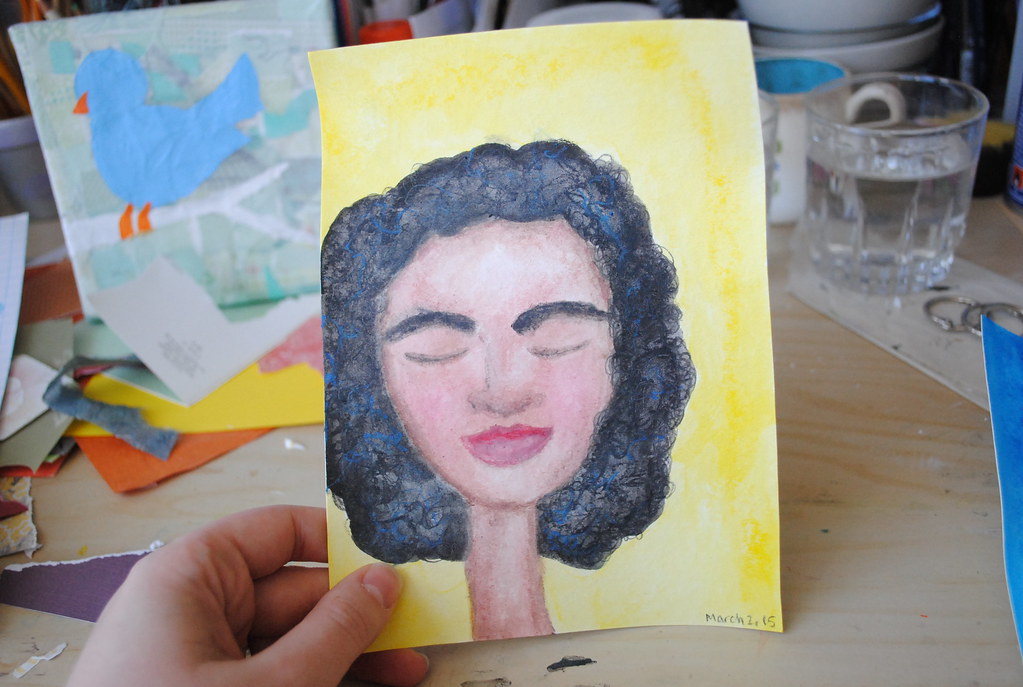
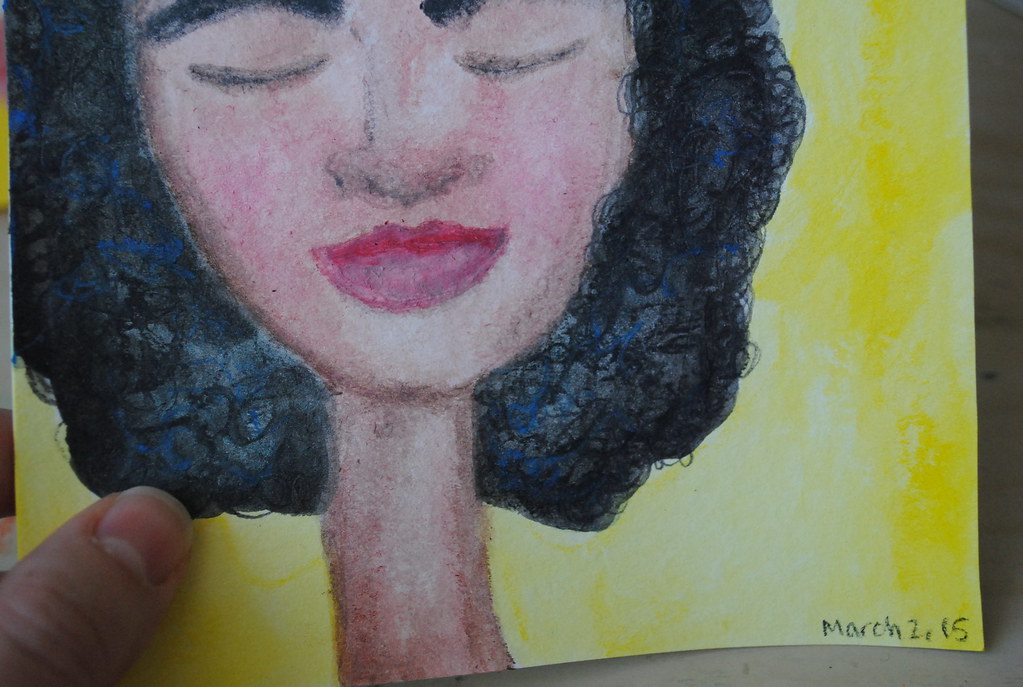

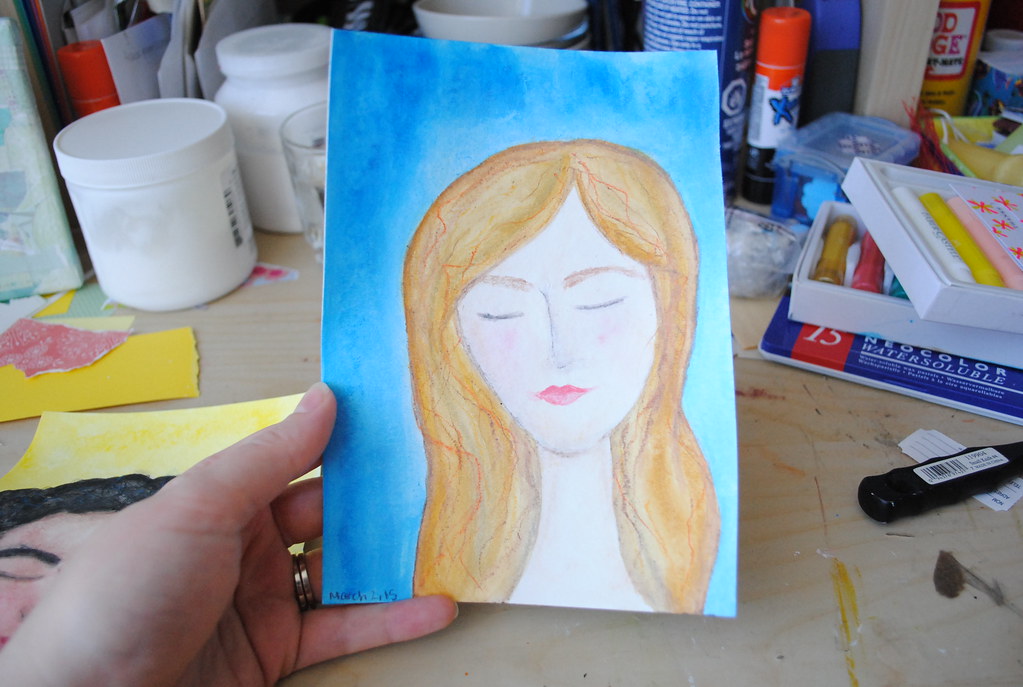

 I started with the red-head. I sketched her outline, then painted with my gelatos, adding details with gelatos, Neocolor II and watercolour pencils. The background came last, and based on the results I thought it'd be better the other way around (background colour first)... So of course I had to make another. I'm really happy with these - I'll definitely be trying it again. In my opinion, it's watercolour with a bit more control. Fun!