Showing posts with label swap. Show all posts

Monday, January 21, 2013

The Sketchbook Project Collaboration: Last Round

Last week was the deadline for the Sketchbook Project and although I made it for my personal book, I didn't quite get our collaborative one back to Angie in time for her to make the deadline. We're still going to send it though - there's a good chance it will still make it for the tour and it will definitely still get archived in the Brooklyn Art Library.

Anyway, here are my last six pages. I'll try to keep it to a minimum with the photos - you can see more from the entire book in this Flickr folder and in these blog posts: Part 1, Part 2.1, Part 2.2, Part 3.1 and Part 3.2.

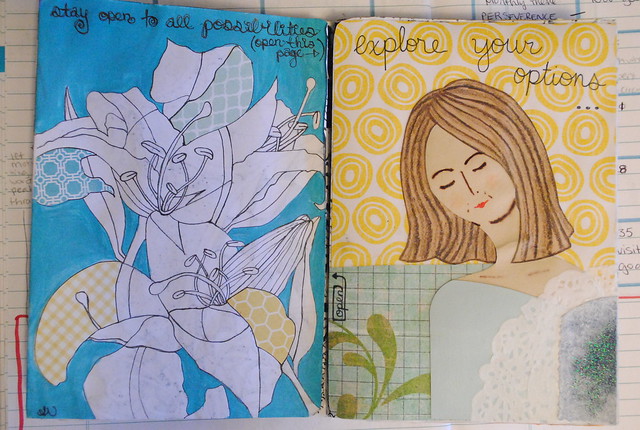
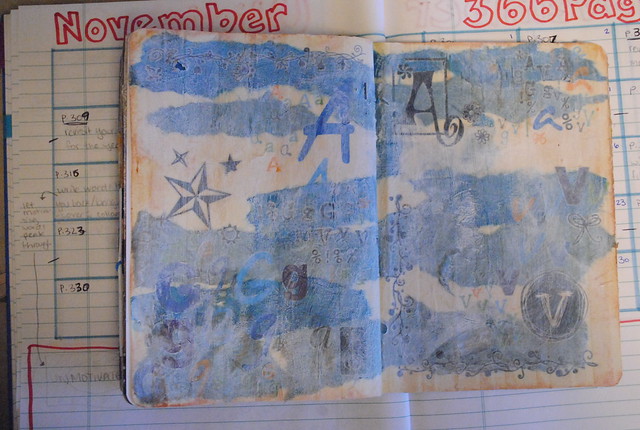
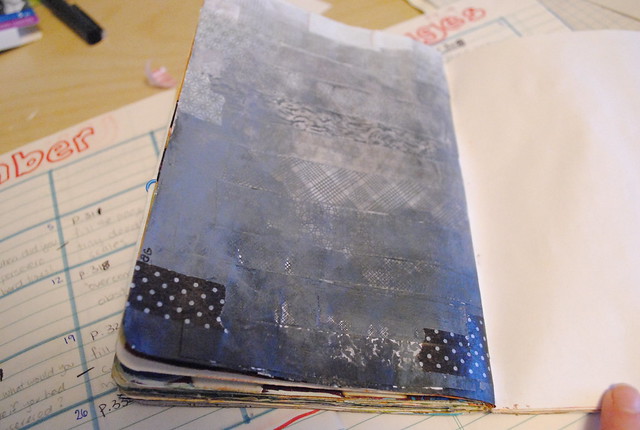
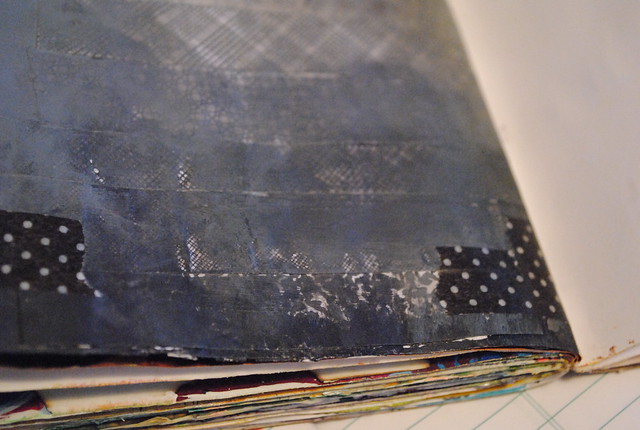
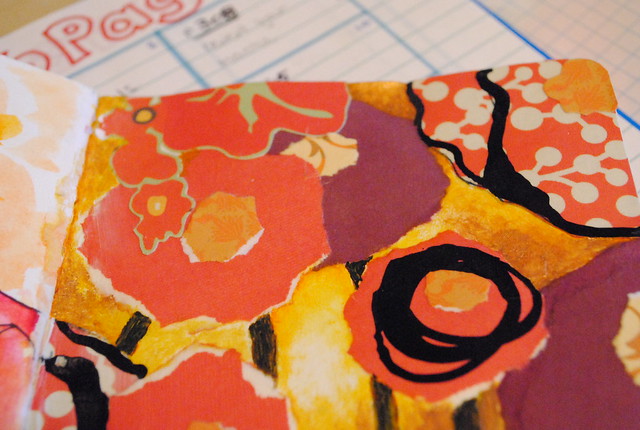
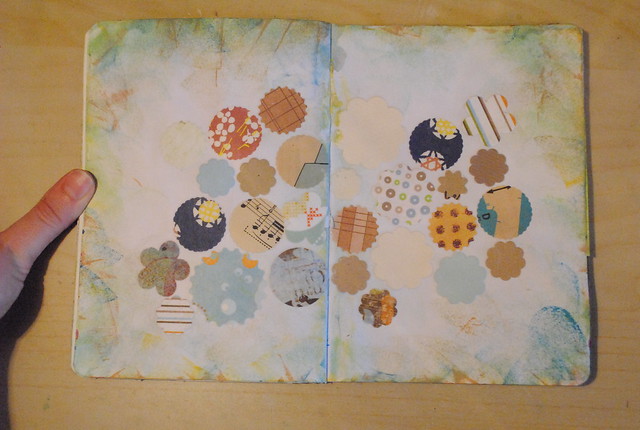
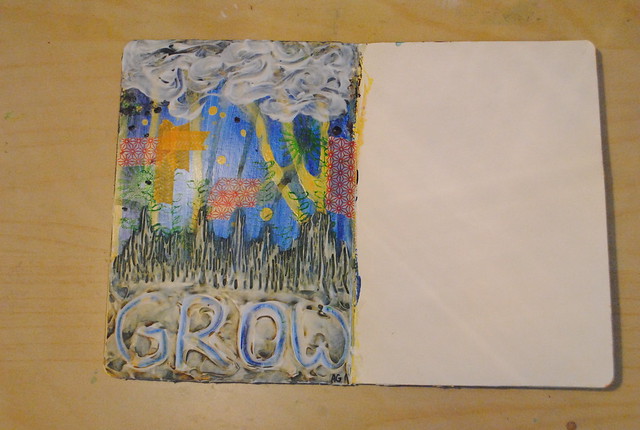
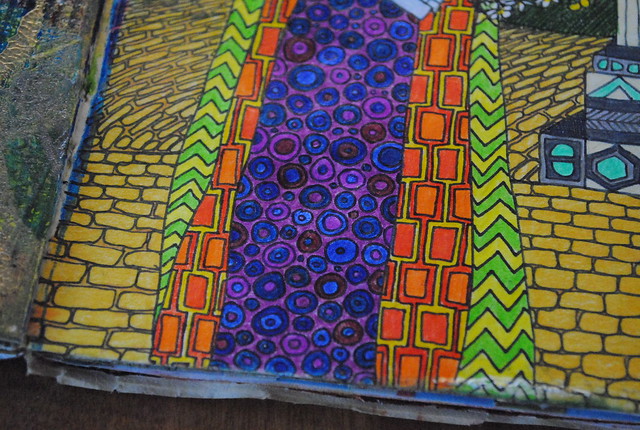
All of the pages I have to show you are inspired by Angie's artwork on the left-hand side. All except one, that is. Here's a left-side page for Angie to work off of:
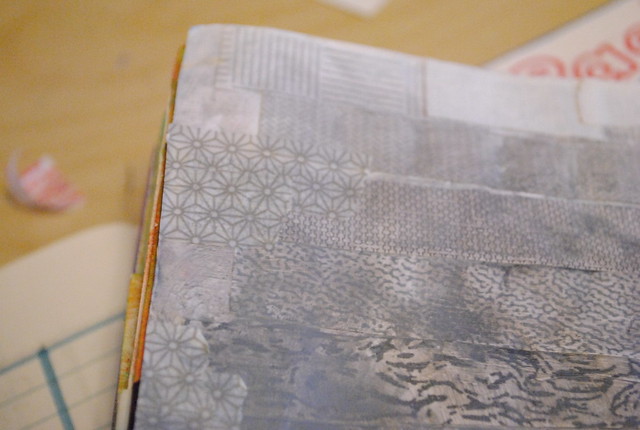
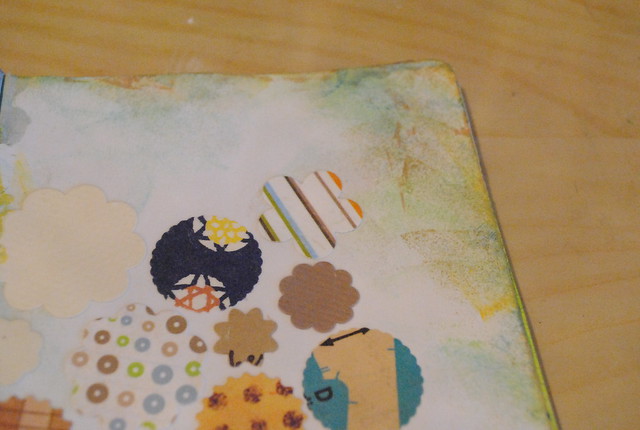
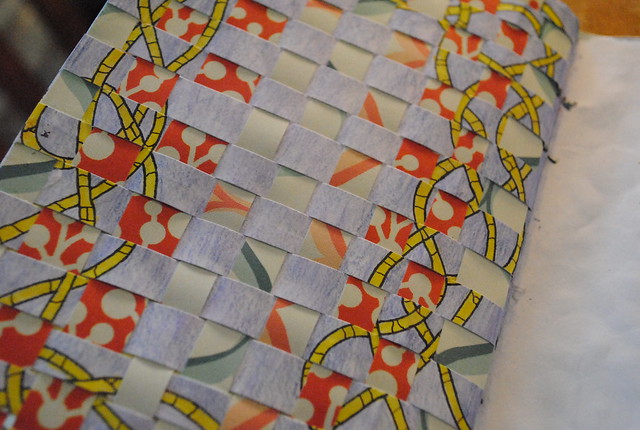
As you may have noticed, I had started a drawing on the page - the yellow ropes around a pale blue background - but I wasn't entirely satisfied with where it was going. So I decided to cut it up and weave brightly patterned papers through to make an interesting visual. It still feels a bit incomplete to me, but I ran out of time so the neat texture will have to do.

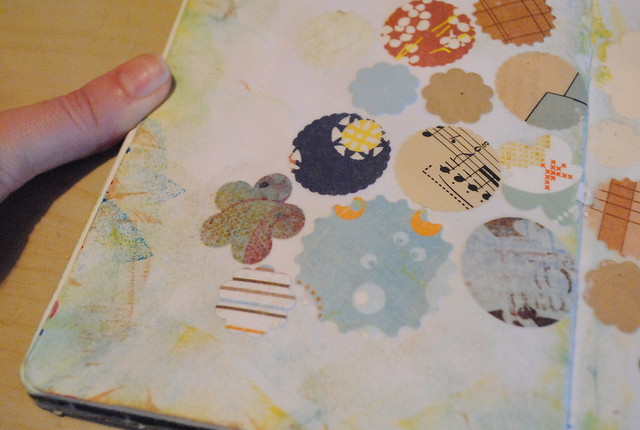
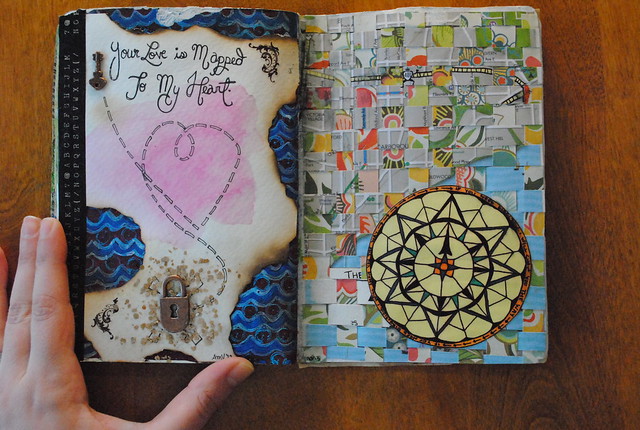
So... are you wondering what the other side of that page looks like?
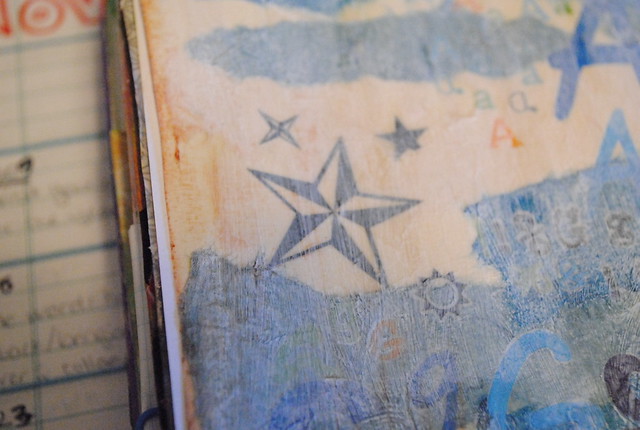
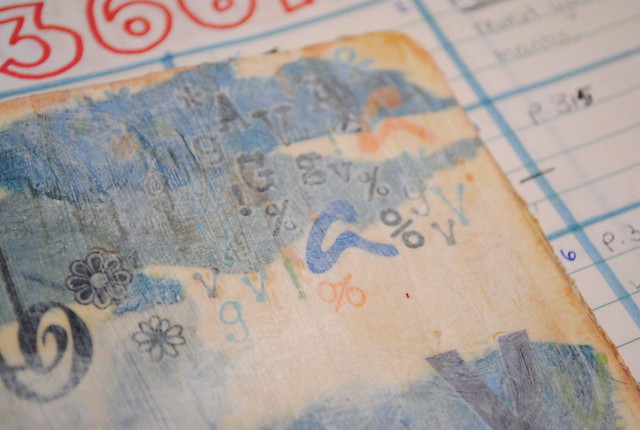
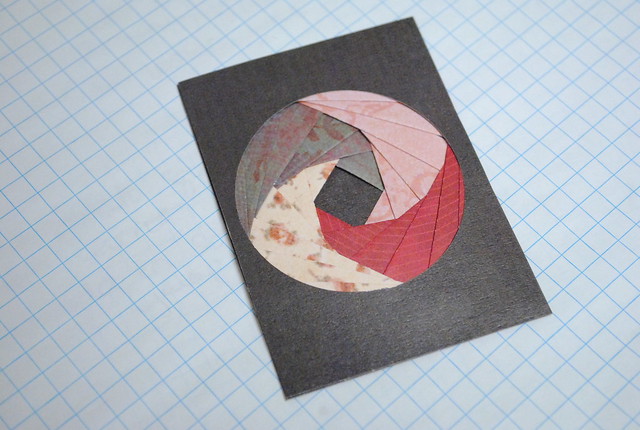
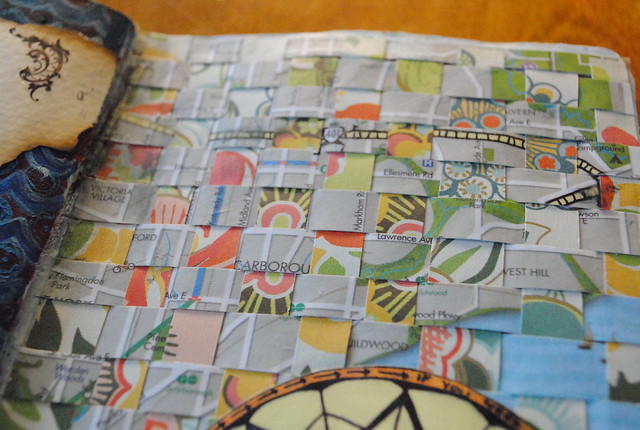
This time it was a collaged map that I'd started and got stuck on... I think the floral weave makes it a bit more interesting. I finished the "map" off with a compass rose. "If you need direction, I will show you the way" is written twice around the outside rim. I'm quite a bit happier with this side of the weaved page.

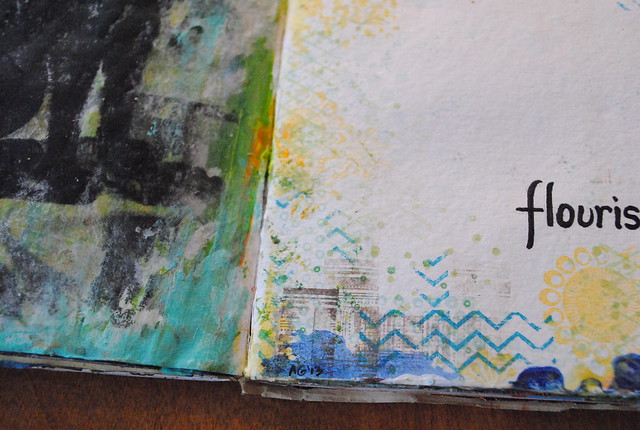
Next is a page inspired by one of my favourite's of Angie's pages:
First off, I loved the page before I even started on it - the smudges of paint that had seeped through from other pages were gorgeous. And then, just look at Angie's panther of a kitty! Such a great piece! So I needed to keep it simple. I enhanced the painted edges with layers of stamping, then added a butterfly for the kitty to hunt. The word flourish had been in my head since I'd been thinking of words for the year, so it just ended up on the page to finish everything off.

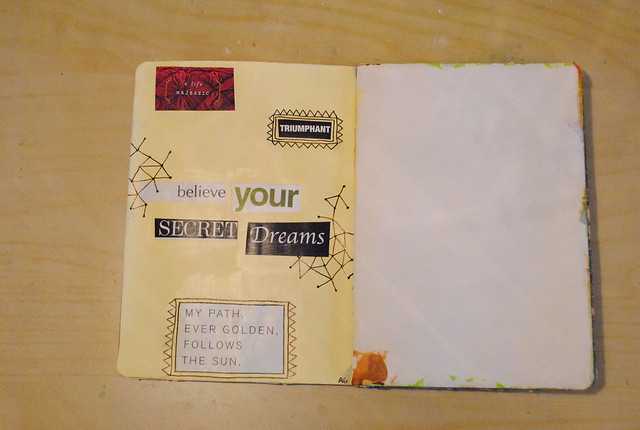
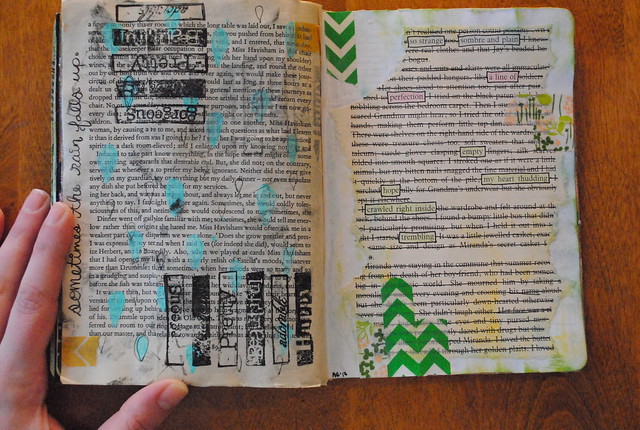
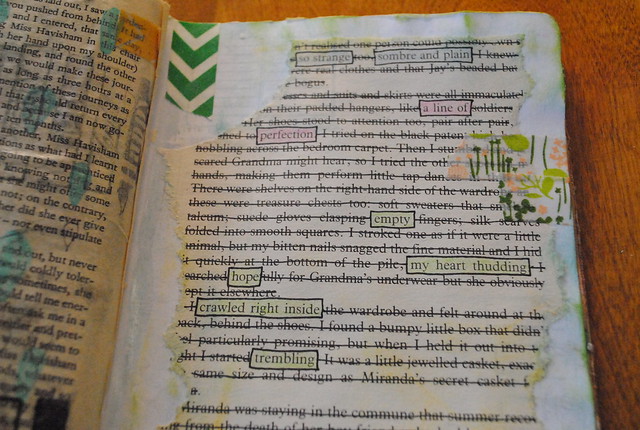
 When I saw Angie's page here, I just knew that I would make a poem out of a book page as my response. A bit of washi tape and subtle inking finished the page.

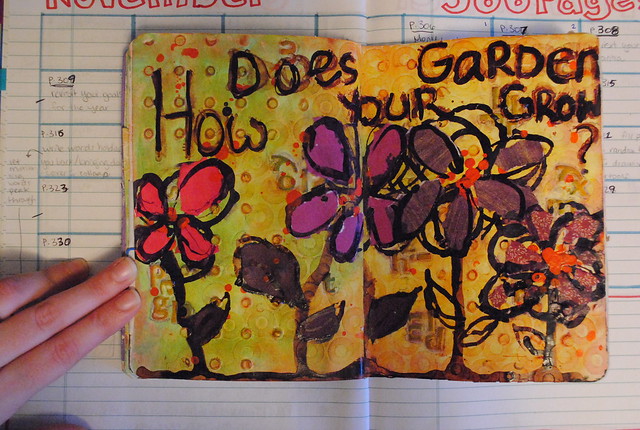
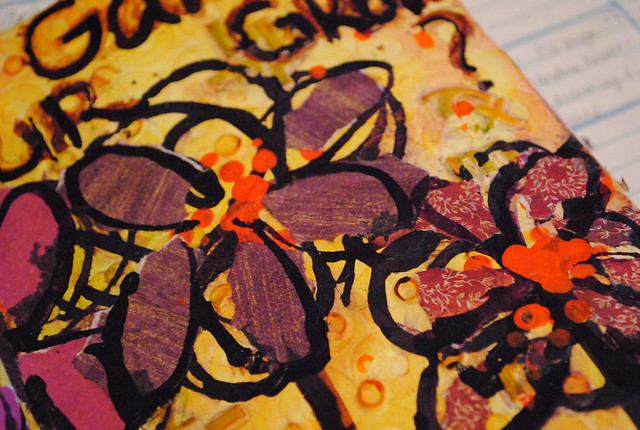
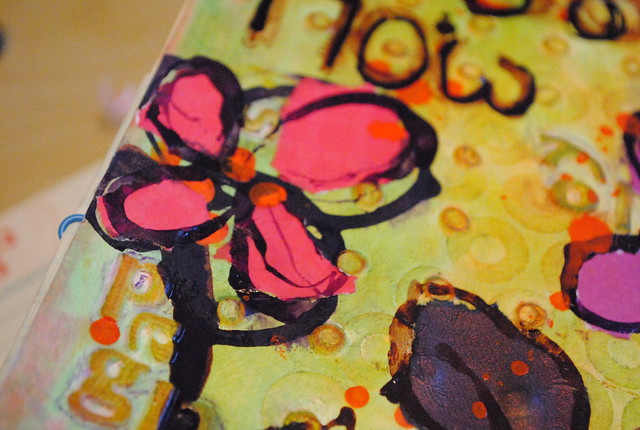
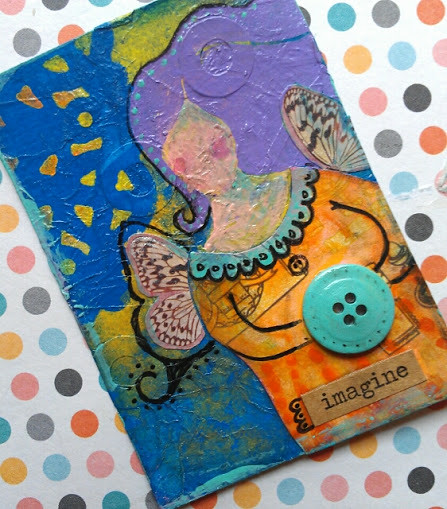
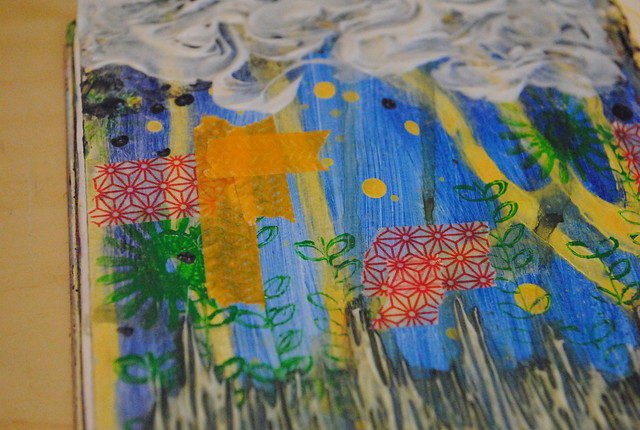
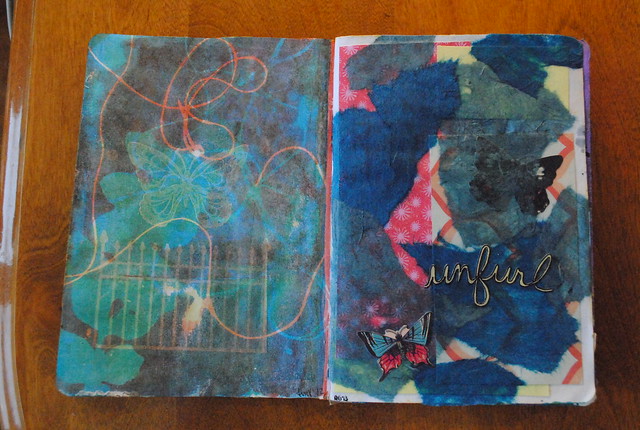
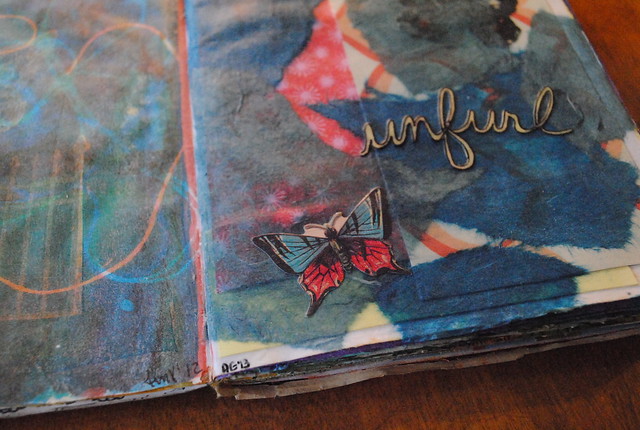
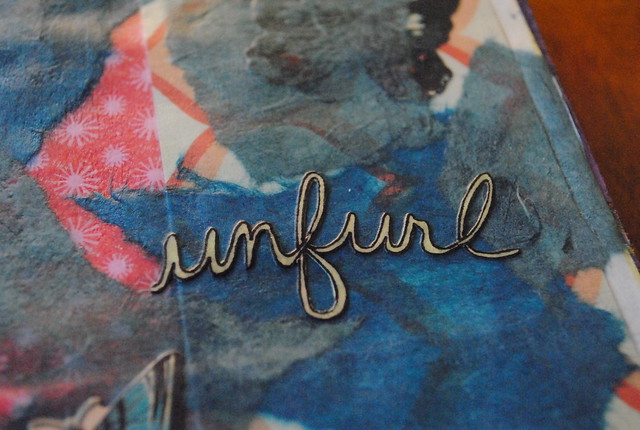
When I saw Angie's fun monoprint, I needed to make a collage using similar colours. Once I had laid down the base collage with the butterflies, I knew I needed a word to finish it off - but I didn't just want to write it on the page. So I wrote it out on a piece of yellow card and cut it out, giving it a bit more dimension on the page.

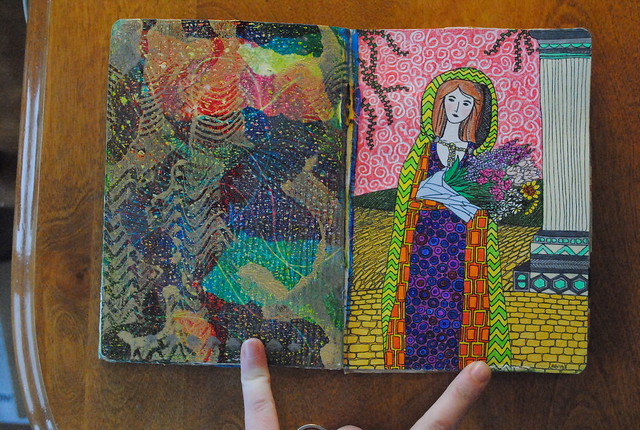
This last page is my very favourite of the bunch:
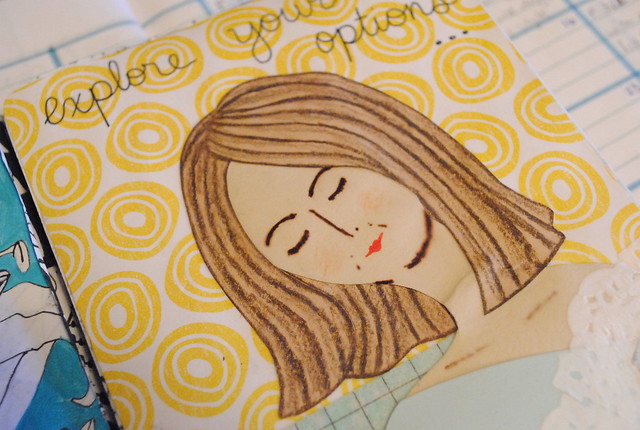
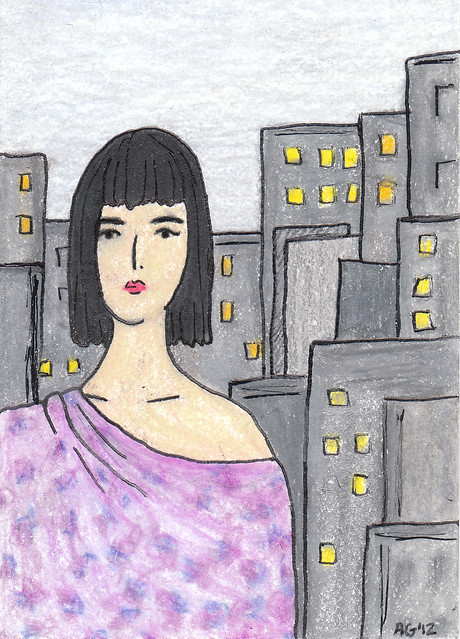
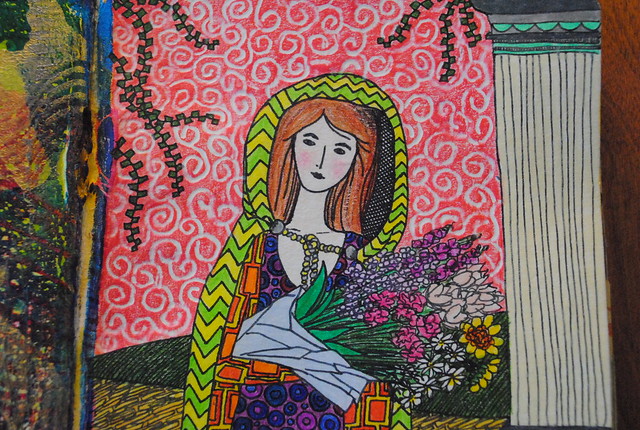
When I saw Angie's bold monoprint, I immediately thought of Klimt with his intricate gold patterns. Of course I had to draw one of my goddess ladies. I sketched her out in pencil, drew her in ink, then coloured it in with pencil crayons. I'm particularly thrilled with the sky: I drew the spiral pattern first with a white pencil crayon, then drew over that with a red crayon. I wasn't positive the white would show through perfectly but it did! Definitely a technique I'll be playing with again.

I can't wait to see Angie's last couple pages... and the tour is coming to Toronto, so I'm hoping to see this sketchbook (and mine) there too!

Saturday, November 24, 2012

The Sketchbook Project: Part 3.2

As promised, here is one last page I finished before sending our Sketchbook collaboration back to Angie.

You can see my previous updates here: Part 1Part 2.1Part 2.2 and Part 3.1 - and Angie's updates here: Part 1 and Part Two

I based my collaged lady on Angie's lilies:

But these serene still-lifes are hiding something...
Black and white doodled chaos! I absolutely love it!

I can't wait to see what Angie does with her remaining pages... and I need to start thinking about finishing the rest of mine up too. Deadline is looming!

Which reminds me... I have my own, personal Sketchbook Project to finish up too. It's about 1/3 of the way there. Not bad for my typical procrastinating style! But still, projects to complete!

Speaking of which - we're doing the final walk-through in Hamilton today and giving back our keys. What a strange feeling that will be! I'm going to miss that little place, much as I love this one.Still, it will be nice to be done with so that we can settle in here more fully. Onto a new chapter in my life! 

Friday, November 23, 2012

The Sketchbook Project Collaboration: Part 3.1

Angie received our sketchbook a while ago, so it's about time I get these photos posted. I didn't get as much done as I wanted to this go round - our move and starting my new job sort of got in the way. Still, the project is coming along quite nicely and we should definitely be able to finish on time.

You can see my previous updates here: Part 1Part 2.1 and Part 2.2  - and Angie's updates here: Part 1 and Part Two

[warning: picture heavy post coming up!]

Let's start with the pages I prepared for Angie to work on. The first is a double spread:
I started by striping the pages with masking tape and covering it with gesso and an assortment of torn blues and tan tissue paper. Next I went a little crazy with rub-ons, adding a bunch of A, G & V letters (our initials) and lots of symbols and images. A light white wash and "tea-stained" edges (using a Distress Ink stamp pad in tea-stained) finished my background for Angie's finishing touches.

I also started a left-right spread for Angie to work on:
For this one, I knew I wanted to make a gradient / ombré with a collage covered with paint (as you can see, I also added a bit of washi tape on top). Trying to decide on a colour scheme, I flipped through the sketchbook. It is LOADED with colour... so I decided to go with a grey page for a little break. Plus, Angie can go crazy with colour on her page if she likes!

Next are a couple of spreads that I finished after Angie's input.
For this page, I transformed the lovely textured background into a fall-toned garden. I used drippy India ink in brown, violet and orange and collaged the flower petals and leaves in bright pinks and purples. A familiar (if slightly wonky) phrase finished the page.

Following along nicely is this left-right spread:
The collaged flowers are a mix of torn "circles" and cut-outs from patterned paper. I finished by painting in stems and a yellow background and used black India ink to highlight a few of the flowers.

I have one final page to show but this post is getting long enough - plus, it's good enough to deserve its own post.

What do you think of our sketchbook collaboration so far?

Tuesday, November 6, 2012

ACEO-X (5.0)

I must admit - organizing an ACEO exchange at the same time as my interview and job offer wasn't the best idea. I spent little time recruiting and as a result it was the smallest exchange yet. To make matters even more complicated, superstorm Sandy came along, making postal services and lines of communication unreliable. So, as you'll see, this post is a little different from my typical ACEO-X wrap-up.

Still, I enjoyed creating my ACEO and wanted to show it off here. I chose to add another lady to my Strong Women ACEO series - meet Lilian:
I used pencil crayons for both Lilian and her cityscape. I was really happy with her cool, sophisticated expression.

I also received my ACEO from Donna. She created this gorgeous folded-paper medallion:
The colours and texture are just fabulous - a great addition to my collection! Thank you Donna!

Lastly, I wanted to show you the ACEO my friend Angie made:
Isn't she gorgeous? Such lovely texture in this mixed-media piece.. I particularly love the purple hair!

Thank you to everyone for participating in another one of my exchanges! If you haven't received your ACEO yet, it's probably coming from or headed to New York state. Leave me a comment here when you get yours!

Wednesday, October 3, 2012

ACEO-X (5.0)


ACEO-X (5.0)


I'm hosting the 5th round of ACEO-X! The first 4 exchanges were completely successful and a lot of fun for everyone involved. Hopefully you'll be able to join us this time around and add another fabulous ACEO to your collection (or perhaps start one off).

If you're unsure what an ACEO is, check out my webpage for more information. Basically, it is a mini collectible piece of art and must be 2.5" x 3.5".

The purpose of this exchange is to make an original ACEO and swap it with another ACEO-X member. The partnering will be kept secret. I expect you to send me a photo of your ACEO - I'll be blogging these so that everyone can see your lovely creations and wonder which is coming their way. The submissions for ACEO-X (1.0), ACEO-X (2.0)ACEO-X (3.0) and ACEO-X (4.0) can be seen by following those links.

There is no theme for this exchange.


The schedule:
  • October 3 - October 10 : 1 week to sign up
  • Thursday October 11 : partners assigned
  • October 11 - October 25 : 2 weeks to create an ACEO
  • Friday October 26 : deadline for sending me a photo of your ACEO and shipping it off to your partner

Interested? Want to join?

To sign up, send me the following information via Etsy convo (Ulixis) or email (ulixis.crafts@gmail.com):
  • name
  • email address
  • mailing address (so that I can give it to your partner)
  • Etsy shop / blog links, if any (for my blog posts)
I will use the email address to send you your partner information and to remind you to ship on the deadline. If you don't think you can make an ACEO in 2 weeks and send it off by October 26, please don't sign up! Also remember to take a look at the rules below for more information.


The rules:

1. Create an ORIGINAL ACEO. It must be 2.5" x 3.5" (in either orientation). NO prints, reproductions or photos (although photo elements may be used in your design) - please put in lots of love and effort so that you would be proud to give your artwork as a gift.

2. Sign-ups will be open for 1 week. Feel free to help me get the word out - the more people in the swap, the more fun it is! After sign-ups, I'll randomize the participants and let you know who you are sending your ACEO to (this won't be the same person you're getting an ACEO from). Please keep the partnering a secret - the anticipation is the best part!

3. You have 2 weeks to create you ACEO. Please make sure to include the title of your piece, your name, the date and ACEO-X (version #) on the back of the card (or on an additional piece of paper).

4. Take a photo of your ACEO and email it to me by October 26. This allows me to ensure everyone has participated. These photos will be archived in the Submissions lists on my website. I'll also use these photos in a blog post so you can wonder which will be yours (and comment when you get yours)!

4. You must ship your ACEO to your partner by October 26. Please be prompt! It's unfair to your partner if you delay. You may ship your ACEO out ahead of time, but waiting the full 2 weeks allows me to make adjustments to the partnering if someone happens to drop out. You must be open to international shipping!

5. Please let me and your partner know that you've received your ACEO. You can do this in one shot by commenting on my blog post showing all the ACEOs in the exchange.

6. To sign up: send me your name, Etsy shop and blog links (if you have them), email address and mailing address via Etsy convo or email (ulixis.crafts@gmail.com).

Friday, August 17, 2012

The Sketchbook Project Collaboration: Update

As promised in my last post, here are the pages I started for Angie to work with:
First we have this collaborative spread. I started by inking the edges with turquoise, teal, copper and yellow. Then I collaged a collection of scalloped circles in similar colours. I love the soft feel here - I can't wait to see what Angie does with it!
Next, I completed this left-side half of a spread. I started by laying down a soft butter yellow, then I collaged some inspiring phrases. I finished it with some ink doodles.
This page was all about layers. I started with a coat of blue paint. Next, I dripped watered-down yellow paint and stamped some leafy and flowery bits in green on top. The thick layer of molding paste - in which I wrote "grow" and dragged grass up with a fork - was in my mind from the very start. So I did that next. I coloured it with layers of olive and brown watercolour. Once all this was dry, I decided the yellow looked like lightning, so I added some storm clouds with more molding paste and dark gray paint. A bit of bright washi tape finished the page.

As I said yesterday, I'm so in love with this book! I can't wait to see how it looks once Angie sends it back to me!!