Showing posts with label recipes. Show all posts

Saturday, June 24, 2017

Recipe: Sheetpan Lemon Chicken

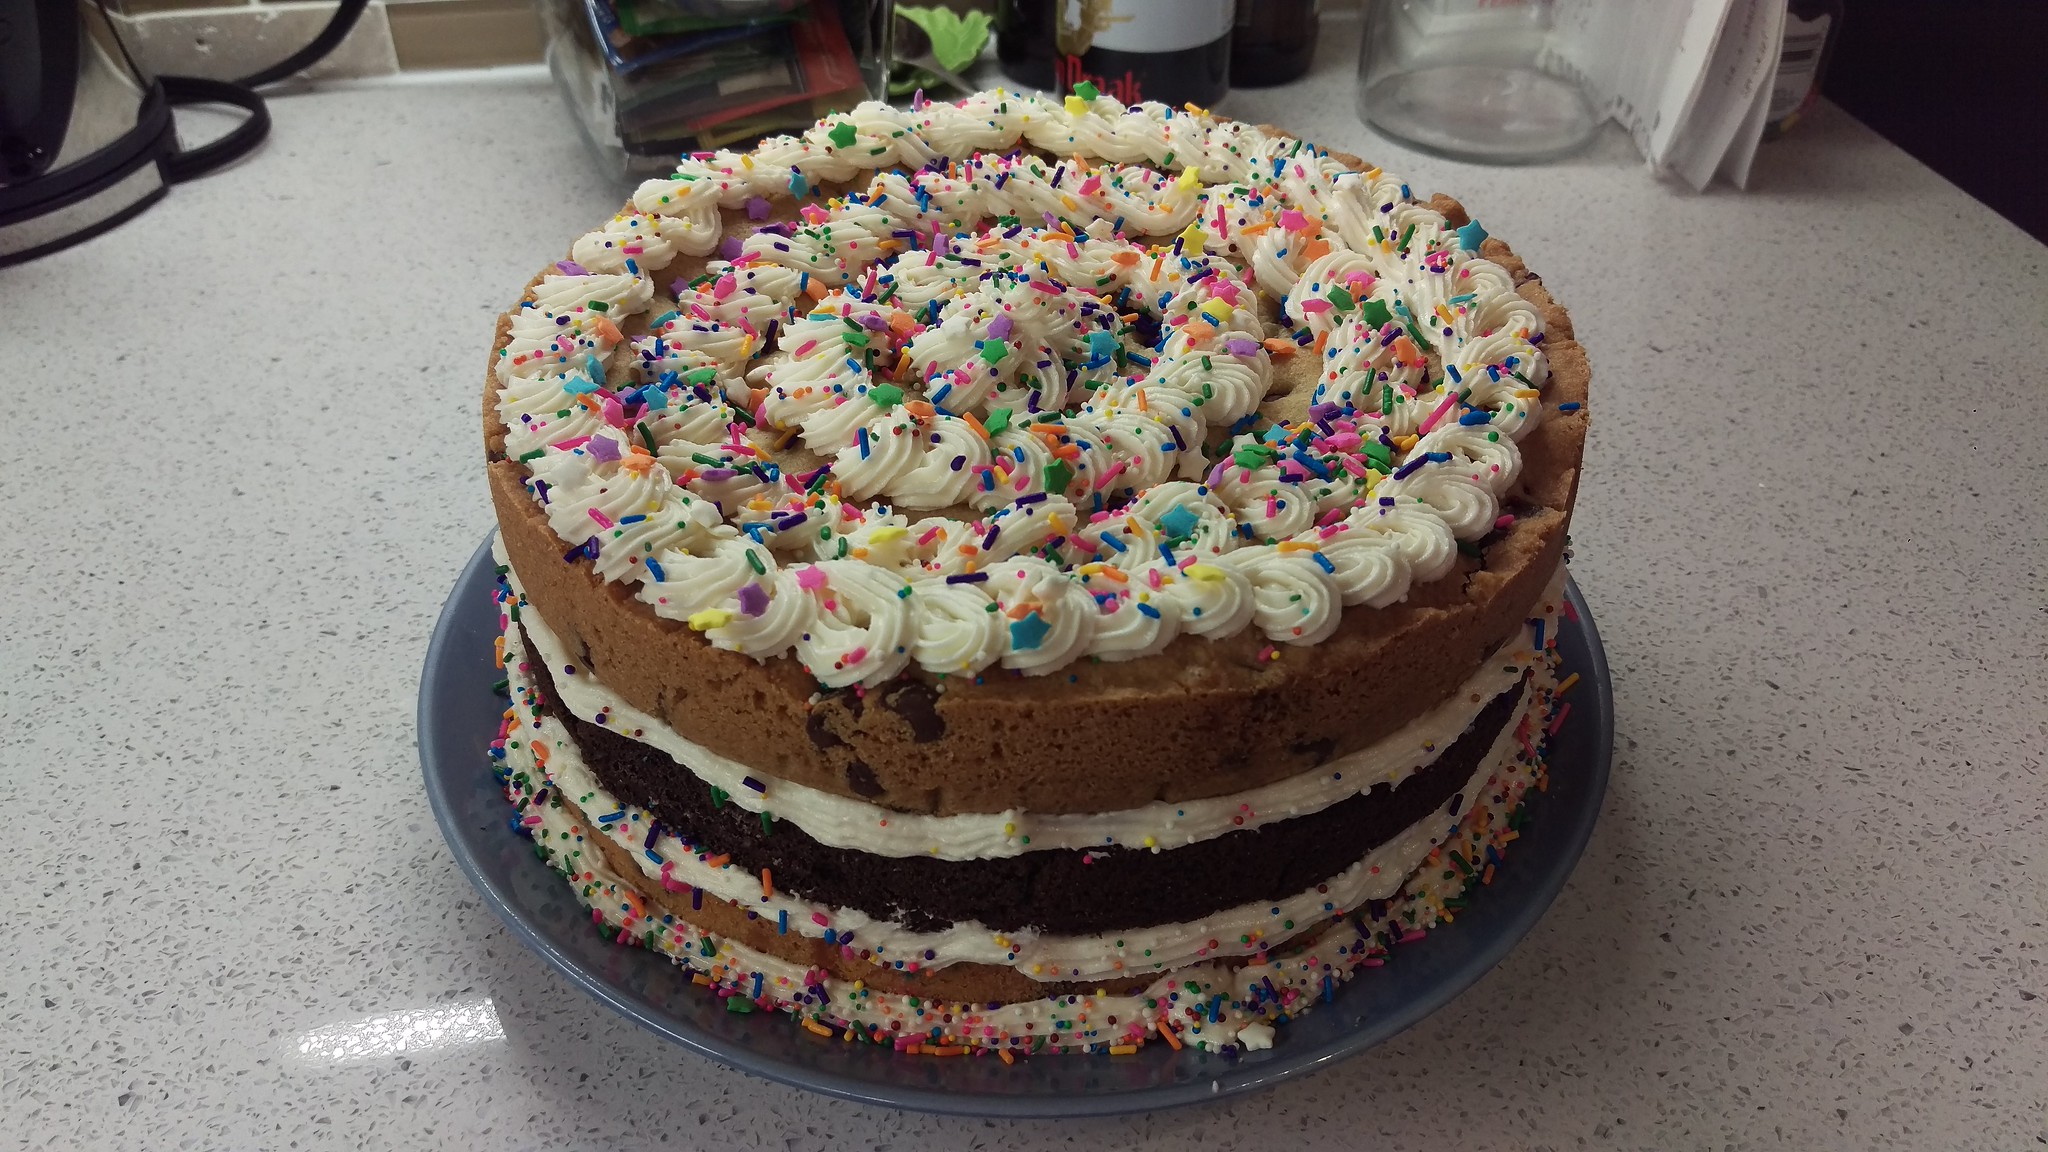
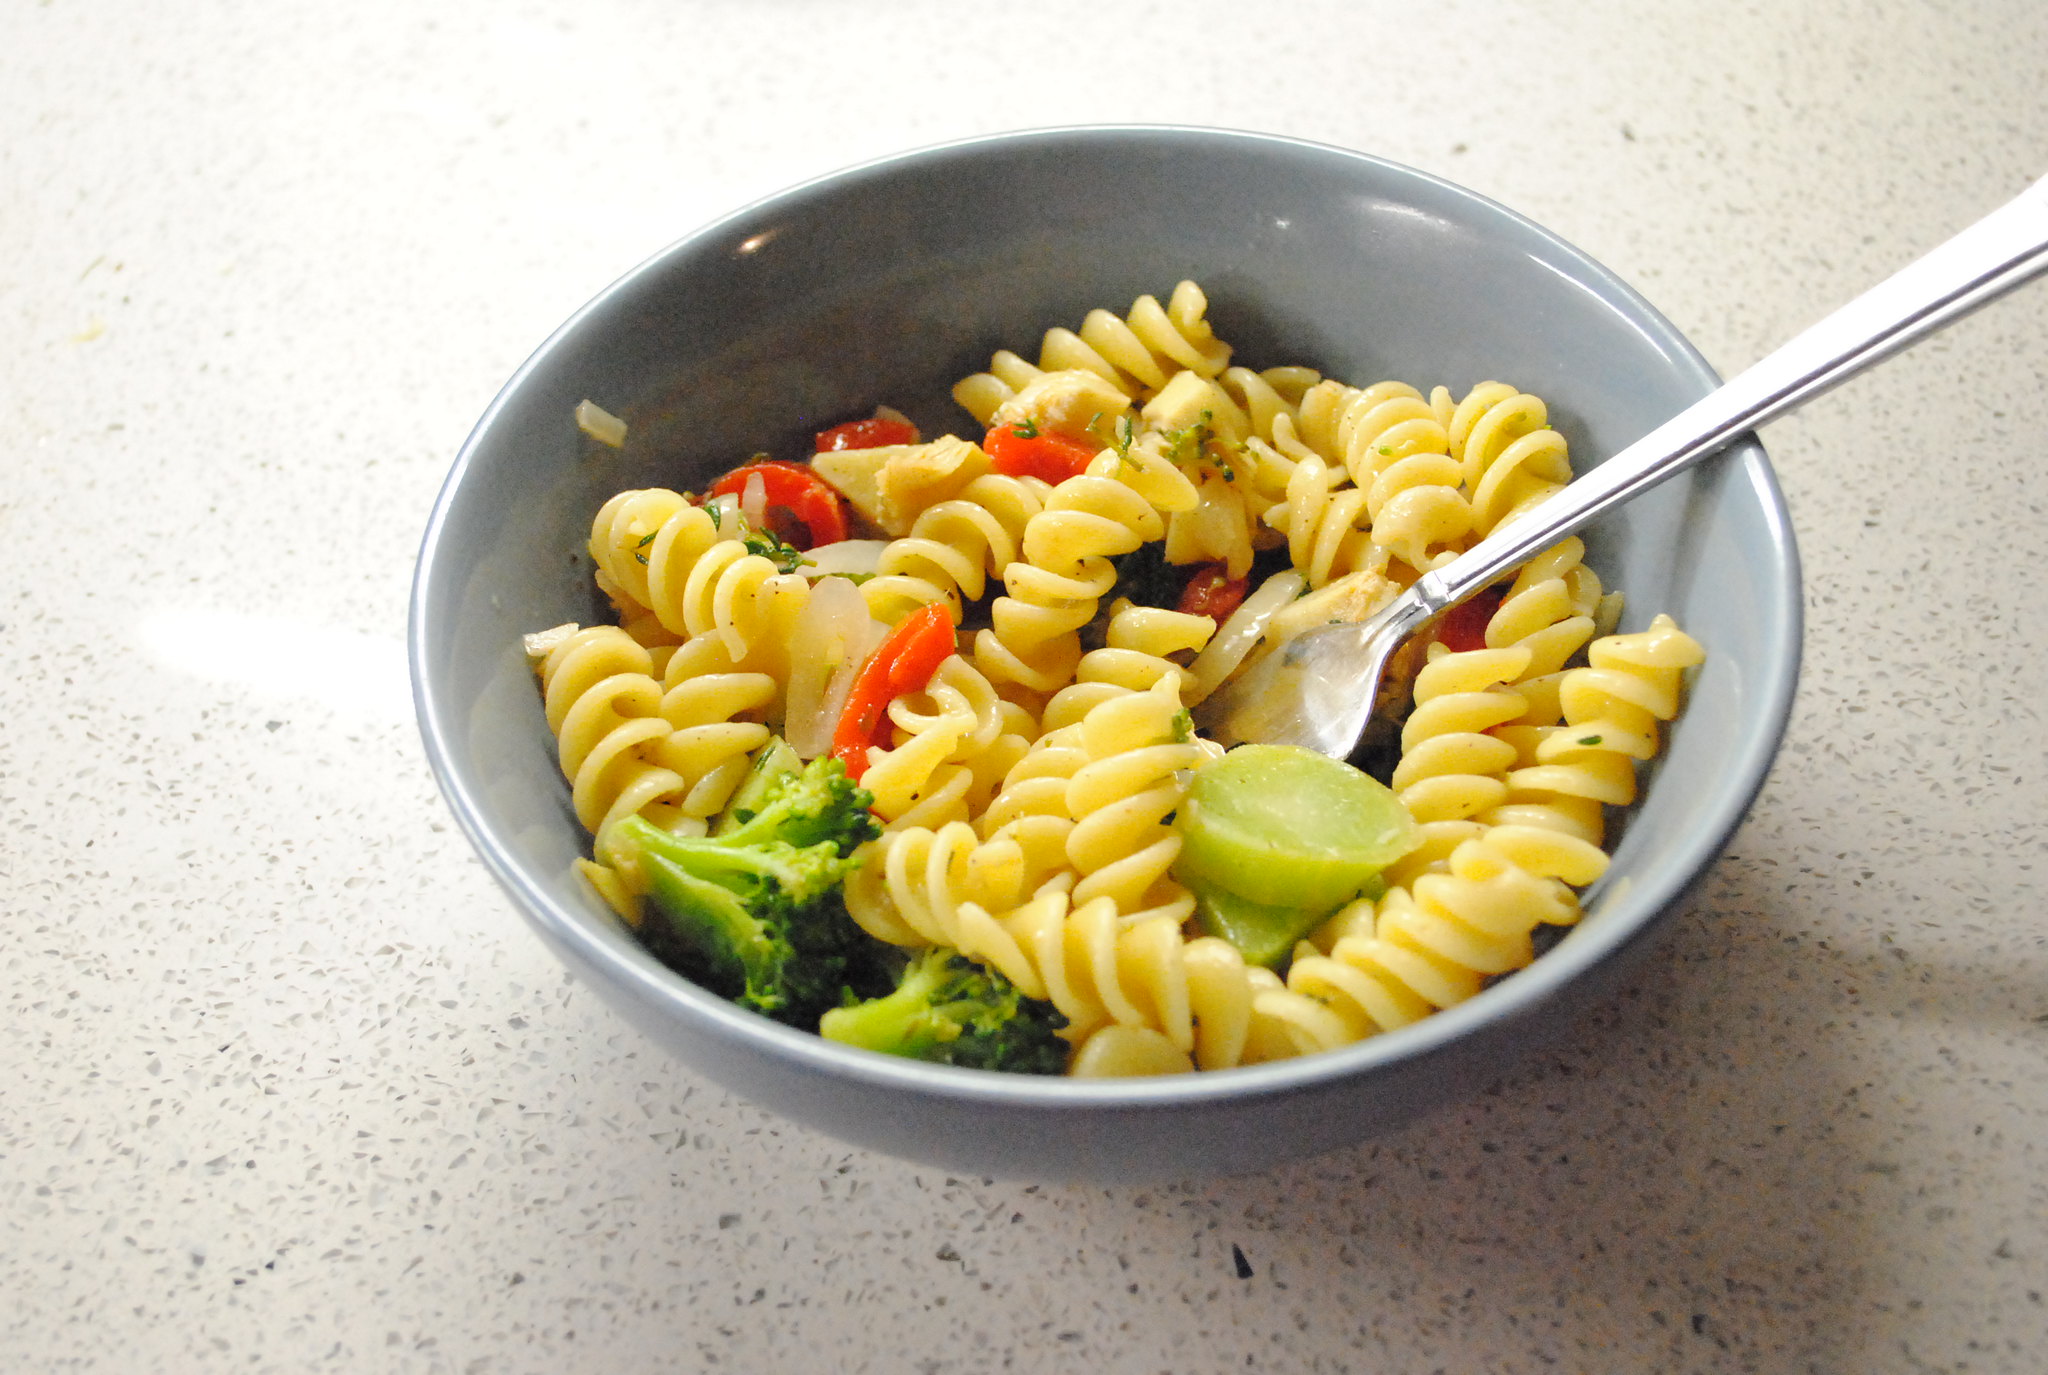
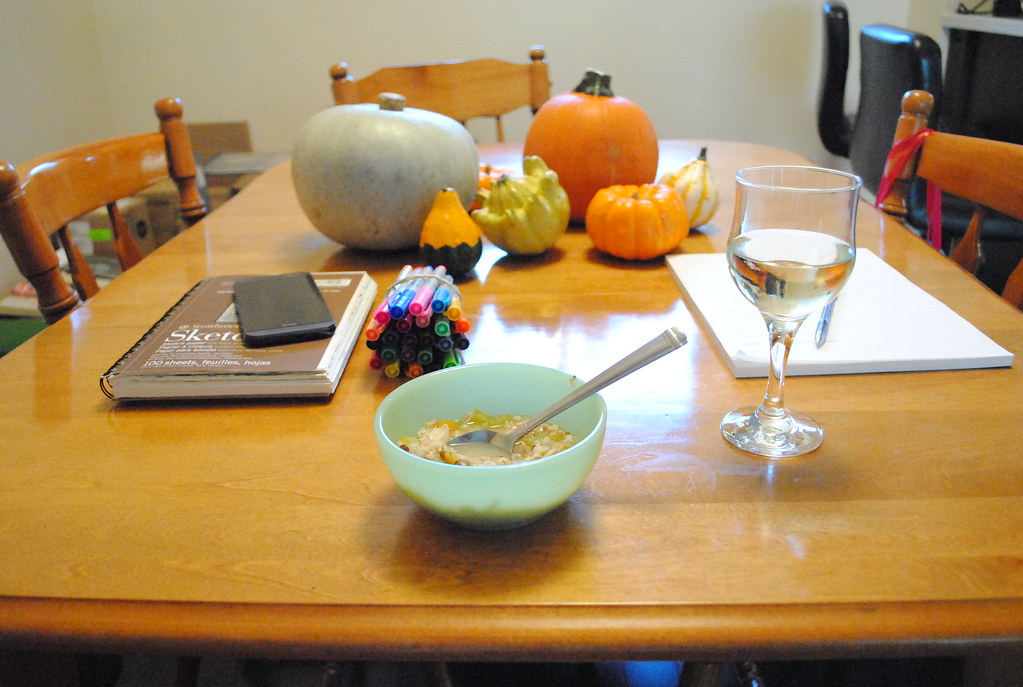
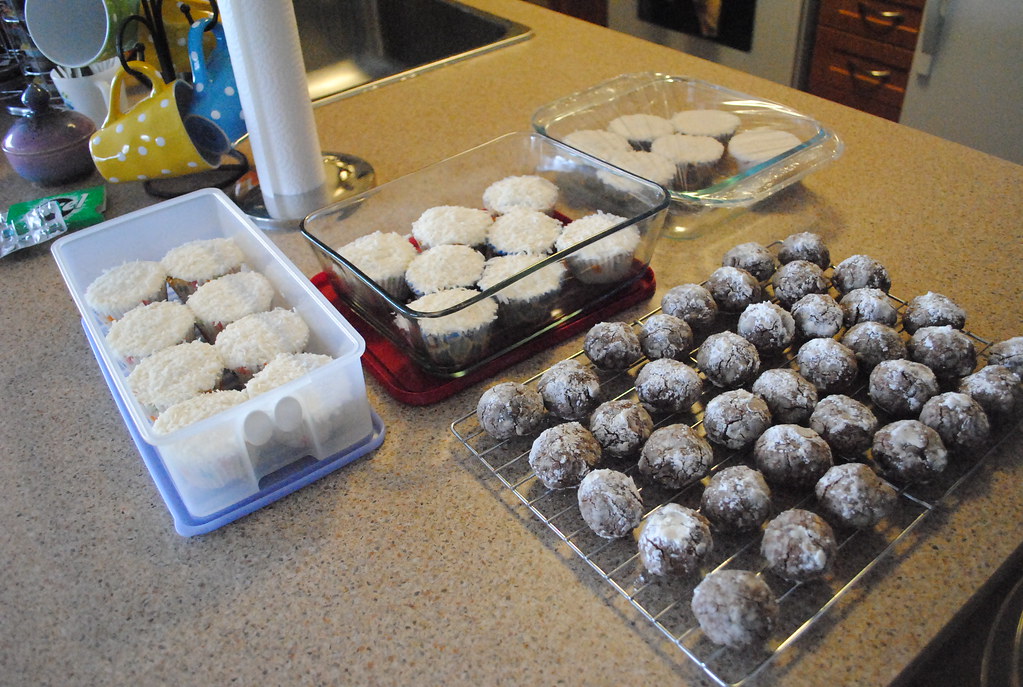
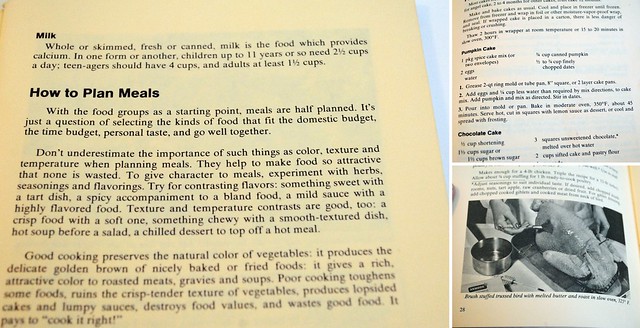
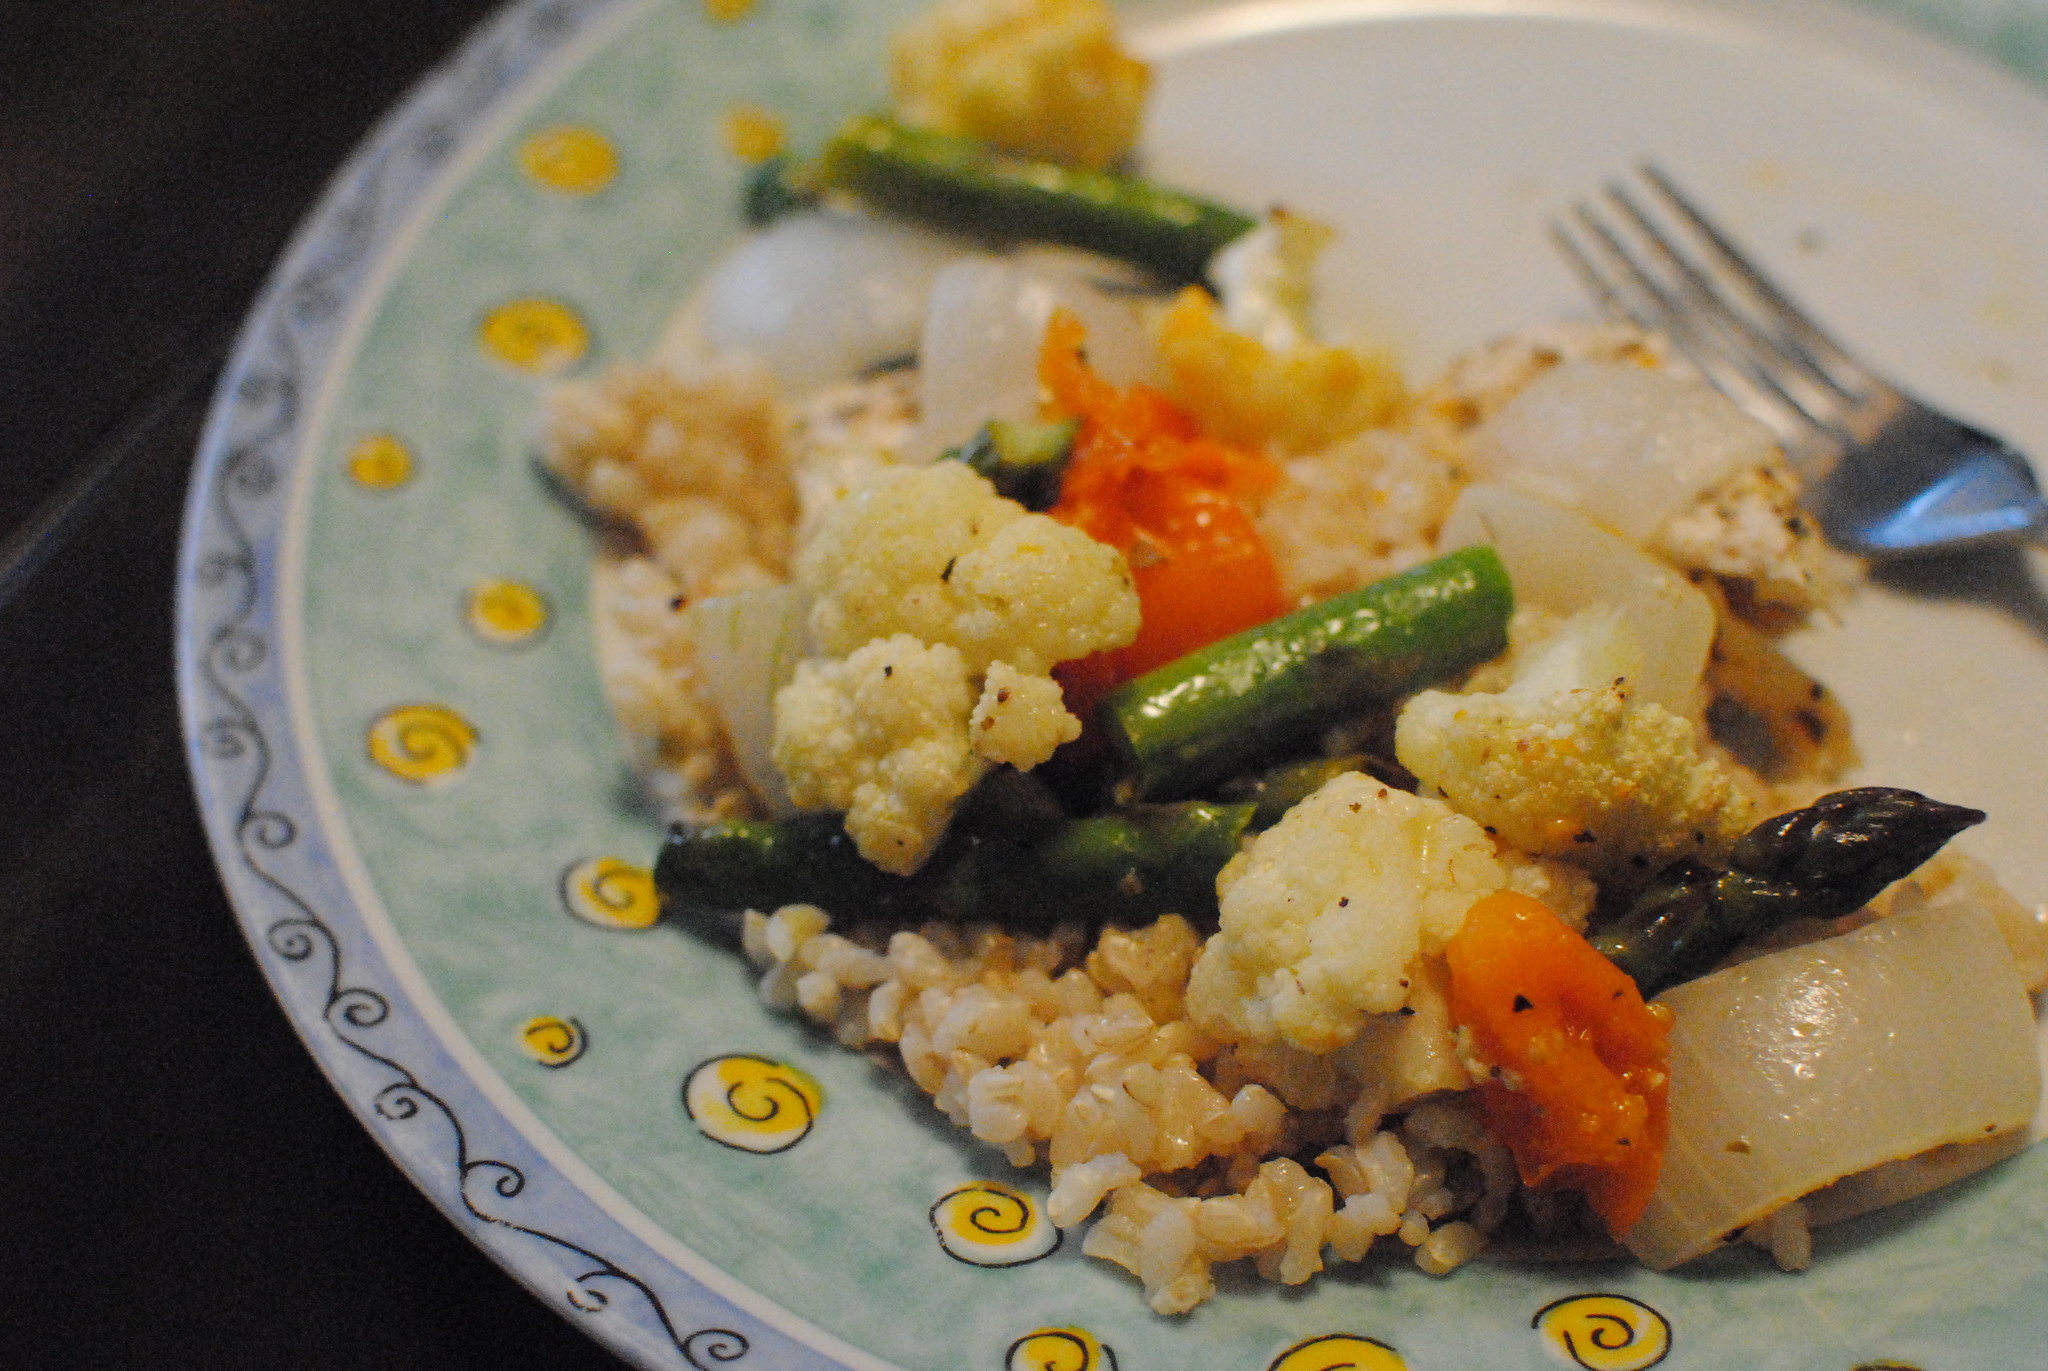
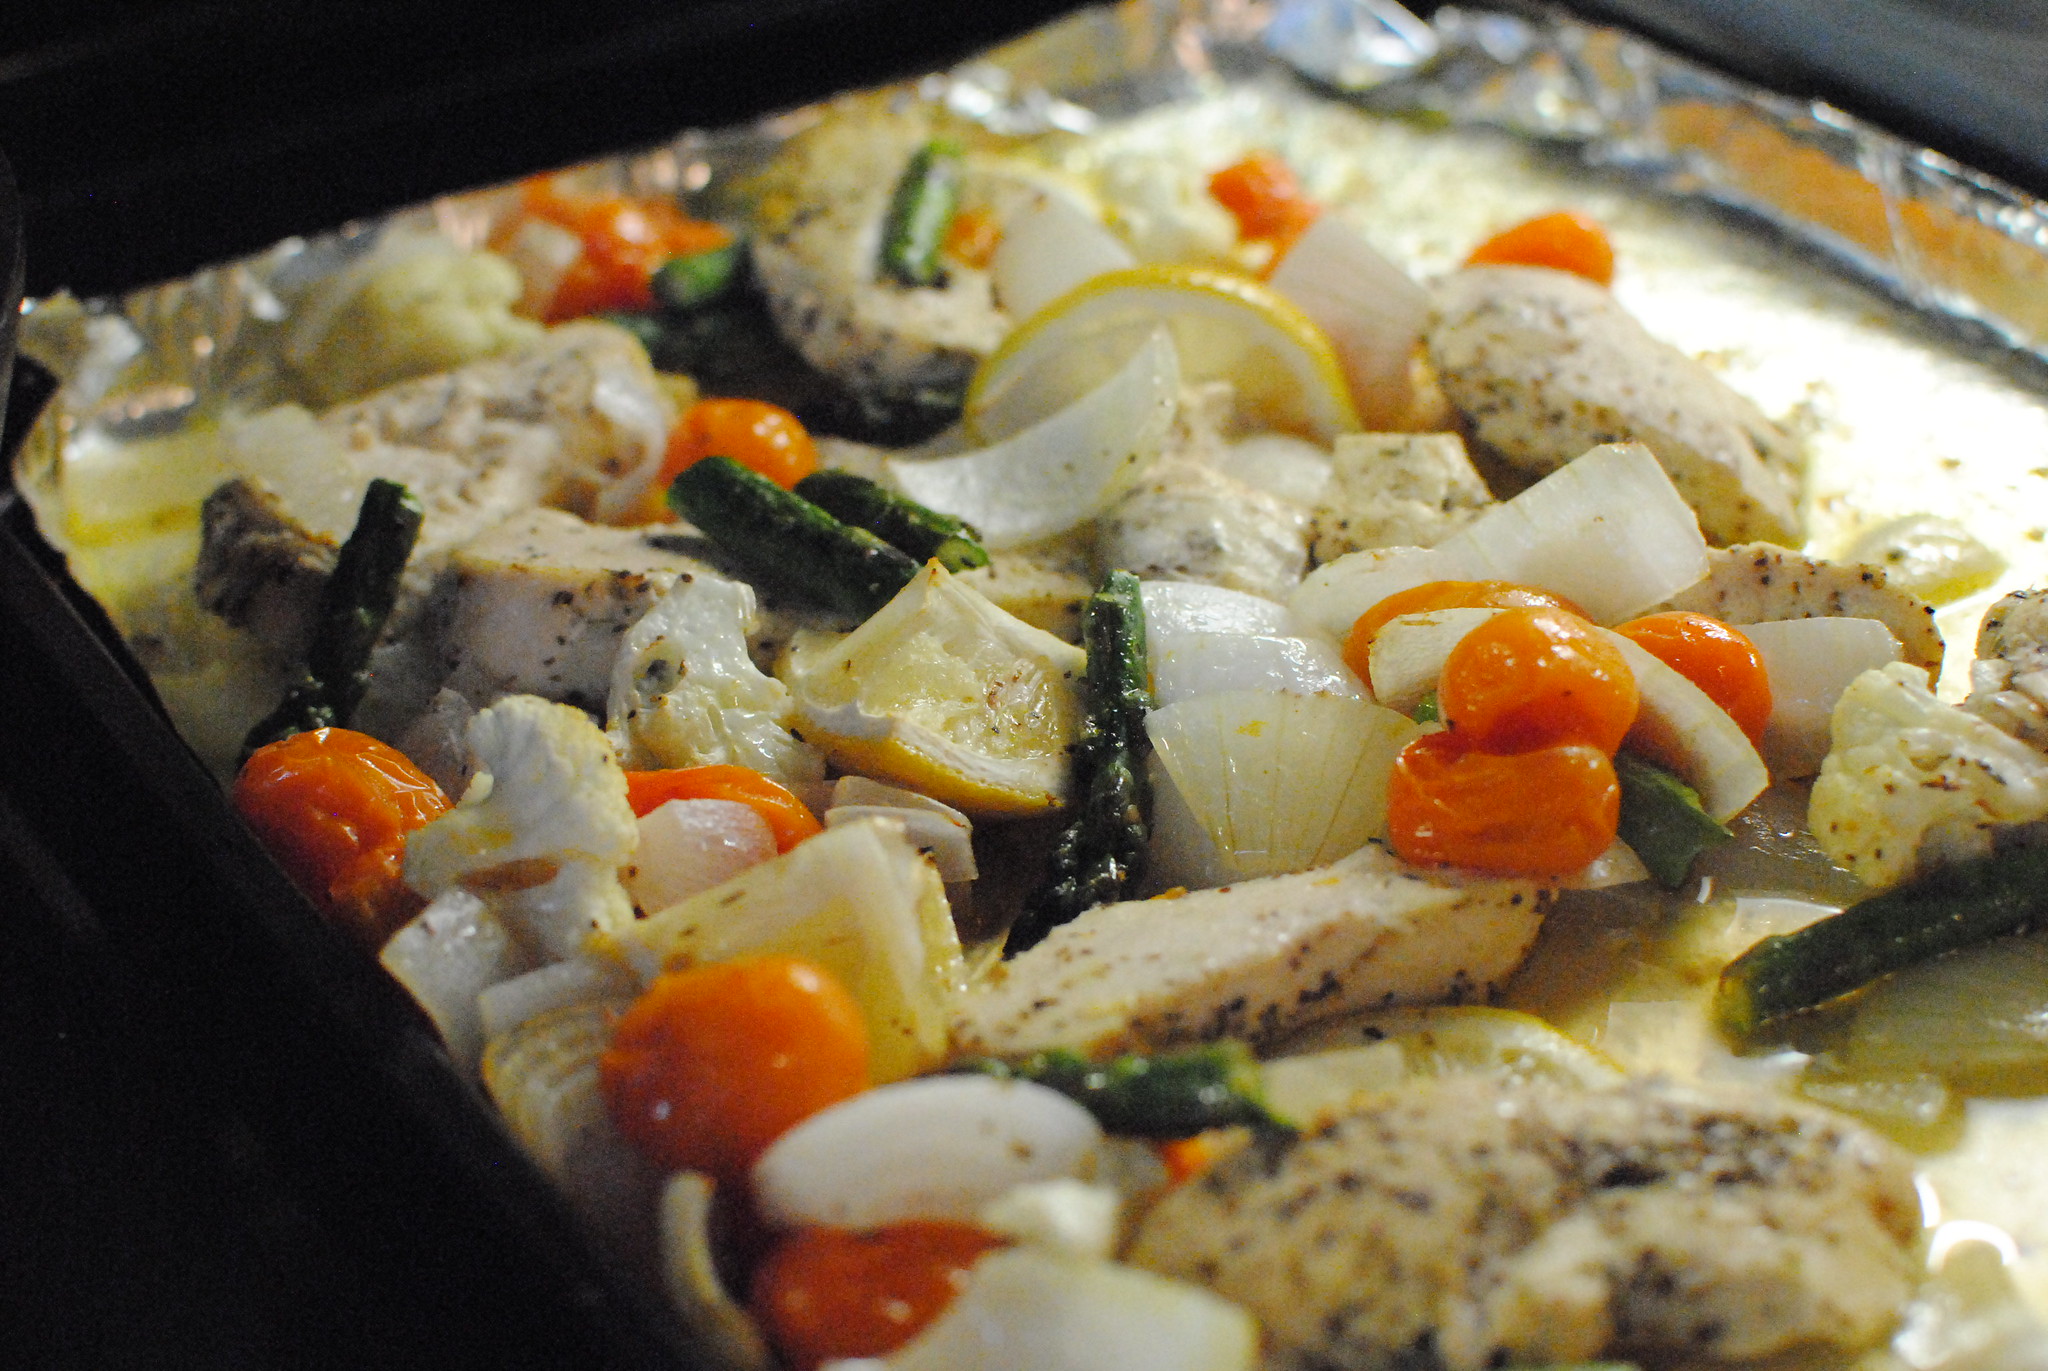
Quick and easy meals are always welcome on a busy weeknight. Whether you're just getting home from work or have bath- and bedtimes to manage, spending time in the kitchen is not always a luxury one might have. I've seen many variations on "sheetpan chicken" - chicken and vegetables cooked together on a baking sheet - here's mine.

Sheetpan Lemon Chicken

Ingredients:

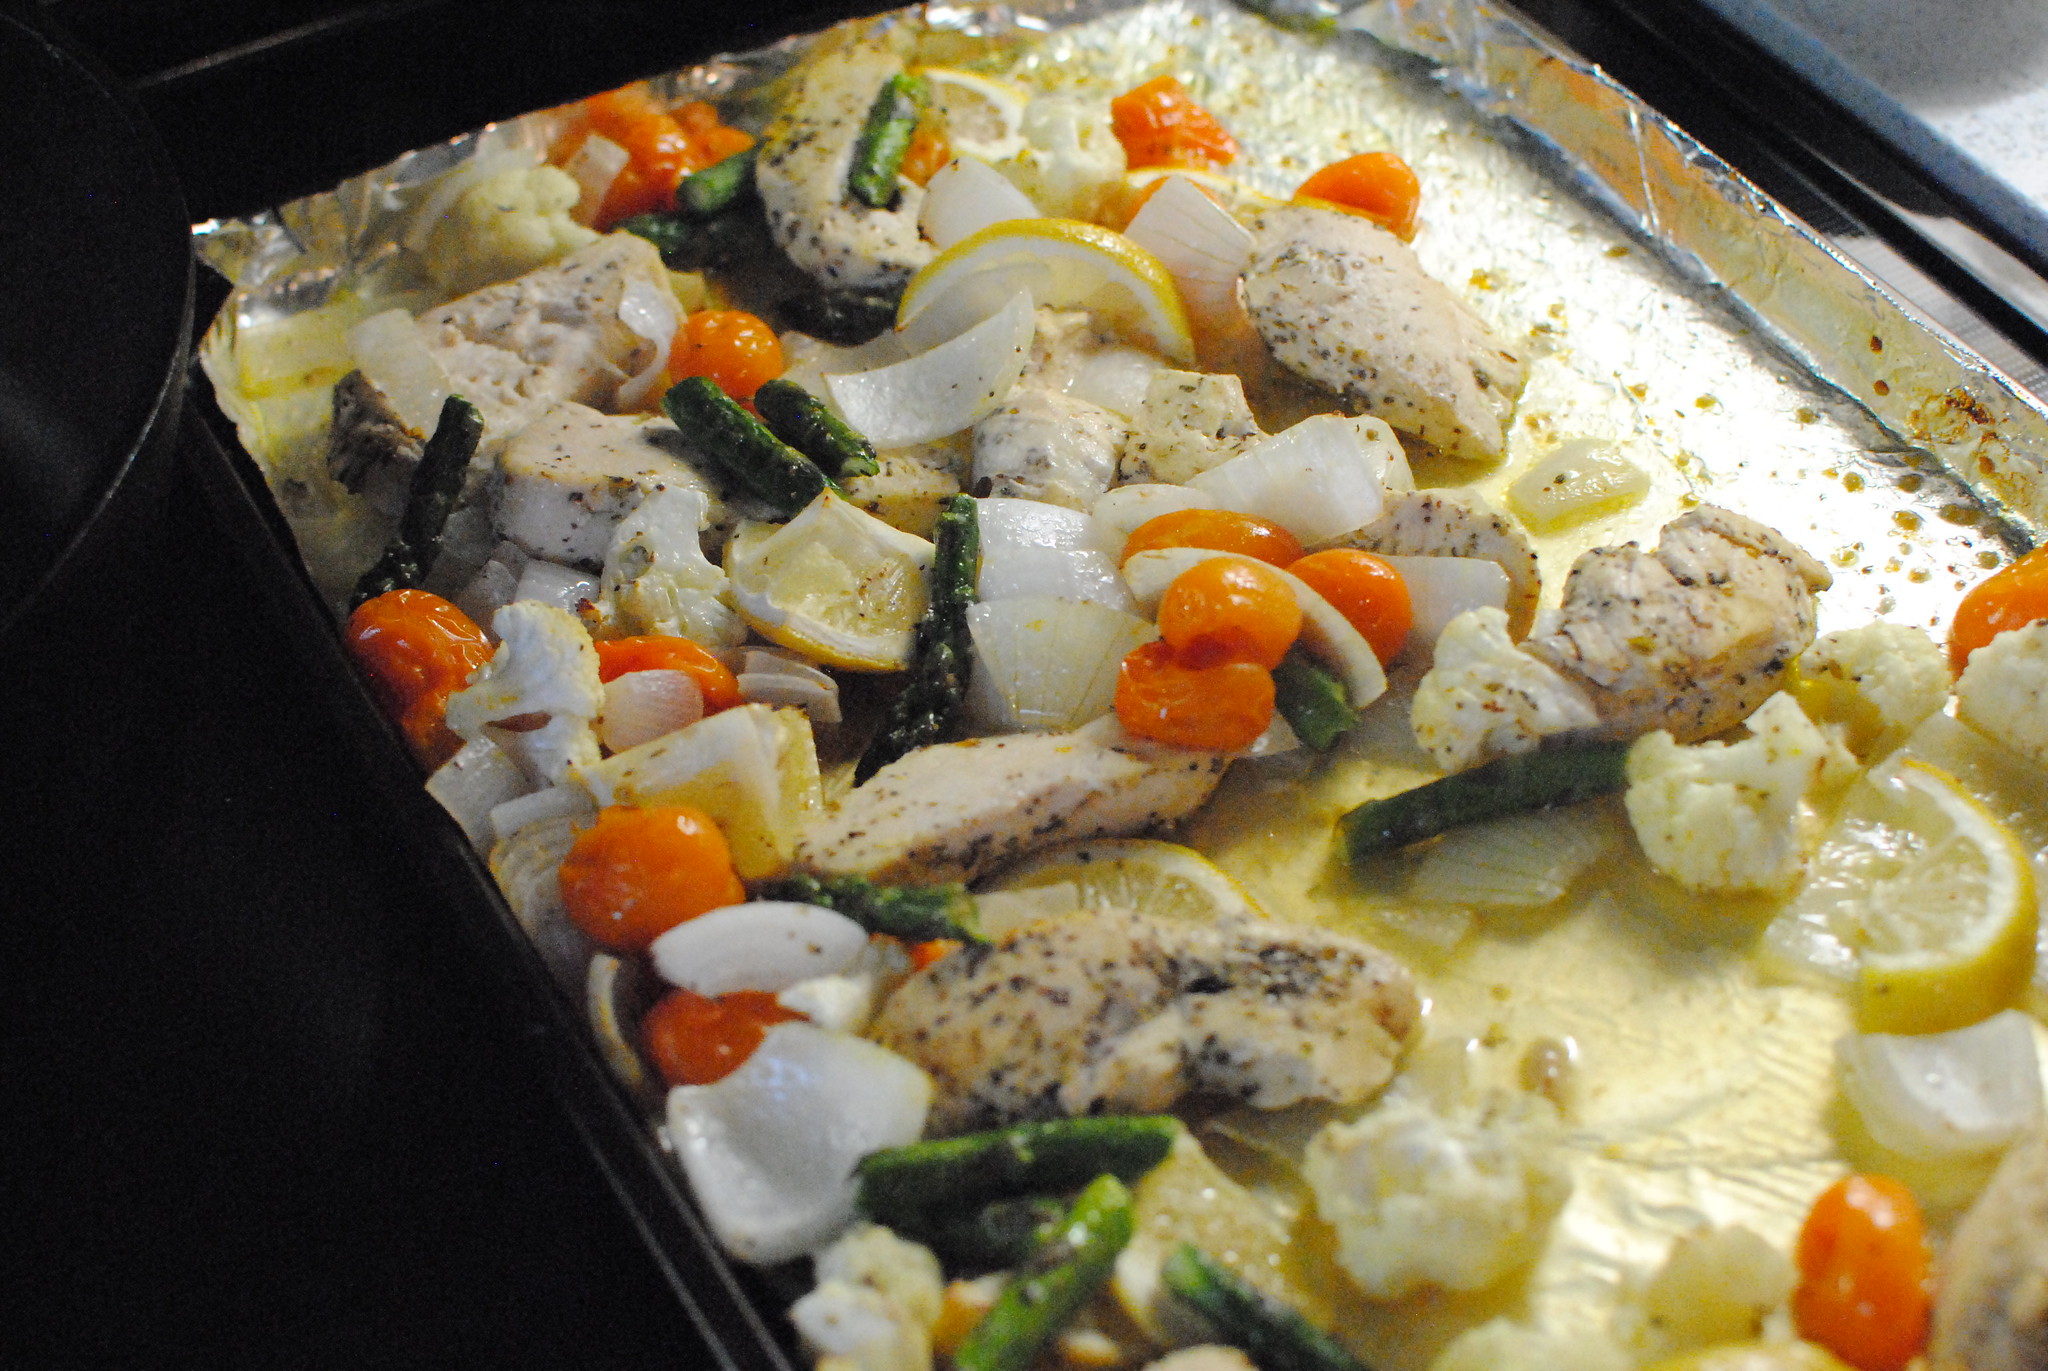
2 large boneless, skinless chicken breasts, cut into smaller pieces
1/2 large onion, cut into quarters
3 cauliflower florets, approximately 1/3 of a head, broken into bitesized florets
8 asparagus spears, woody stems removed and roughly broken into bitesized pieces
handful of cherry or grape tomatoes
1 lemon, half cut into small wedges, the other half sliced
salt, pepper and seasoning of choice
oil

Methods:

1. Preheat oven to 425F.

2. Lightly grease your baking sheet with oil. I've used both olive and sunflower - any neutral vegetable oil will do. Usually I will lay down foil before oiling; parchment paper would likely also work, with or without oil.

3. Place chicken, cauliflower, onion and tomatoes on the baking sheet, tossing to coat lightly in oil. Squeeze the lemon wedges over the chicken and vegetables, then add them to the pan.

4. Season with salt, pepper and herbs of choice (dried or fresh), tossing again to distribute evenly. I used oregano, basil, parsley and garlic powder. Top chicken pieces with lemon slices.

5. Roast for 10-15 minutes. Add the asparagus and toss, making sure the chicken pieces get turned over. Cook for another 10-15 minutes, until chicken pieces are cooked through.

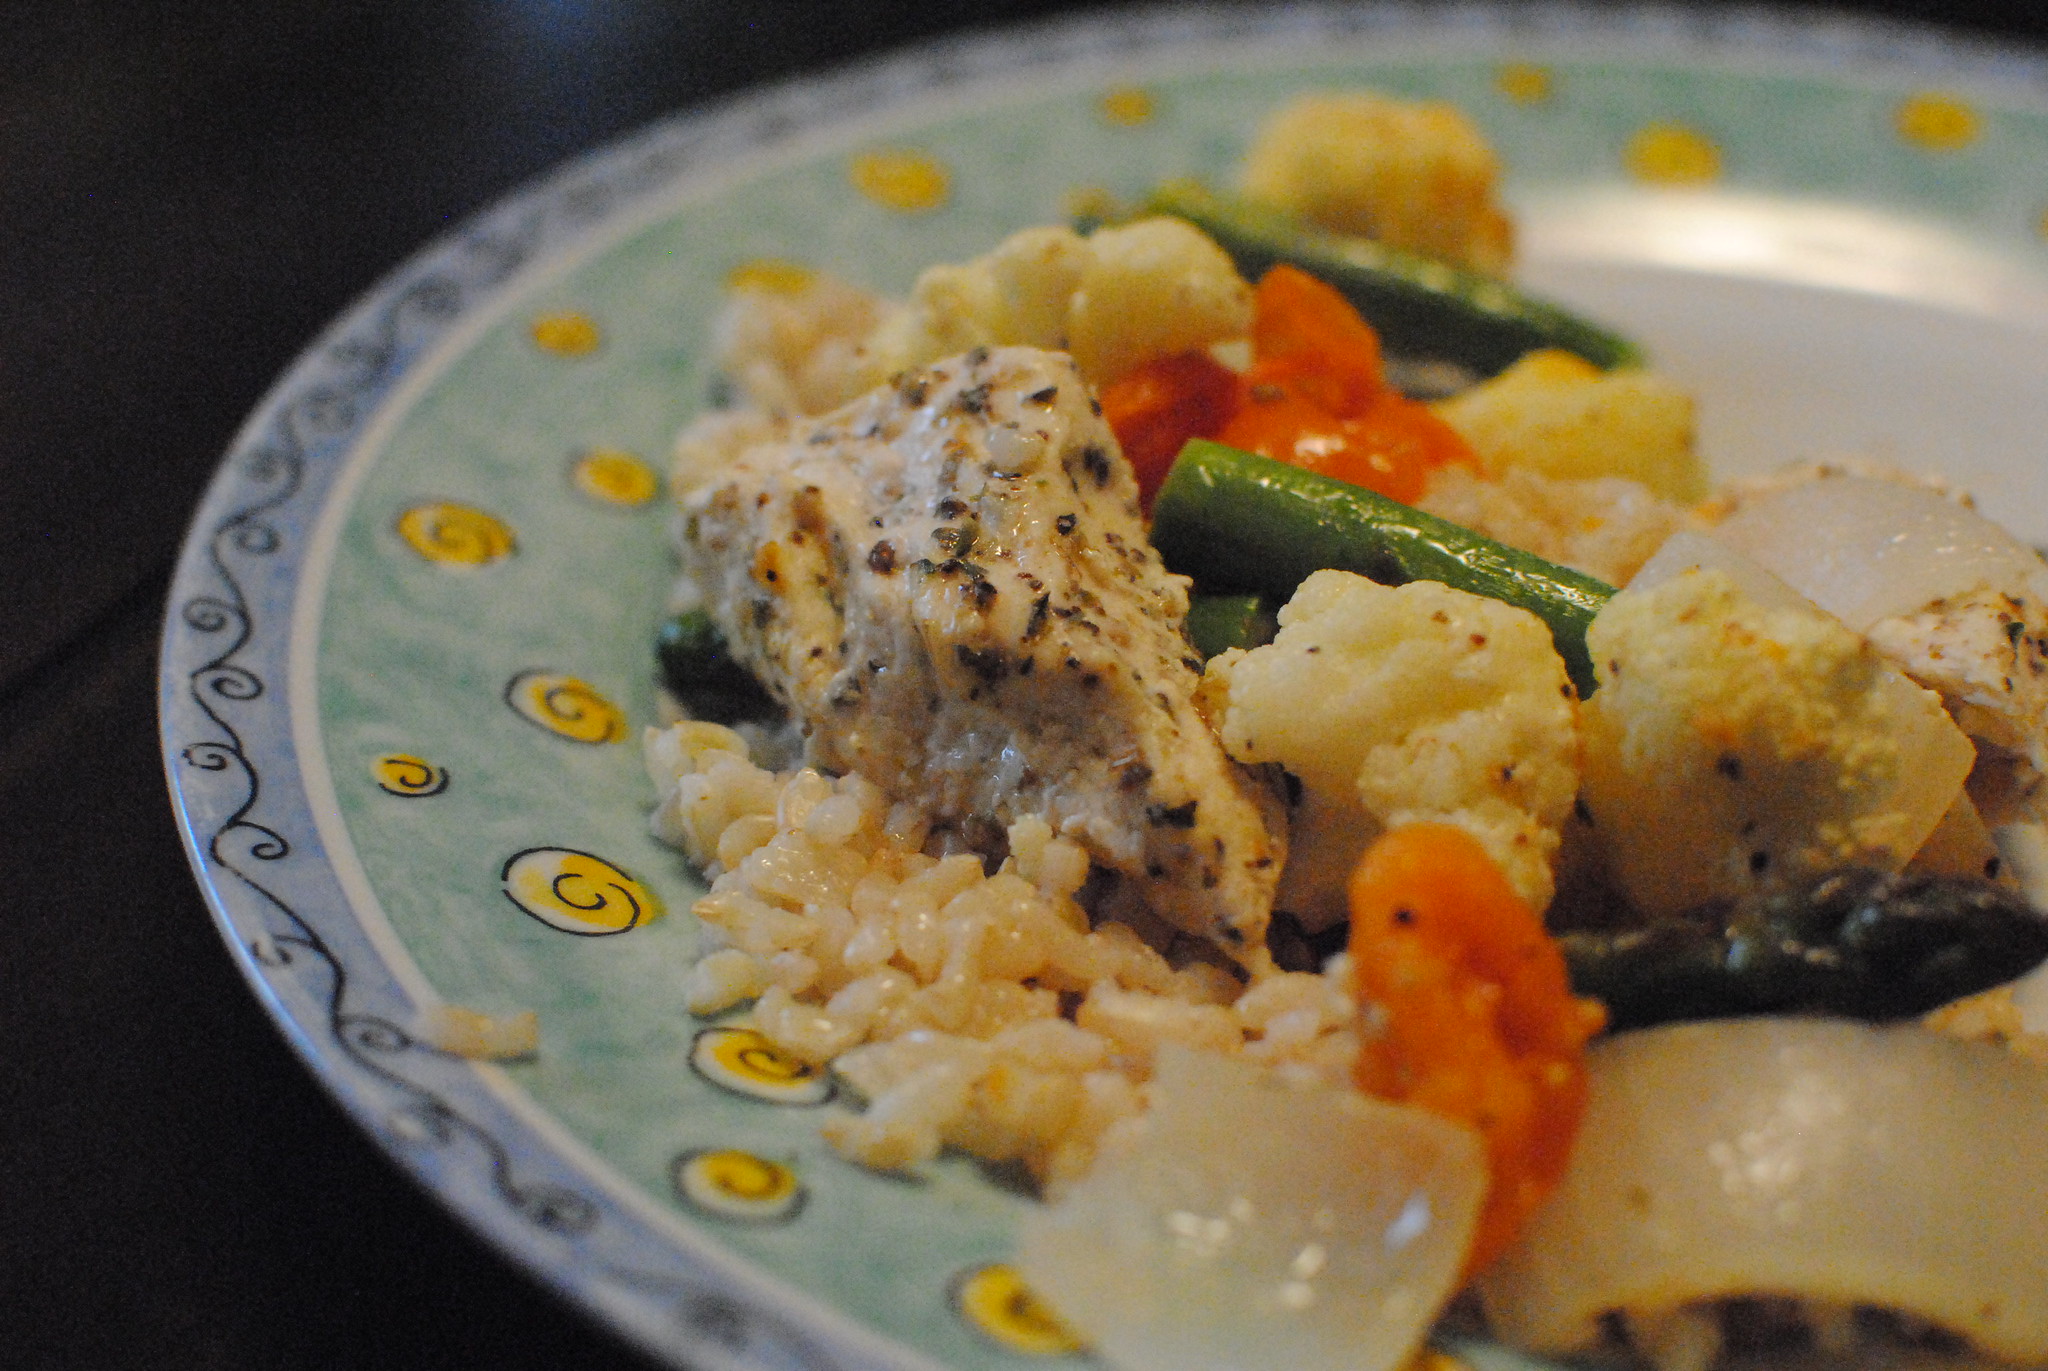
6. Serve with rice, grains, potatoes or bread to soak up those tasty juices.

Tuesday, June 13, 2017

Recipe: Crockpot Pork Chops and Onion Gravy

I made this a few weeks ago, not expecting too much but needing something quick and easy with a bare pantry. Surprise - it turned out really tasty! In fact, I'll definitely be making this again (and I'll try to remember to take photos so that I can add them here). The gravy created with this recipe is very versatile; I think it would work well with chicken or with the addition of other vegetables, like sweet peppers. Let me know if you give it a try.

Crockpot Pork Chops and Onion Gravy (adapted from this Betty Crocker recipe)

Ingredients:

3 pork chops (I used bone-in, but boneless would work well too)
1 medium onion, sliced
2 cloves of garlic, thinly sliced
2 bay leaves
handful of lemon balm or other fresh herbs, keeping leaves on the stems (optional)
1 1/2 cup chicken broth
2 tsp Worcestershire sauce
2 tbsp water
2 tbsp cornstarch
1 tbsp white wine (or white wine vinegar)
cooked rice, to serve

Methods:
  1. Pat the pork chops dry and season with salt and pepper. Cook in a small amount of oil over medium heat until browned, about 4 minutes on each side. Transfer to the crockpot.
  2. Add the onions to the warm pan and fry for 4 minutes or until softened. Add the garlic and cook for 1 minute more. Transfer to the crockpot. Top with bay leaves and fresh herbs, if using.
  3. Whisk Worcestershire sauce into broth. Add to crockpot.
  4. Cook on LOW 2 hours, until pork chops are cooked through.
  5. Transfer pork chops to a plate. Increase crockpot setting to HIGH.
  6. Whisk together water, cornstarch and wine. Stir into crockpot, stirring until thickened. Return pork chops to the crockpot, stirring to rewarm and coat in onion gravy. Serve with rice.

Saturday, February 20, 2016

Superbowl Party Dessert

I know it's been a while, but I just had to share the epic cookie cake I made for the Superbowl party we attended.
It was delicious. Heavy, sweet, decadent - but absolutely amazing! If you aren't a fan of cake but love cookies, this is the cake for you! The top layer is chocolate chip, the middle chocolate chocolate chip and the bottom funfetti chocolate chip (made with a funfetti cake mix). Iced in buttercream and topped with three different types of sprinkles (jimmies, nonpareils and star-shaped sequins, all multi-coloured), this dessert was a huge win!

Here's the recipe.

Tuesday, November 3, 2015

Halloween 2015

Here's a little recap of the first Halloween in our new house!

First thing we did was carve our pumpkins! I went with a fun, cute and easy design - Pat decided to be ambitious. His "stencil" stage came out a bit wonky, which was disappointing for him since he carved it really well. Can you tell it's supposed to be a monster head?

Once those were done and on the porch, I decorated the entrance and set up the candy station. Things started rolling around 6:15 - which I thought was a bit late, so I didn't expect too many kids. But things picked up and we had 132 visitors by the end of the night (around 8:30, just when it was starting to rain a bit). We actually ran out of candy - I was very generous with the first few dozen kids, then slowly started reducing the number of pieces I gave out. We ran out at around the 115 mark, so Pat raided his office "stash" and we gave out fruit snacks and Gushers. Once those ran out, I handed out a few granola bars... Haha, better than nothing, right?

Of course I semi-dressed up (actually, not really "of course" since I'm not really that into dressing up, hence the "semi" - but I made this costume a few years ago and never had the chance to wear it again, so why not?). I clipped on my bat ears and tied on my homemade wings (sorry, no picture of those, though I did blog about them when I made them back in Hamilton... in 2010. Holy crap time flies!).

After the trick-or-treating, I poured myself a glass of wine and roasted our pumpkin seeds. As per my mom's recipe, I cleaned them well and then sauted them with lots (LOTS) of butter and salt. Then I roasted them for about 15min until they were nice and toasty and crunchy. YUM!

All in all, it was a really fun night! How was your Halloween?

Sunday, October 25, 2015

What I've Been Eating Lately

I don't think it's any surprise that I love cooking. I've made a few stellar dishes lately that I couldn't help taking photos of, so I though it would be appropriate that I share.

First, here's a one-off. Something I would make again, but is totally an "occasion" dish. I made this caramelized honey nut and seed tart for Thanksgiving:
I followed this Bon Appetit recipe. It was amazing! It was very rich and reminded me of a nutty granola bar. I want to make it again soon - if only we had the occasion for it! Maybe Christmas?

Since winter is coming, we've been craving comfort food hard. French onion soup is one dish that Pat especially loves but feels pretty decadent - something you'd order at a nice restaurant and that's about it. I've made it once or twice before, and it's actually pretty easy! There's no reason not to give it a more regular rotation in our winter menus. It has a short list of ingredients and the time invested is totally worth it!
I mostly followed the Smitten Kitchen's recipe, but when I added the broth I found it to be a bit sparse in the onion department. So I quickly sliced 3 more onions and sauted them until soft. I added them in and also included a pinch of fresh thyme sprigs for the last 15min of simmering (fishing the sprigs out before serving). This was absolutely wonderful!

Now I'm going to share two of my favourite quick dinners - I always make enough to have leftovers for lunch the next day.

First is my version of a grains and roasted veggies bowl:
Here's the step-by-step:

1. Roast your favourite veggies. This time, I cubed potatoes, carrots, parsnips and red onion, tossing them with olive oil, salt, pepper and Italian herbs, and roasted them for 30-40min at 450F, until they were soft.

2. Meanwhile, cook the grains. This time I mixed quinoa, farro and kashi (2:1:1). Try to choose grains with similar cooking times or cook them separately (or add one at a time). I usually cook my grains in chicken broth to give them a bit more flavour. Cook until all liquid is absorbed.

3. Mixed cooked grains and roasted veggies. Add olive oil, lemon juice, salt and pepper to taste.

This makes a great leftover lunch. I usually eat the leftovers cold, but since the flavours are a bit dulled when chilled, I add a touch more acidity (lemon juice) in the morning when I'm packing it all up.

Lastly, here's a version of my quick and easy pasta dish (that I actually made for dinner tonight):
When I'm feeling lazy (or my fridge is getting sparse), I make a variation of this pasta dish. Use whatever veggies (fresh or jarred or canned) you have on hand.

1. Cook pasta.

2. When there's only a few minutes left for the pasta, add broccoli (florets plus the peeled and sliced stems) to the simmering water.

3. Meanwhile, saute half of a sliced onion and two chopped garlic cloves in plenty of olive oil, until soft.

4. Slice approximately one and a half roasted red pepper (out of a jar - whatever I had leftover from a previous dish), reserving liquid. Similarly, chop a jar of artichoke hearts (almost full, like the peppers), reserving juice.

5. Drain pasta and broccoli and return to pan. Add onion, garlic, peppers and artichoke.

6. Add a couple of tablespoons of each of the reserved liquids (peppers and artichoke) and olive oil, lemon juice, white wine vinegar, salt and pepper to taste. Add in the leaves of 4-6 sprigs of fresh thyme.

I was so pleased with how this turned out! I'll probably sprinkle this with a touch more lemon juice tomorrow morning before heading to work since I'll likely eat this cold, just like the grains. There's nothing better than a two-meals-for-one supper!

What have you been cooking lately?

Monday, September 28, 2015

Fall Decor

It's almost fall! Autumn is definitely my favourite season. After months of hot weather, the cooler temperatures of fall are more than welcome! And then there are the wonderful scents, the pumpkin spice flavoured everything and stunning fall colours - it just couldn't get any better!

I haven't yet pulled out my "fall decor" box, but here are a few new things I've picked up so far:
I LOVE fall gourds and pumpkins - I can never resist picking them up at the grocery store! That gorgeous copper lantern comes from Shopper's Drug Mart, of all places. A perfect addition to my autumn collection!

I'll be digging into our under-the-stairs storage for my older fall decor soon - first, though, my new curio cabinet will be delivered (Thursday) so that I can clear and organize some space!

Continuing with the fall theme though, yesterday, while Pat was out golfing, I made a delicious chicken barley soup:
I love making broth from scratch! It's so easy! This time (it's never the same), I boiled together a chicken carcass (only the breasts were missing from Thursday's dinner), an onion, the tops from six carrots and the core of a napa cabbage. After about an hour and a bit, I strained the broth and cleaned the chicken carcass, adding back in the edible chicken. Then I added barley, lentils, kasha and brown rice; celery, carrots and onion, chopped. A bit of seasoning (lots of salt) finished it off for a very delicious soup. I'm looking forward to lunch leftovers tomorrow! 

What are some of your favourite fall recipes and decor?

Sunday, March 1, 2015

Recipe: Coconut Cupcakes

There are some exciting things happening over here... but I can't share just yet. Let's just say things are going to be very busy in the next 2 months! In the meantime, here's that coconut cupcake recipe I promised a while ago.
These are my go-to coconut cupcakes - it's a very good recipe I've been using for a number of years which always yields delicious, moist cakes. They freeze really well too. This time, since I was bringing them to a party, I wanted to ice them too. So I found a simple buttercream recipe online and substituted in some of the leftover coconut milk to give it a subtle flavour. Finally, I topped them all off with some shredded coconut for extra texture and a bit of sparkle (from the sugar crystals in the sweetened coconut). These are amazing and easy to make - I highly recommend you whip up a batch for dessert tonight!

Coconut Cupcakes with Coconut Buttercream Icing

Ingredients:

cupcakes:

3/4 cup butter (I've used both salted or unsalted, doesn't make a big difference which you use)
1 1/4 cup sugar
3 eggs
1 cup canned coconut milk, well shaken
1 tsp vanilla
2 1/4 cups flour
1 tsp salt
1 tsp baking powder
1/2 to 3/4 cup dessicated coconut (sweetened or not)

icing:

1/2 cup salted butter
2 tsp vanilla
2 cups icing (powdered) sugar
2 to 3 tbsp coconut milk

sweetened shredded coconut, to garnish

Methods:

cupcakes:

1. Preheat oven to 350F. Prepare your muffin tin with cupcake liners.

2. Cream the butter until fluffy. Cream in the sugar. Add one egg at a time, beating for at least 30 seconds between each one.

3. Mix the flour, salt and baking powder in a separate bowl. Combine the coconut milk and vanilla in another small bowl (or the mixing cup).

4. Alternate adding in dry and wet ingredients to the butter mixture, beating well to incorporate each addition. Start with a third of the dry ingredients, half the wet, another third of the dry, the remaining wet and finally the remaining flour mixture.

5. Fold in the coconut.

6. Fill liners with batter to about 2/3 to 3/4 full. Bake for 18 to 22 minutes, rotating the pan halfway through. Cool completely on a wire rack before icing.

icing:

1. Cream the butter (this time it's important to use salted).

2. Beat in the icing sugar (since powdered sugar goes stale, make sure to use a fresh bag).

3. Mix in the coconut milk and vanilla. Less coconut milk will give a stiffer icing, more will make it more spreadable. Add a bit at a time until you're happy with the consistency.

4. Ice cupcakes, dipping each in a small bowl of shredded coconut to completely cover.
Enjoy!

Wednesday, February 11, 2015

Recipe: The Best Chocolate Cookies

For our Superbowl party, I was in charge of dessert. So I made my go-to coconut cupcakes (I'll post that recipe in a few days) and these delicious chocolate cookies.
These cookies are one of my most cherished childhood food-related memories. You should make some right now!

The Best Chocolate Cookies

Ingredients:

2 cups semi-sweet chocolate chips, divided (1 12oz package)
1/2 cup butter
3/4 cup sugar
2 eggs
1 tsp vanilla
2 cups oats (quick or old fashioned, uncooked)
1 1/2 cups all-purpose flour
2 tsp baking powder
1/4 tsp salt
1/2 cup icing (powdered) sugar

Methods:

1. Heat oven to 350F.
2. In a microwave safe bowl, melt 1 cup of chocolate chips by microwaving on 80% power for 30 seconds, stirring well before repeating once or twice (for a total of 1 to 1.5 minutes), until all the chips are melted and smooth. Cool slightly.
3. In a large bowl or stand mixer, beat together butter and sugar until light and fluffy.
4. Blend in eggs, vanilla and melted chocolate.
5. Combine oats, flour, baking powder and salt. Add to chocolate mixture.
6. Stir in remaining chocolate chips.
7. Shape dough into 1" balls. Roll in icing sugar, coating heavily.
8. Place on baking sheets lined with parchment paper. Bake 10-12 minutes.
9. Cool 1 minute on baking sheet before removing to wire rack. Makes about 5 dozen.

I'm really not exaggerating when I say these are the best cookies ever. You will not be disappointed!

Tuesday, February 11, 2014

28 List: November and December Recipes

In the last month, I've cooked two sides from the November and December 2013 Bon Appétit magazines - meaning I'm almost caught up! In both cases, I chose roasted veggie sides to complement a steak main (Pat's favourite meat) and made a few alterations based on ingredients I had on hand.

Oh - and sorry in advance about these terrible photos! There is absolutely no natural light here at dinner time in the winter!

November: roasted cauliflower with lemon-parsley dressing
alterations: I used green cauliflower ("broccoflower") instead of white and a pinch of Italian spice mix (I make myself with different dried herbs) instead of fresh parsley
served with: steak and sauteed greens (probably a mix of Swiss chard, beet and radish greens and possibly some spinach)
verdict: pretty good - I love roasting cauliflower, it imparts a great nutty flavour, which the lemon complements nicely. I think white cauliflower would have been better here though since it's a bit firmer.

December: sweet and sour brussel sprouts
alterations: I used sunflower seeds instead of pumpkin and a "French" spice mix (again, I mix a bunch of dried herbs for these) instead of fresh rosemary
served with: steak and rice with orzo (a favourite recipe from Ottolenghi and Tamimi's Jerusalem cookbook)
verdict: so-so - I LOVED the roasted brussel sprouts (practically melt-in-your-mouth good and not at all bitter like brussel sprouts can be) and the crunch of the seeds, but I didn't like the dressing. The red wine vinegar was too overpowering. I'll definitely be trying this again with my own spin on the dressing.

Now on to January and February!

What new recipes have you tried lately?

Saturday, November 16, 2013

28 List: October Recipe

One of my goals to complete before I turn 28 next year is to cook something new from each month's Bon Appétit magazine. October's recipe is coming a bit late - I just made it tonight. And I didn't take photos, but I wanted to write up a post before I forgot I even made it. I have lots of leftovers, so perhaps I'll take pictures when I make up a bowl for lunch tomorrow.

The Recipe: French Onion Soup with Comté (except I made it with Gruyère instead of Comté) (page 112)

The Verdict: Delicious! I found it a teensy bit sweet (I'm thinking from the wine I used - Black Cellar, Blend 11, Pinot Grizio Chardonnay - and possibly from the mix of onions I had on hand: 3 large white, 1 extra large Spanish and 2 medium yellow onions) but Pat thought it was perfect. He even said a few times how much he liked it - a rarity for Pat (who typically doesn't care much about food)!

The Alterations: I stuck really close to the recipe for this one. Of the ingredients with two options, I went with butter (over duck fat), white wine (probably not dry enough, over dry vermouth) and Gruyère (over Comté). I ended up grabbing fresh cilantro instead of parsley at the grocery store today (arg!), so I didn't add that in with the broth (well I did and then noticed it didn't smell right... so I pulled most of it out... thankfully the recipe called for adding the sprigs in whole and removing later!) - I sprinkled in some dried chervil instead.

All in all - success! Definitely a recipe I'll try again and those leftovers will certainly not be going down the drain! 

Tuesday, October 29, 2013

Christmas Baking

And let the Christmas baking begin!

I'm actually not that much of a baker - the odd crisp or muffins now and again - but Christmas cookies? I tend to go a little crazy. I simply love having a wide assortment of cookies at Christmastime! I have quite a few tried and true favourites and always add in at least one new recipe each year.

I'm also typically not one to prepare in advance (procrastination should be my middle name!) but I had some ripening, almost-mushy, fuyu persimmons in the fridge that I needed to use up this weekend or throw out this week. Remembering some awesome cookies I made a few years ago, I found the recipe (this one) and adapted it to what I had on hand. No walnuts or raisins + an extra half cup of persimmon pulp = oats + a handful of flax seeds for crunch. I didn't blend my persimmons, opting to mash them instead for a bit more texture. I also added in a bit more spices: I didn't have any ground cloves, but I did add some ginger, mace and allspice along with the cinnamon and nutmeg.
I love these subtly spiced cookies - they are incredibly moist (mega-moist, even, as my dad and brothers would say with a snicker). I think this is a recipe that will be added to the "must make every year" list... especially since I can't resist buying those gorgeous golden fruit (and inevitably forget to add them to a salad like I keep meaning to!).

Sunday, September 29, 2013

28 List: September Recipe

One of the goals on my 28 List was to cook a recipe from each month's Bon Appétit magazine. Here's what I made from September's:

The only "problem" was that I didn't have any olives... but I did have this awesome spicy kalamata pesto that I thought would work well to replace both olives and red pepper flakes:

I was right! This dish was AWESOME! I've really been into greens lately, especially Swiss chard. For this recipe though, I went a bit more frugal: I used the greens from my beets and radishes (which I normally throw away) and added a bit of leftover spinach for good measure. Cheap and delicious - what could be better?!

This recipe was super simple too - chop some garlic, juice half a lemon, wash your greens and sauté it all in olive oil:

Once the garlic had a bit of colour, I added in a dollop of the olive pesto:
It doesn't look very appetizing just yet, but this is where all the flavour comes from!

It was then just a matter of wilting the greens and finishing it all off with some lemon juice:
So tasty!

The pesto made it so that the olive flavour was subtle and not overwhelming, but present in every bite. The garlic was the real star in the taste profile and the lemon added a perfect amount of bright acidity. I'll definitely be making this side again and again!

Friday, October 12, 2012

My Vintage: Recipe Books

This small collection of antique and vintage recipe books is the last souvenir my mom picked up for me when the family was clearing out my grandparents home (which, excitingly, my brother's family will be moving into shortly). As such a huge book lover, this is one of my most treasured mementos.

To make it easier, I've numbered the books one through four and will talk about each individually as well as some of their common features that I love.
#1: Let's Cook it Right!, Publication 514, Ontario Ministry of Agriculture and Food (no date)
#2: Treasured Recipes, compiled by Chisholm Women's Institute, Powassan, Ontario, 1972
#3: The Modern Family Cook Book by Meta Given - published by J.G. Ferguson Publishing Company, Chicago, 1961
#4: The American Woman's Cook Book, National Binding, edited by Ruth Berolzheimer - published by Culinary Arts Institute, Chicago, 1953

First off, I was delighted to find out how old these larger two are!

They are full of awesome housekeeping and menu-making advice, a wide range of recipes and wonderful photographs and illustrations. Just take a look at that unhappy pot (and that orange one is simply darling!):

One thing that seems to be common in vintage recipe books (but not so much in modern ones) are these cute sayings:
They make me think of a sign my grandma might have hung in the kitchen at the cottage.

I also found that these vintage cook books dedicated sections to meal planning and balancing a healthy diet... something that should probably be more of a focus in modern cookbooks! That being said, the suggested menus seem to be a bit large, until you remember that our portion sizes have grown significantly since these books were published. They aren't all that appetizing either... 

OK, let's take a look at each of the books individually. First, Let's Cook It Right!
This one is small, but packed with great information on cooking times and food preparation. The illustrations and cover are pretty sweet too.

Here are some Treasured Recipes - first though, we need a close-up of that cover:
How awesome is that? This book was released for the 60th anniversary of the Chisholm Women's Institute - I'm pretty sure this is a cake and costumed participant at the celebration event.
I love this book because it was produced locally - all the recipes are signed by the women who submitted them. The ads and extra recipes written by my grandma are the best part.

The Modern Family Cook Book boasted about its new colour photos - and you can see why:
The dated recipes and homemaking advice make me laugh (the first recipe I flipped to included MSG!) - but that fish diagram and the mod cover art are so good!

Lastly, The American Woman's Cook Book:
This one is probably my favourite. It's chock full of awesome advice, divided somewhat randomly with those lovely indents and also has some hilariously dated material. It's a hefty one too - heavier than the other three combined!

I think the very best part about these books isn't what's printed in them though - it's all the little extra bits and pieces that my grandma left behind:
I'm really looking forward to trying some of her recipes and digging more deeply into these.

Do you have any vintage cookbooks? Do you use them for cooking or crafting purposes? (I'm really tempted to use some of these lovely pages in my journaling... except I can't bear to tear them up.)