
The title of this page is in dedication to my friend, Angie, the inspiration behind this page. On Tuesday - my day off at home before heading back to work after my vacation - I watched her latest video that showed her creating a journal page and these gorgeous coffee filter flowers. I was immediately inspired, both by the flowers and the colour scheme she used: yellow, green, blue and purple. Such a spring-y theme!
For my background, I basically went my own way, using her colour scheme as the driving force. I knew I wanted to keep things light and also to use my latest stamp purchase, this alphabet one:
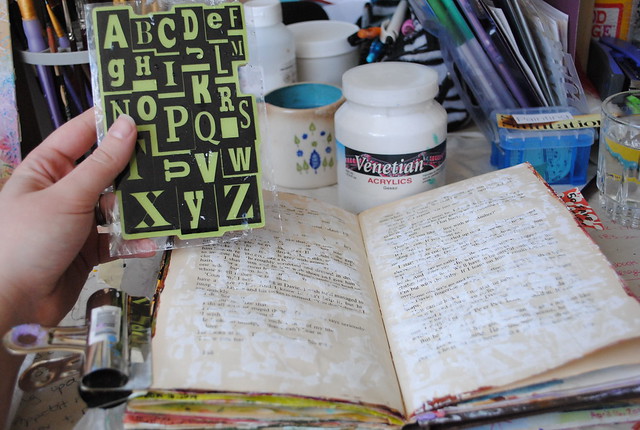
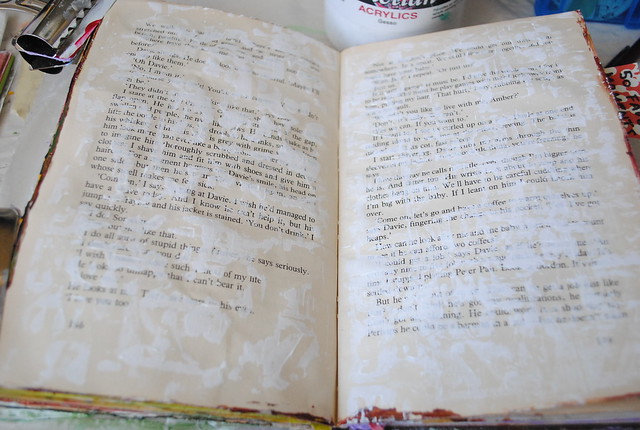
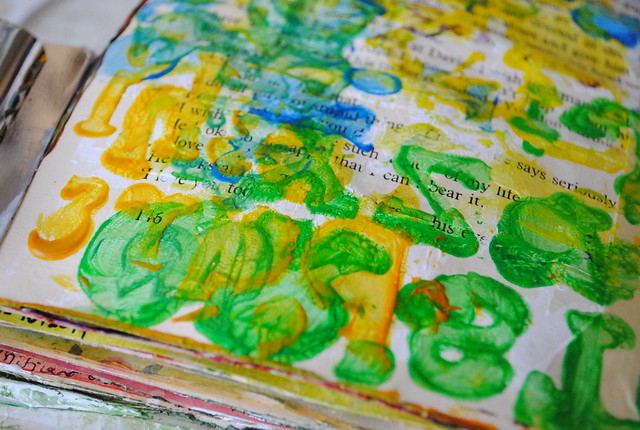
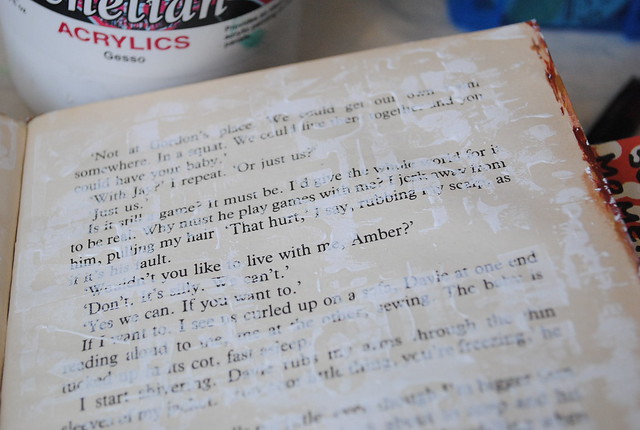 So instead of covering the entire page with gesso, I stamped it on for a lighter, more textured look.
Then I remembered I hadn't taped the spine and things might get messy, so I used masking tape to protect the other pages in my altered Amber book. Next, it was time for paint, and I went with the palette Angie used:
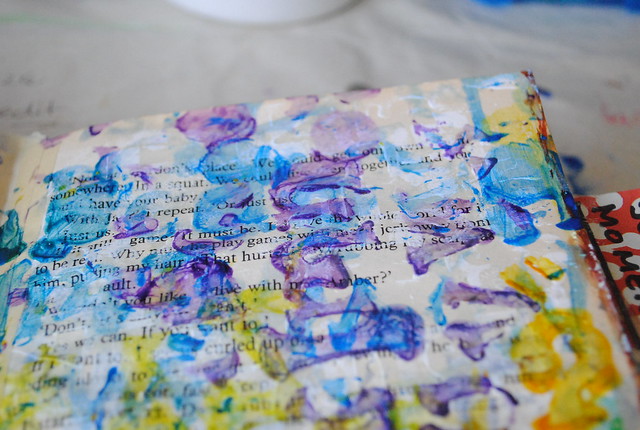
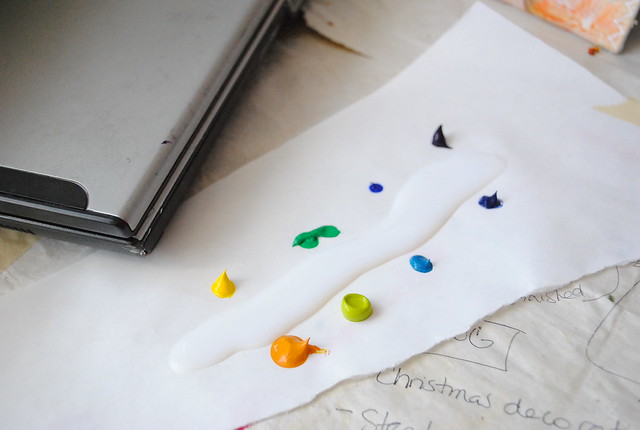 That last one at the top right is actually a dark purple. You can find more paint details at the end of this post, but basically I used these colours (plus another bright blue) and glazing medium to give the page a slightly transparent wash of colour. I also used alphabet stencils to keep with my "light" theme (i.e. the paint was broken up to let in the light background instead of fully obscuring it with a wash of colour).
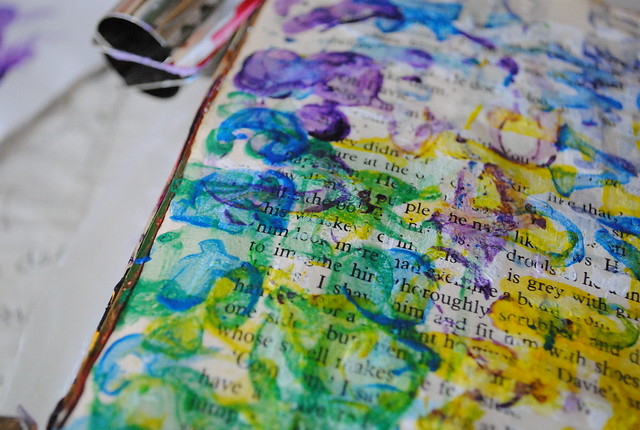
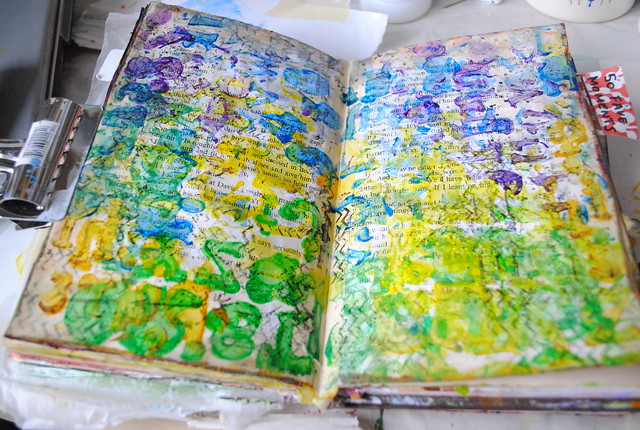
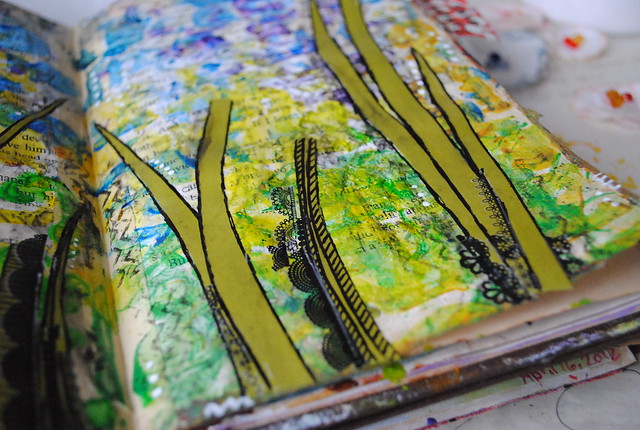
I knew I was going to make some flowers to add to the piece, so I concentrated the colours to make a horizon: green for the grass at the bottom and blue/violet at the top for sky (with some yellow in between to tie them together). I LOVE how this turned out!

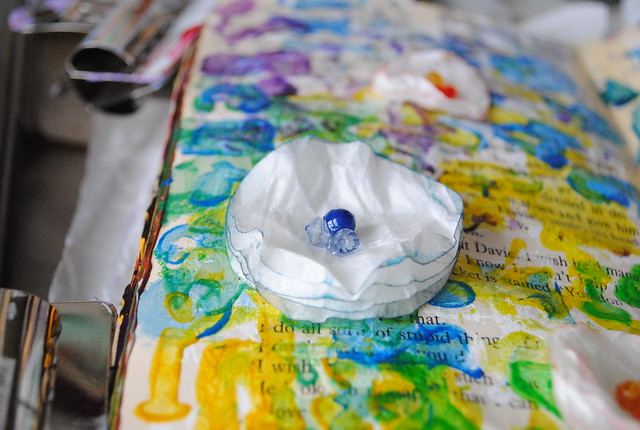
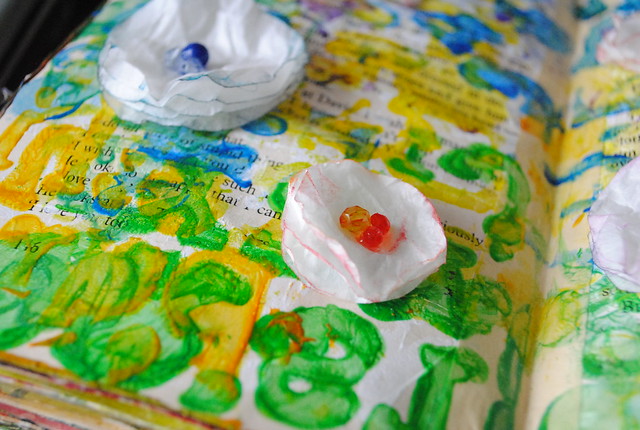
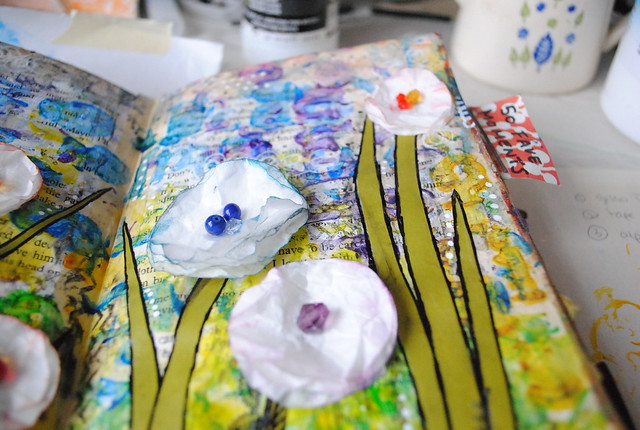
I wasn't too sure where to go next, so I took a break to make some flowers. I won't go into detail since Angie covers it in her video (and I really just copied her steps exactly) but basically it involves cutting circles from coffee filters, gluing the layers together, crumpling them for texture, inking the edges for dimension and adding something for the centre (doodles for Angie, beads for me).
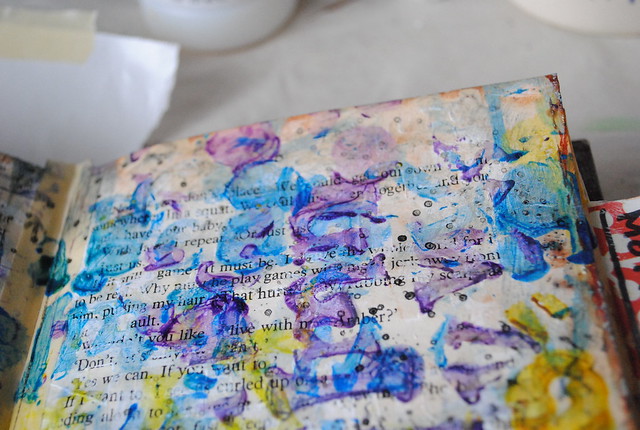
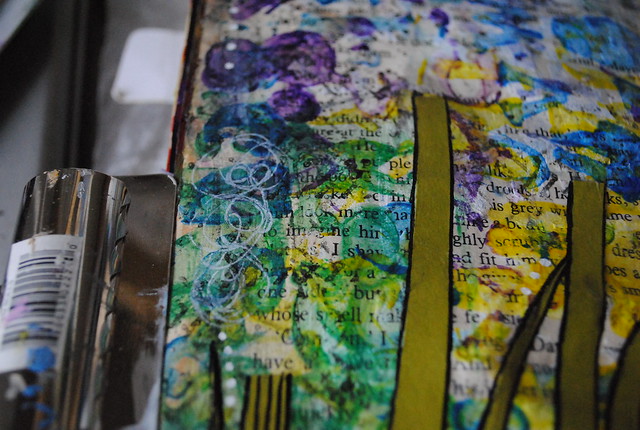
In order to stay true to my style, I knew the background needed more texture. I achieved that with more stamps: chevron, arrows and polka dots in black ink to be exact. I didn't go too crazy and it was just right:

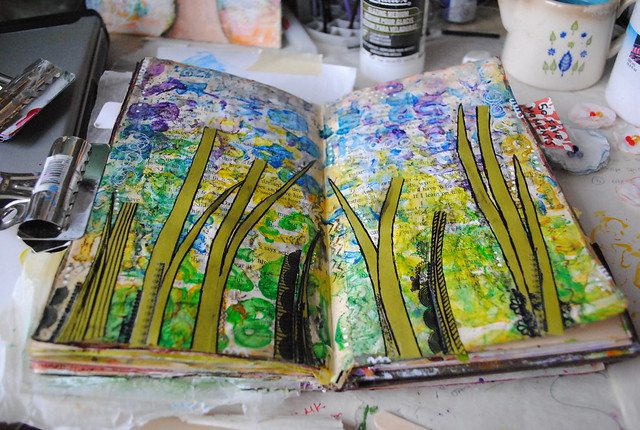
My gut told me the background was done, so I believed it and moved on to the flower stems:
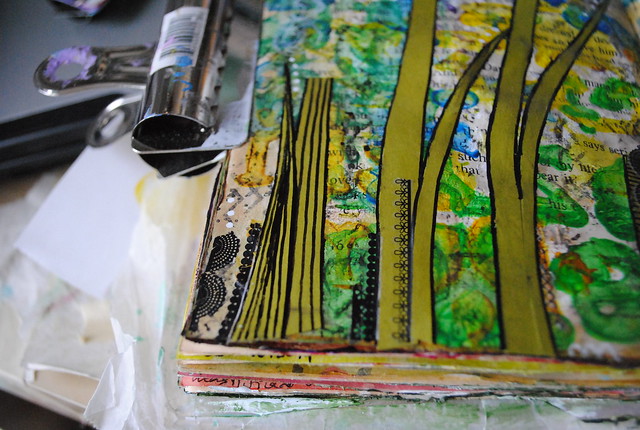
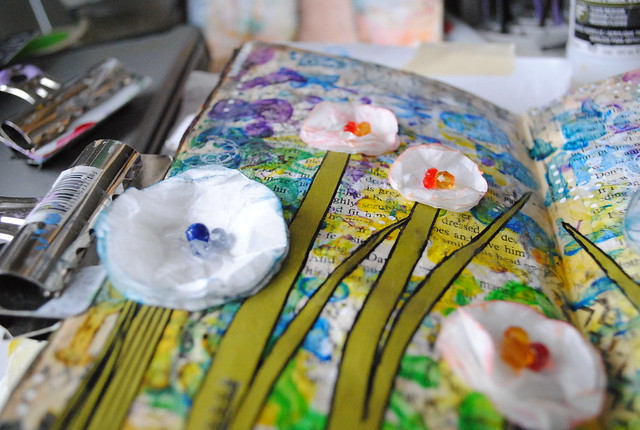
 I basically just cut wavy stems and leaves from olive green cardstock. I placed my flowers first and cut the stems to more or less fit. Once the stems were glued down, I knew they needed some doodling:
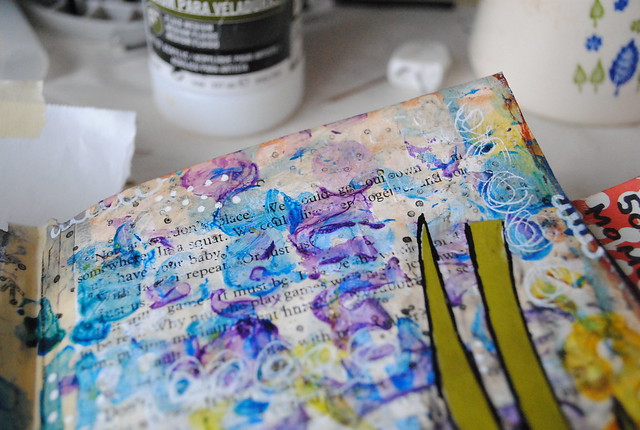
 As did the sky. Where I went dark with the stems, I went light with the sky.
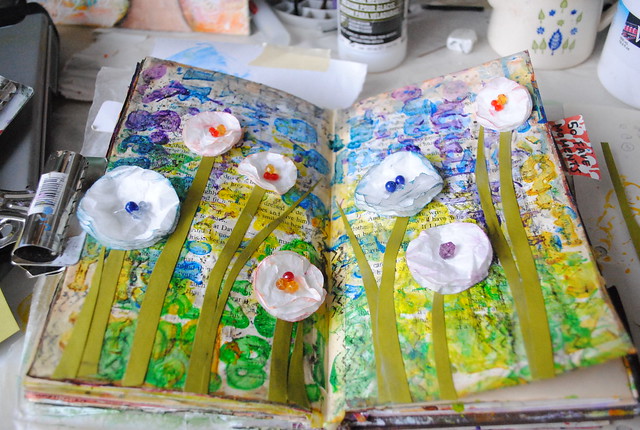
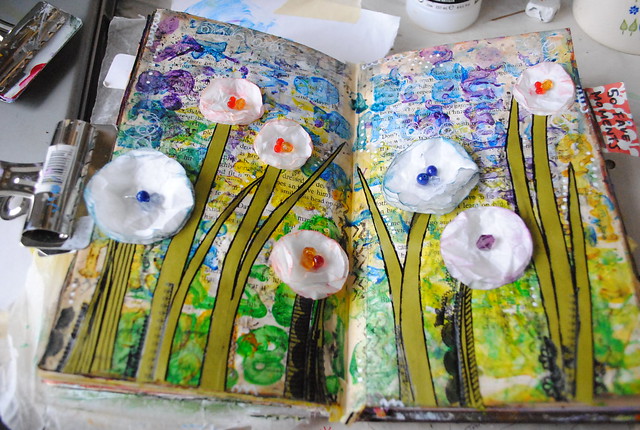
Finally, the flowers were affixed and the page was considered done:
 I am so pleased with how this page turned out! I love the flowers, texture and colour scheme and I especially love how you can totally tell this page was created inside a novel. Sometimes, it takes a little prompt from someone else to spark your own creativity! Thanks Angie!
Layers:
1. gesso + alphabet stamp
2. tape spine (masking tape)
3. alphabet stencil + glazing medium + paint:
- Amsterdam (olive green light, permanent blue violet)
- Rock paint (phthalo blue)
- Golden (permanent green light, hansa yellow medium, ultramarine blue, cerulean blue deep, Indian
yellow hue, smalt hue)
4. stamps (chevron, polka dots, arrows) + black ink
5. make coffee filter flowers (following Angie's technique - coffee filter, glue, ink, beads)
6. cut and glue stems (olive green cardstock)
7. doodle + shadow stems, doodle + brighten sky (black pen, rub-ons, white Sharpie)
8. glue down flowers
For my background, I basically went my own way, using her colour scheme as the driving force. I knew I wanted to keep things light and also to use my latest stamp purchase, this alphabet one:
Then I remembered I hadn't taped the spine and things might get messy, so I used masking tape to protect the other pages in my altered Amber book. Next, it was time for paint, and I went with the palette Angie used:
I knew I was going to make some flowers to add to the piece, so I concentrated the colours to make a horizon: green for the grass at the bottom and blue/violet at the top for sky (with some yellow in between to tie them together). I LOVE how this turned out!
I wasn't too sure where to go next, so I took a break to make some flowers. I won't go into detail since Angie covers it in her video (and I really just copied her steps exactly) but basically it involves cutting circles from coffee filters, gluing the layers together, crumpling them for texture, inking the edges for dimension and adding something for the centre (doodles for Angie, beads for me).
In order to stay true to my style, I knew the background needed more texture. I achieved that with more stamps: chevron, arrows and polka dots in black ink to be exact. I didn't go too crazy and it was just right:
My gut told me the background was done, so I believed it and moved on to the flower stems:
Finally, the flowers were affixed and the page was considered done:
Layers:
1. gesso + alphabet stamp
2. tape spine (masking tape)
3. alphabet stencil + glazing medium + paint:
- Amsterdam (olive green light, permanent blue violet)
- Rock paint (phthalo blue)
- Golden (permanent green light, hansa yellow medium, ultramarine blue, cerulean blue deep, Indian
yellow hue, smalt hue)
4. stamps (chevron, polka dots, arrows) + black ink
5. make coffee filter flowers (following Angie's technique - coffee filter, glue, ink, beads)
6. cut and glue stems (olive green cardstock)
7. doodle + shadow stems, doodle + brighten sky (black pen, rub-ons, white Sharpie)
8. glue down flowers
No comments:
Post a Comment