
I finished a very personal piece last week that I wanted to share here as a sort of announcement. Before the big reveal, I'm going to take you through the steps I took to make it.
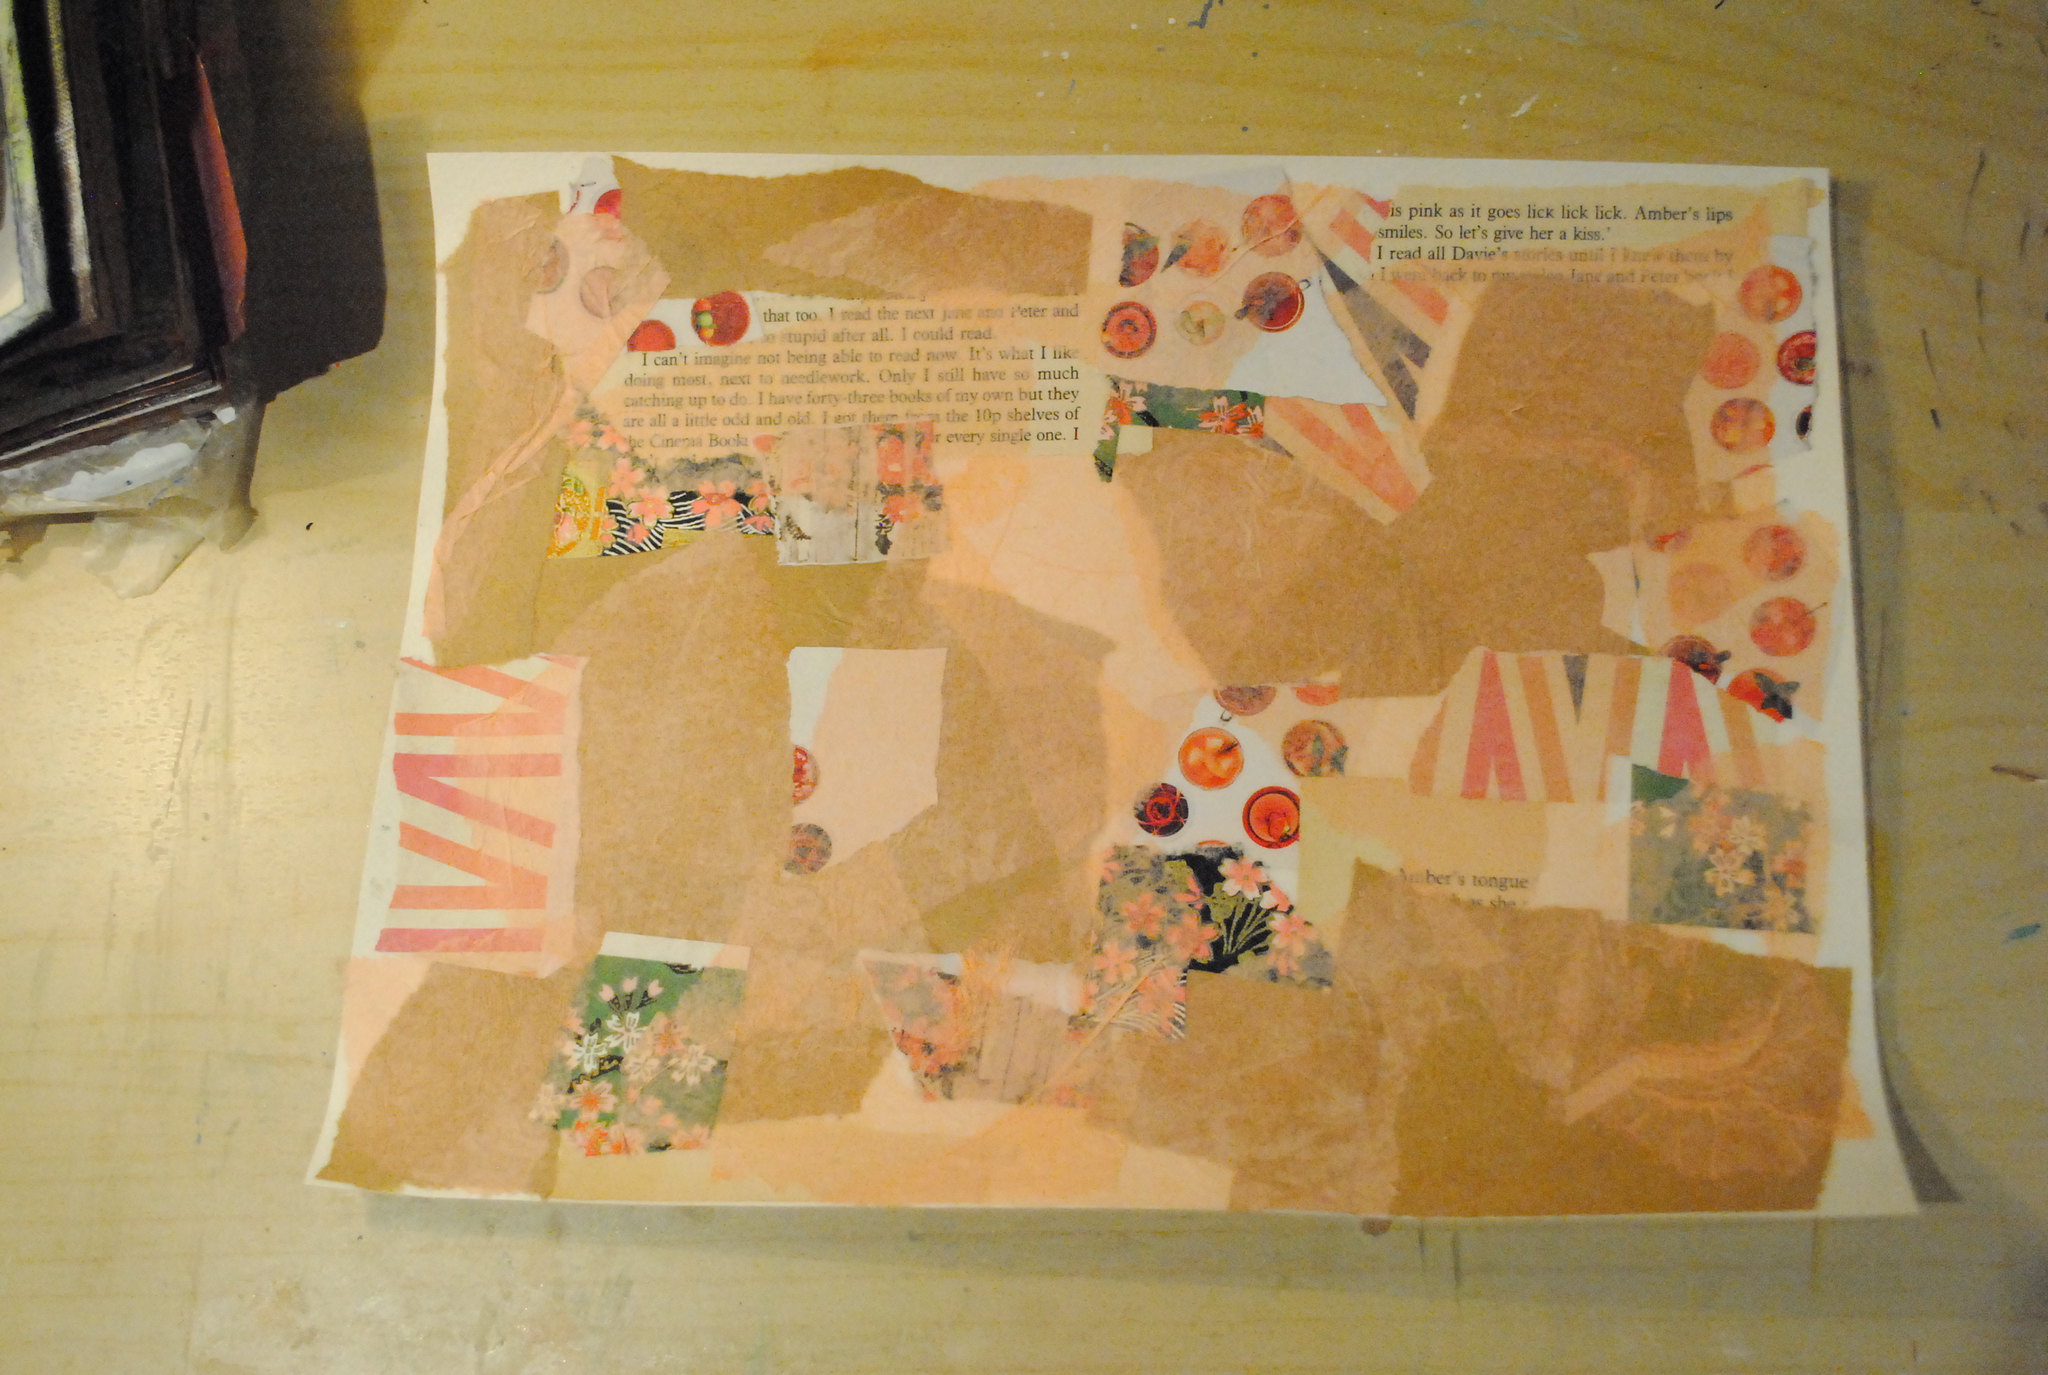
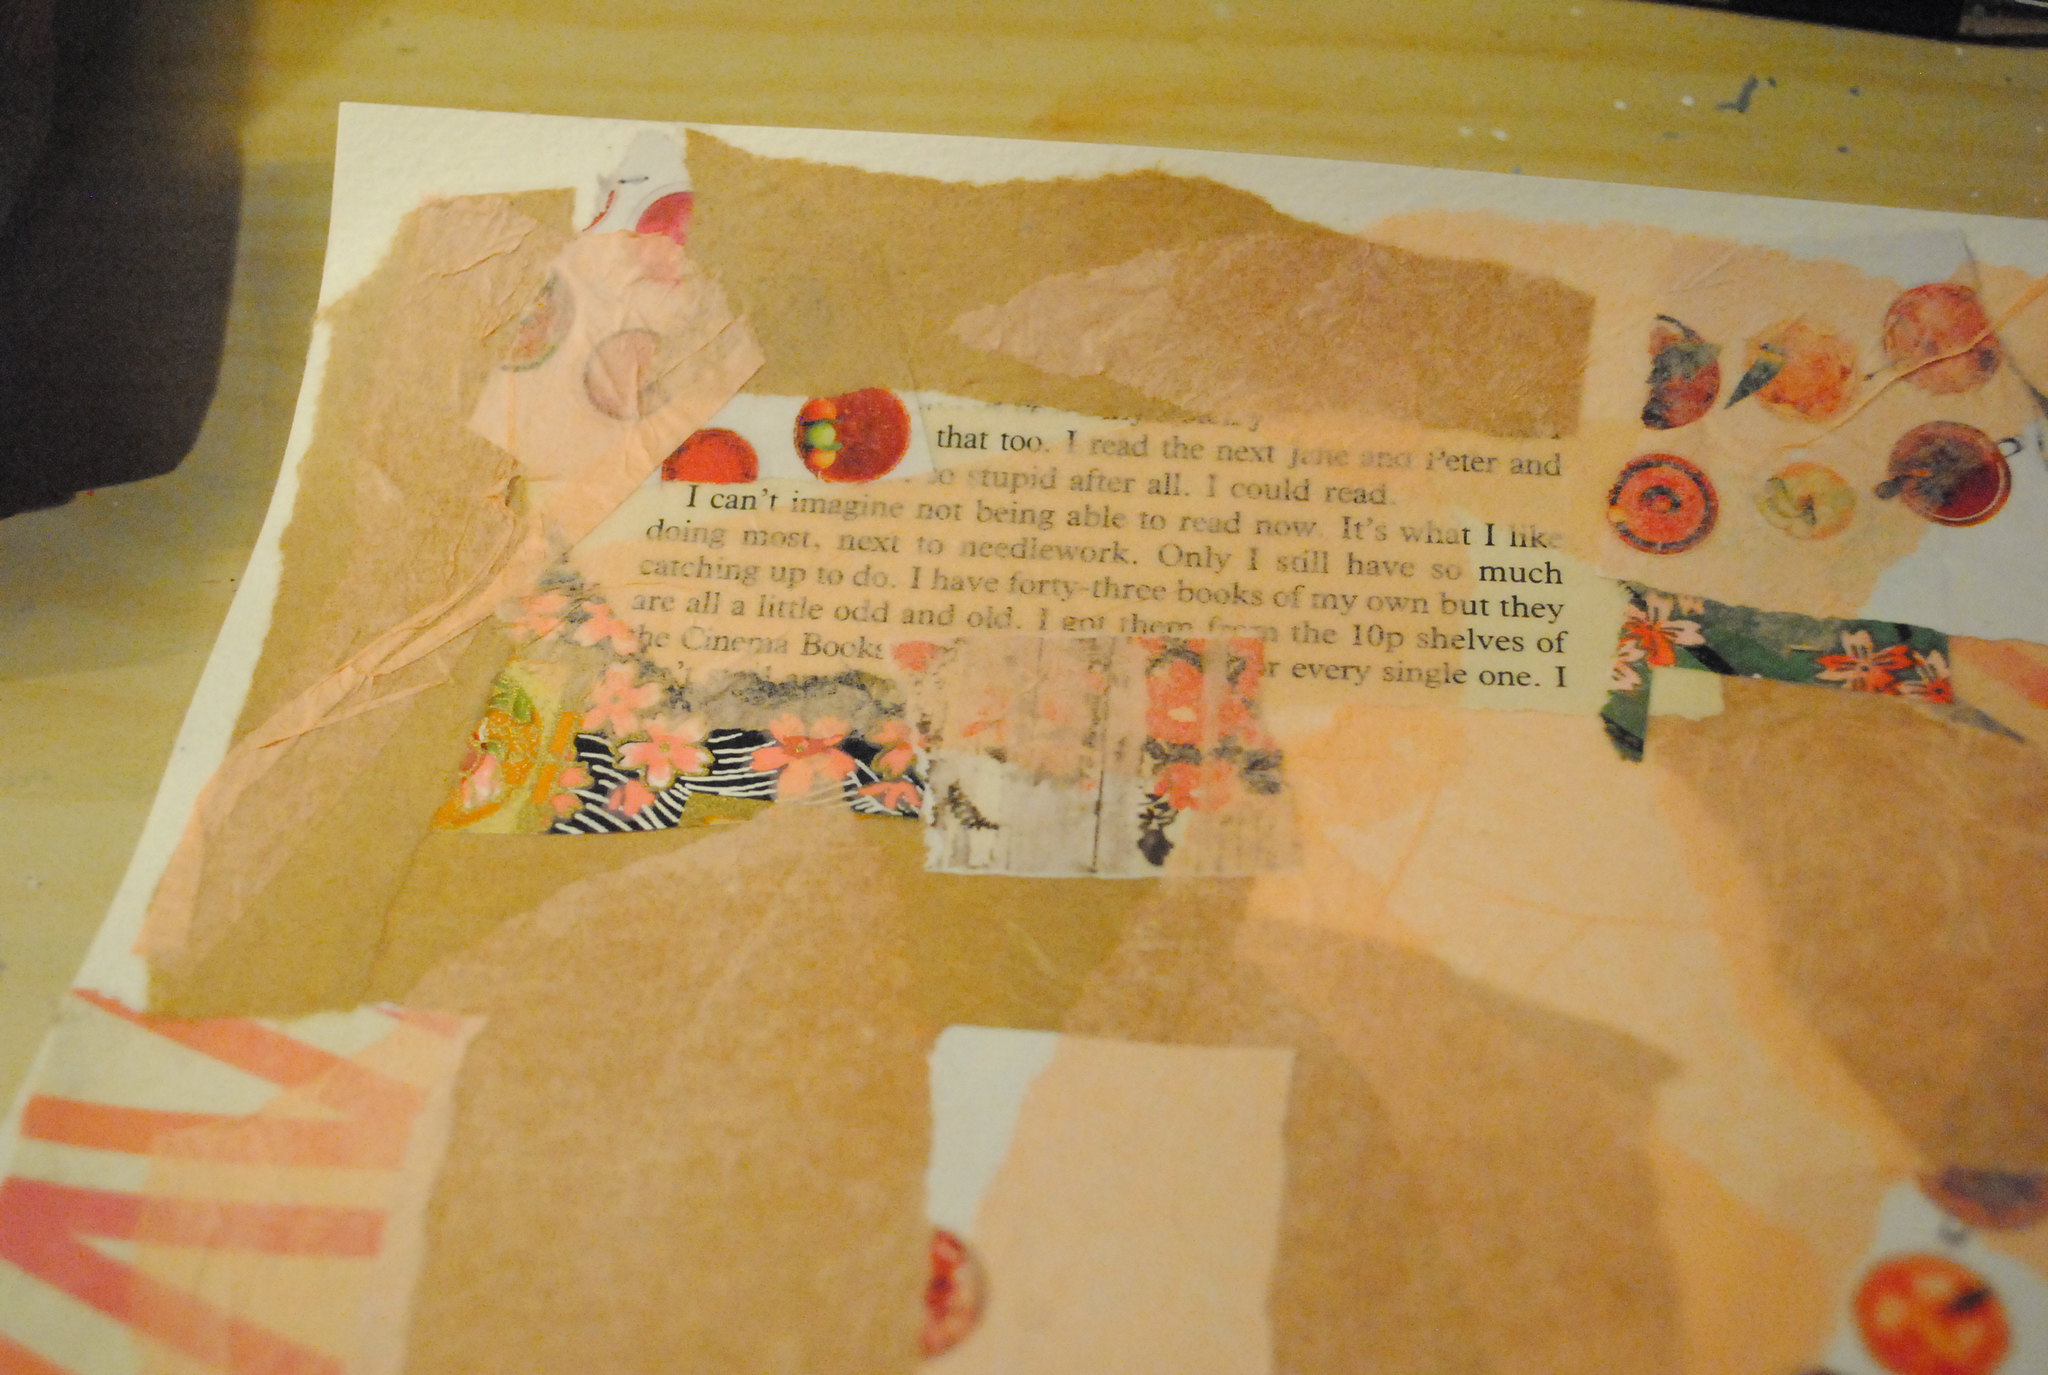
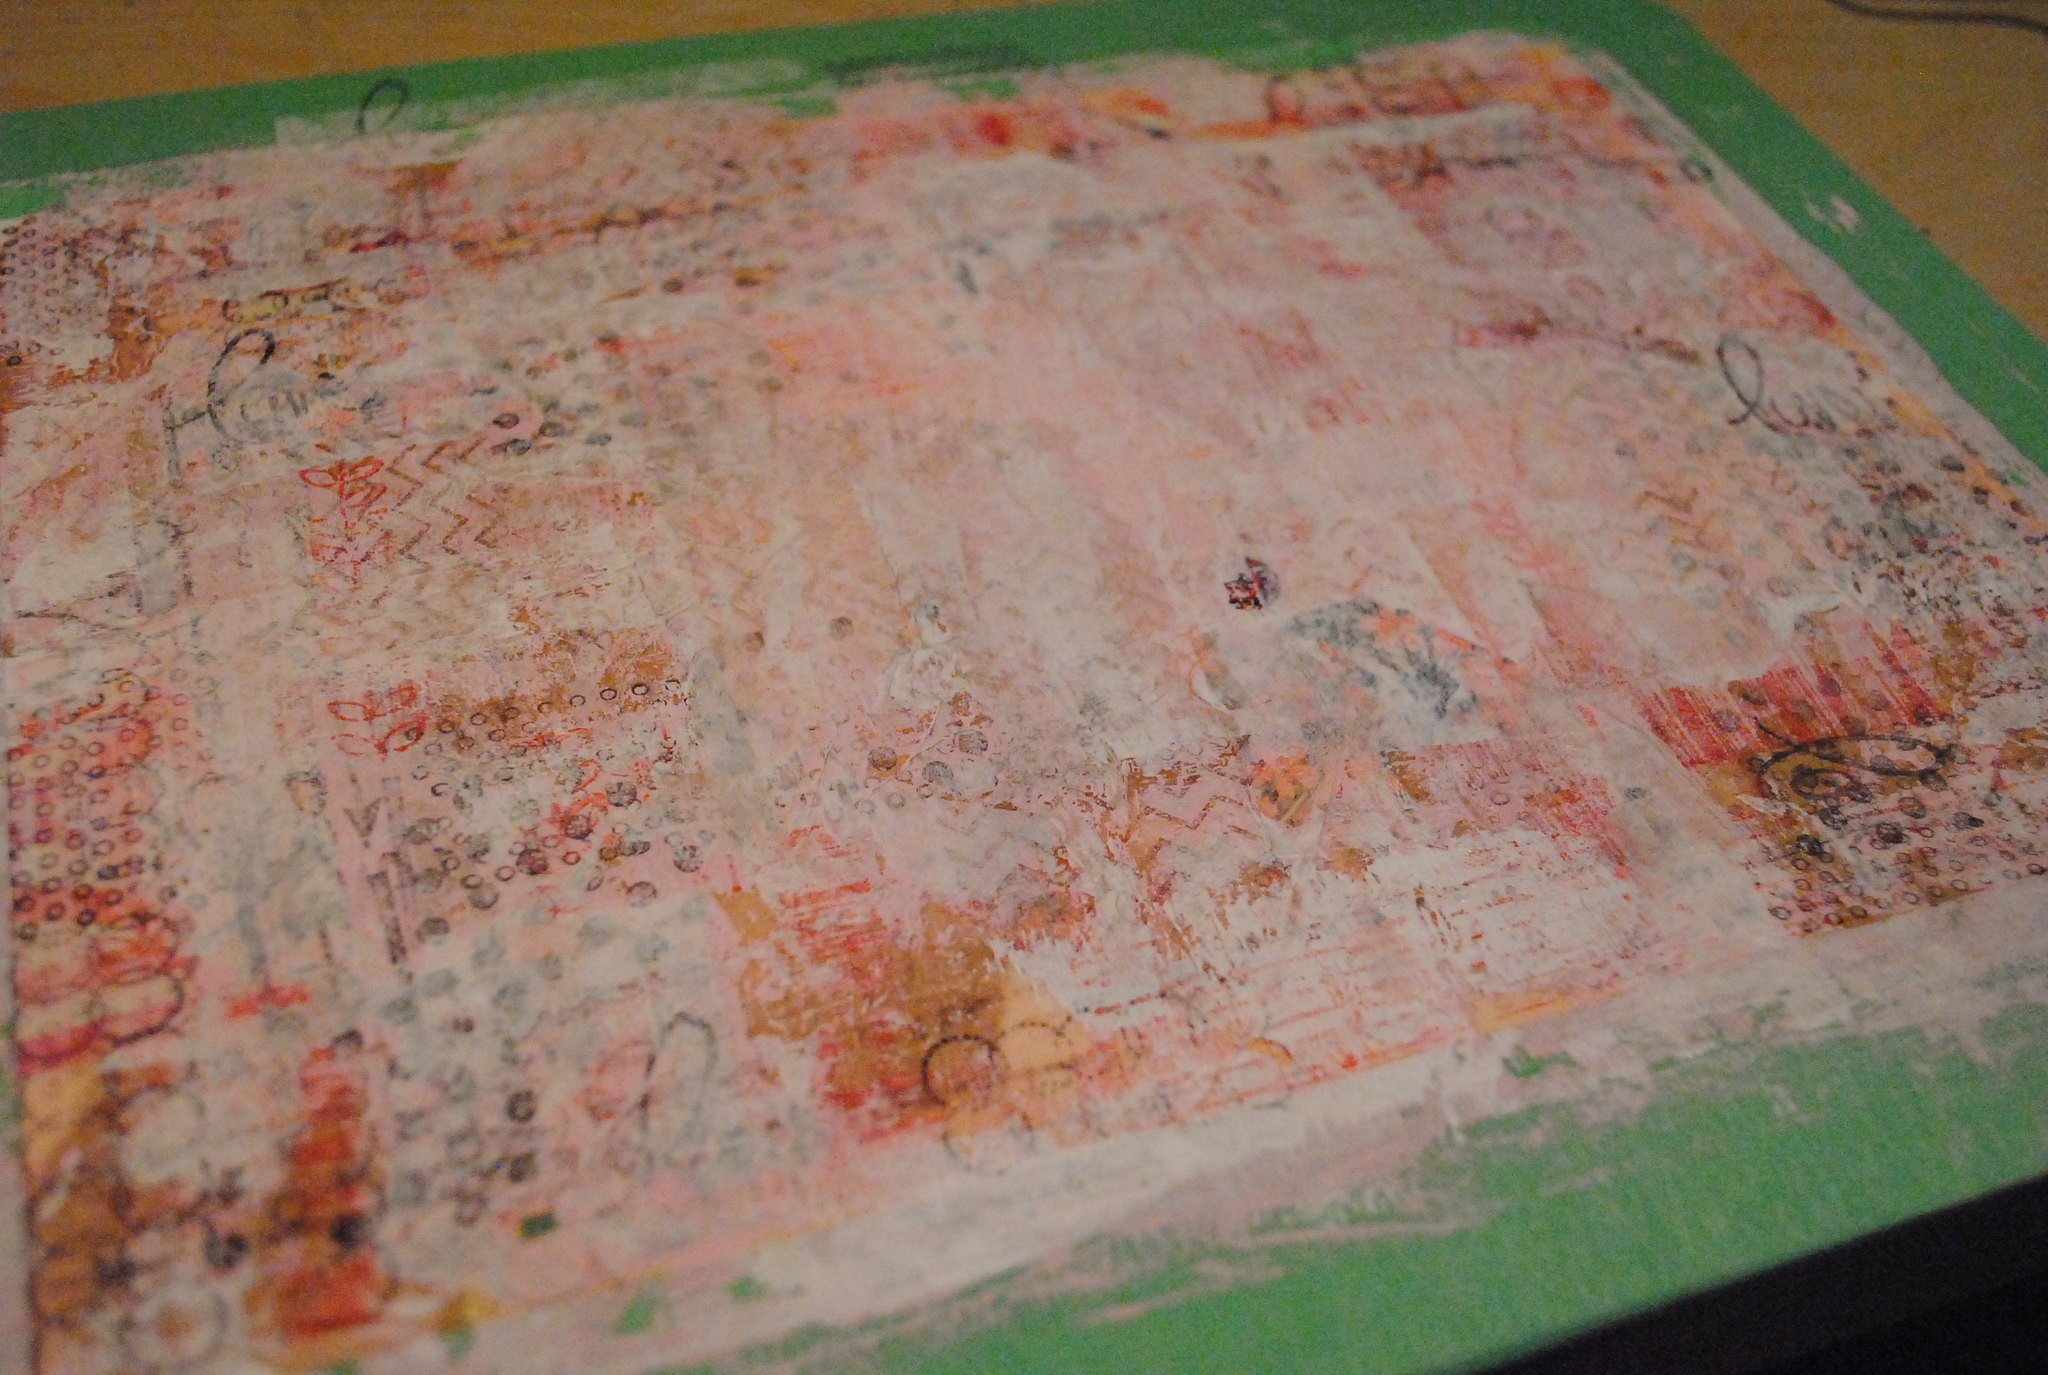
First, I started with a collage. This is very typical for me - not only does it add great texture, but it helps to provide a good base, a colour scheme. Plus, I really love the look of some of the patterns peeking through the layers of paint added on top. Here, I used book pages, scrapbooking paper, magazine scraps, a brown paper bag and tissue paper.
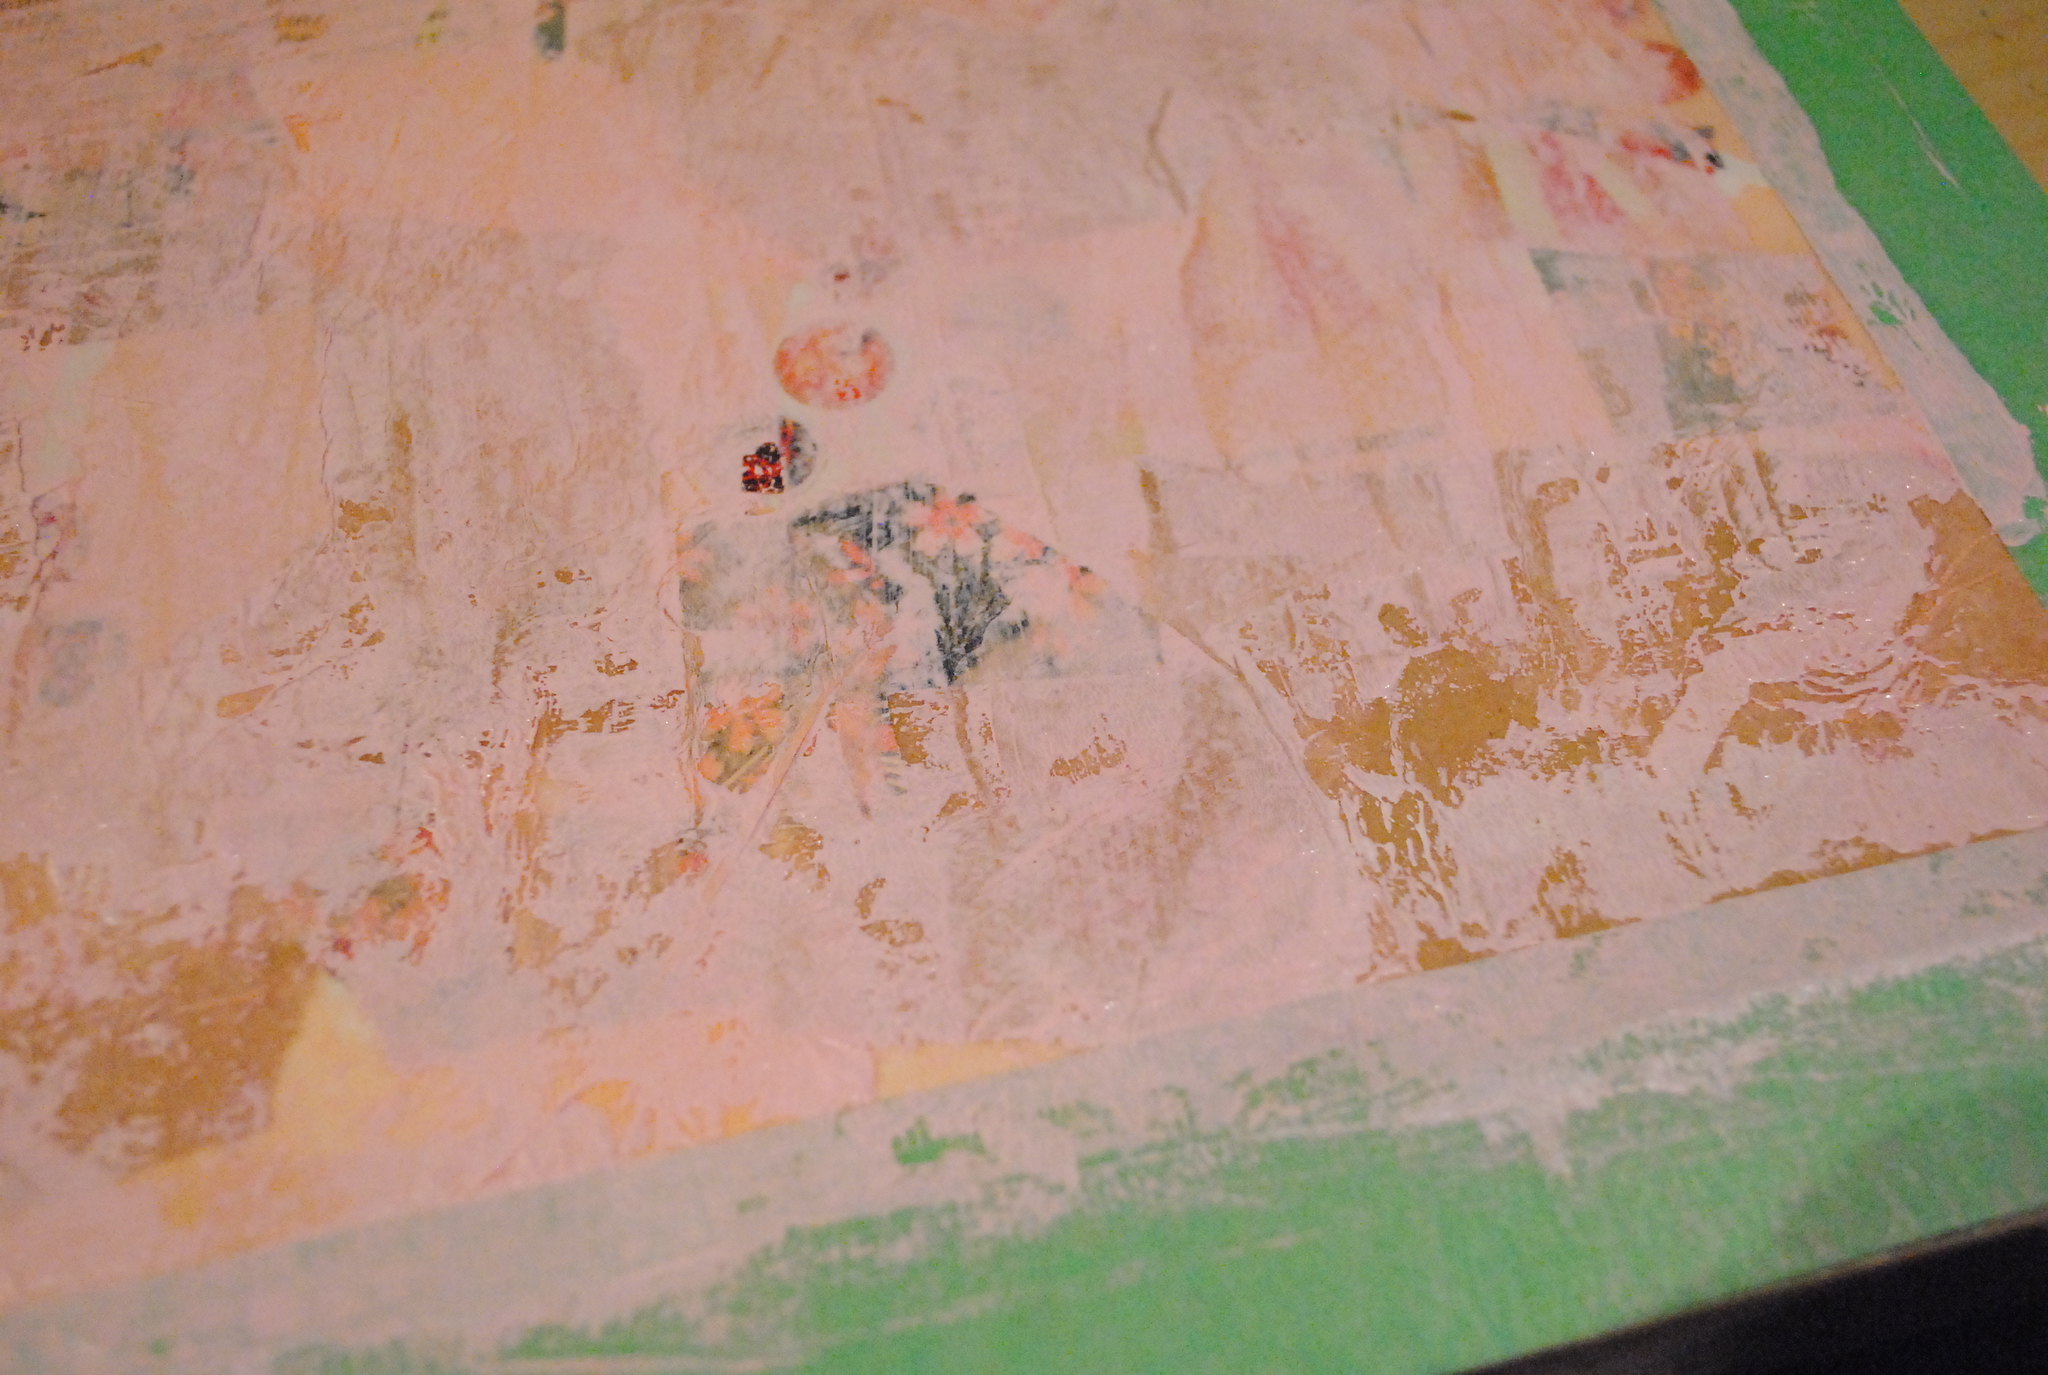
I haven't been creating much lately, so for this piece I wanted to use some techniques I haven't used in a while. With that in mind, I added the first layers of paint with a brayer. Here it is with the first layer of pink (I mixed gesso with naphthol red medium and permanent red violet) - I added a bit of gesso on top of this before moving on to stamps.
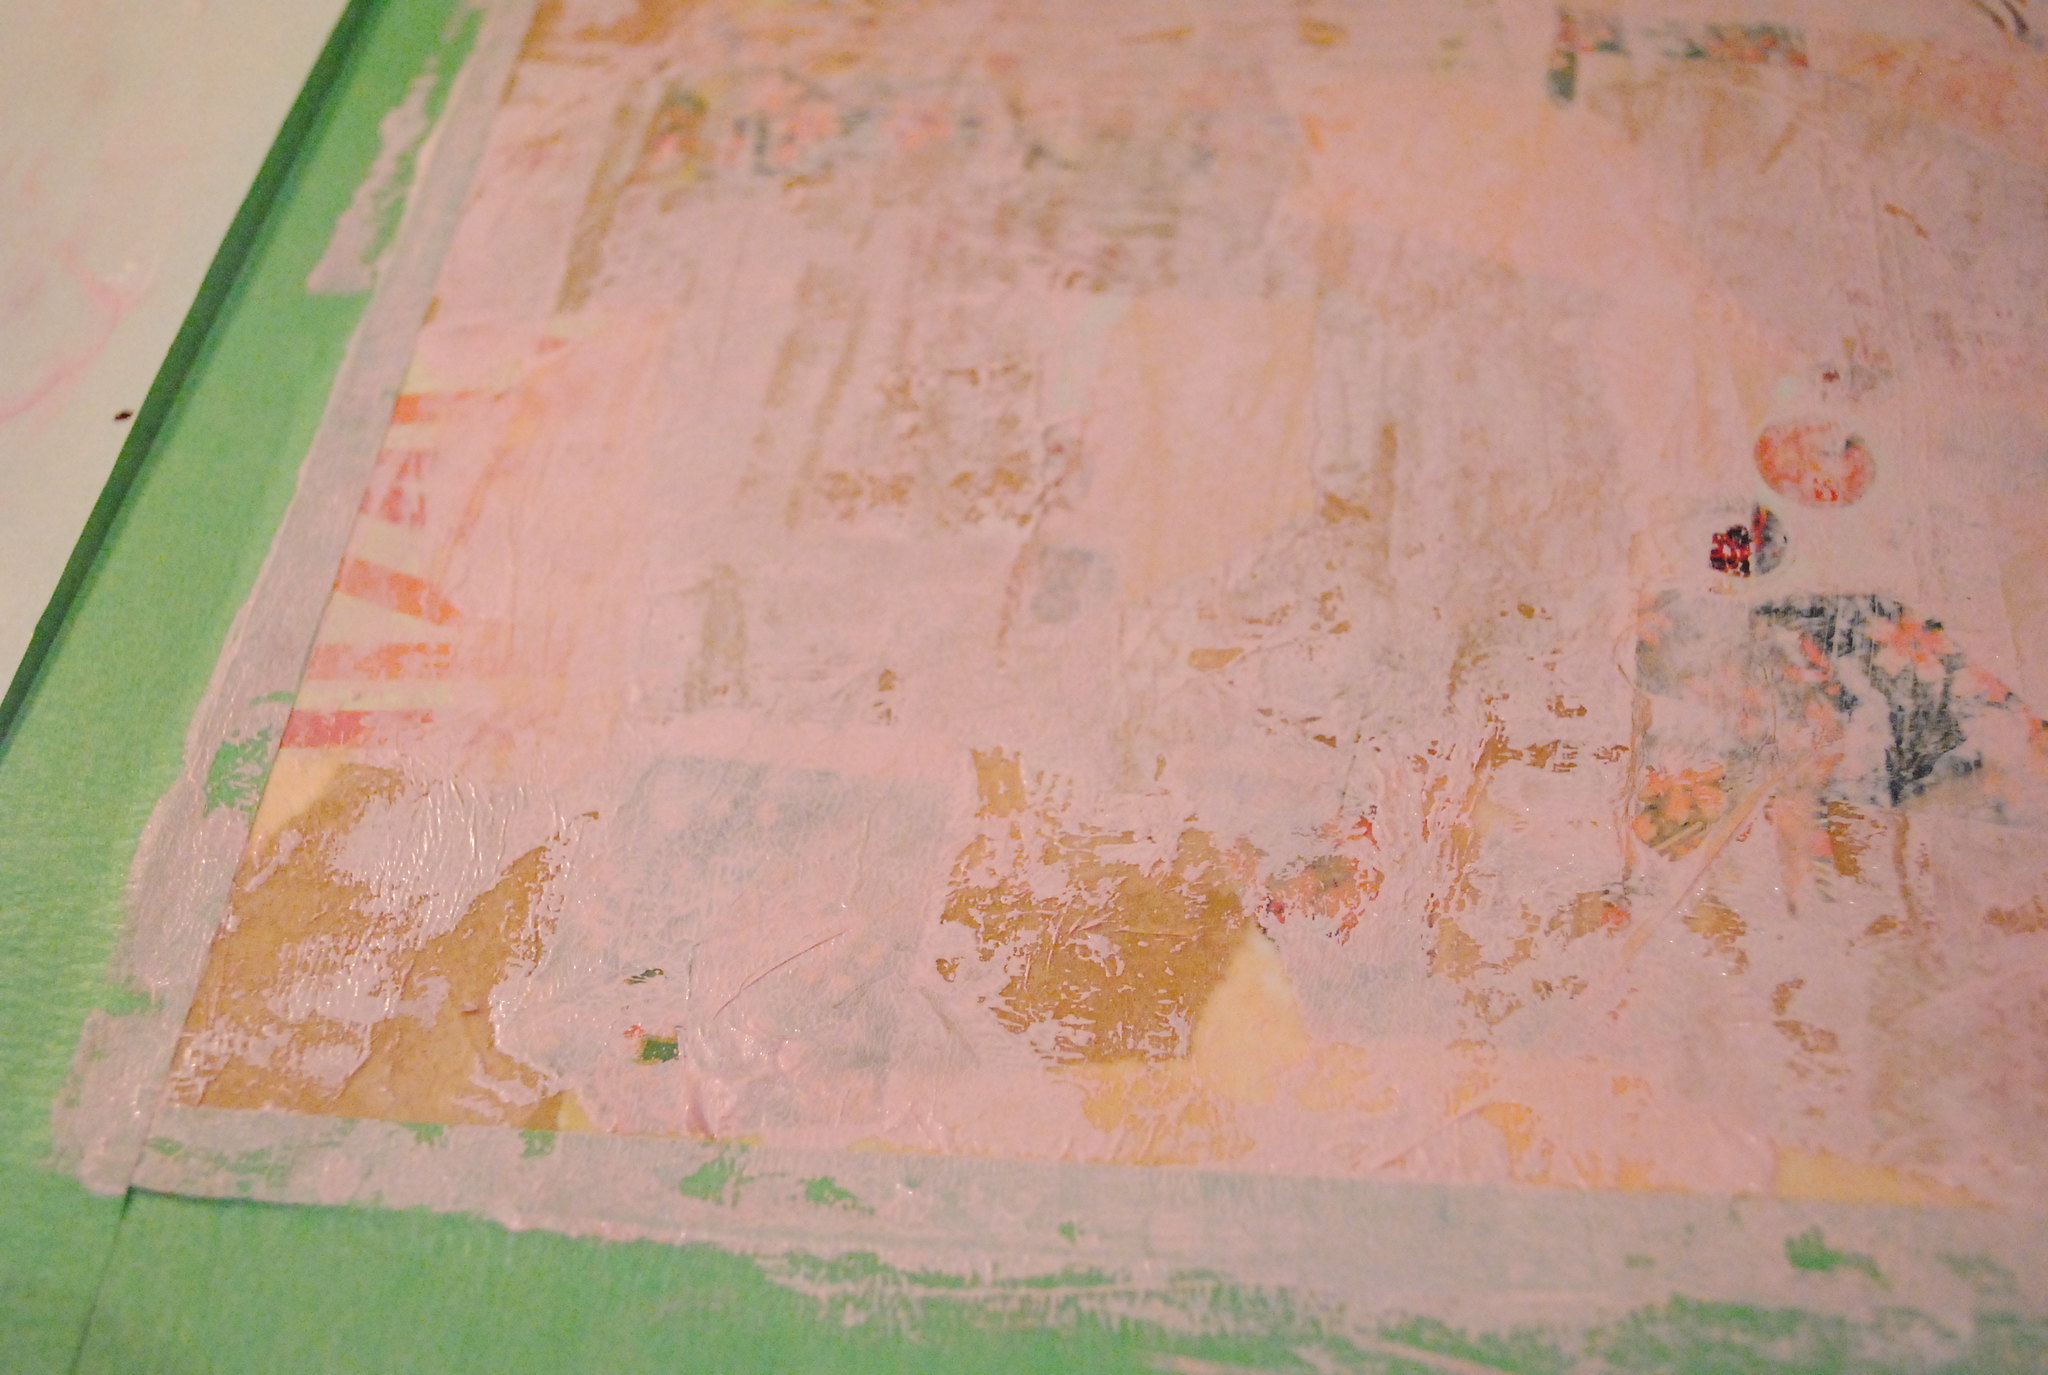
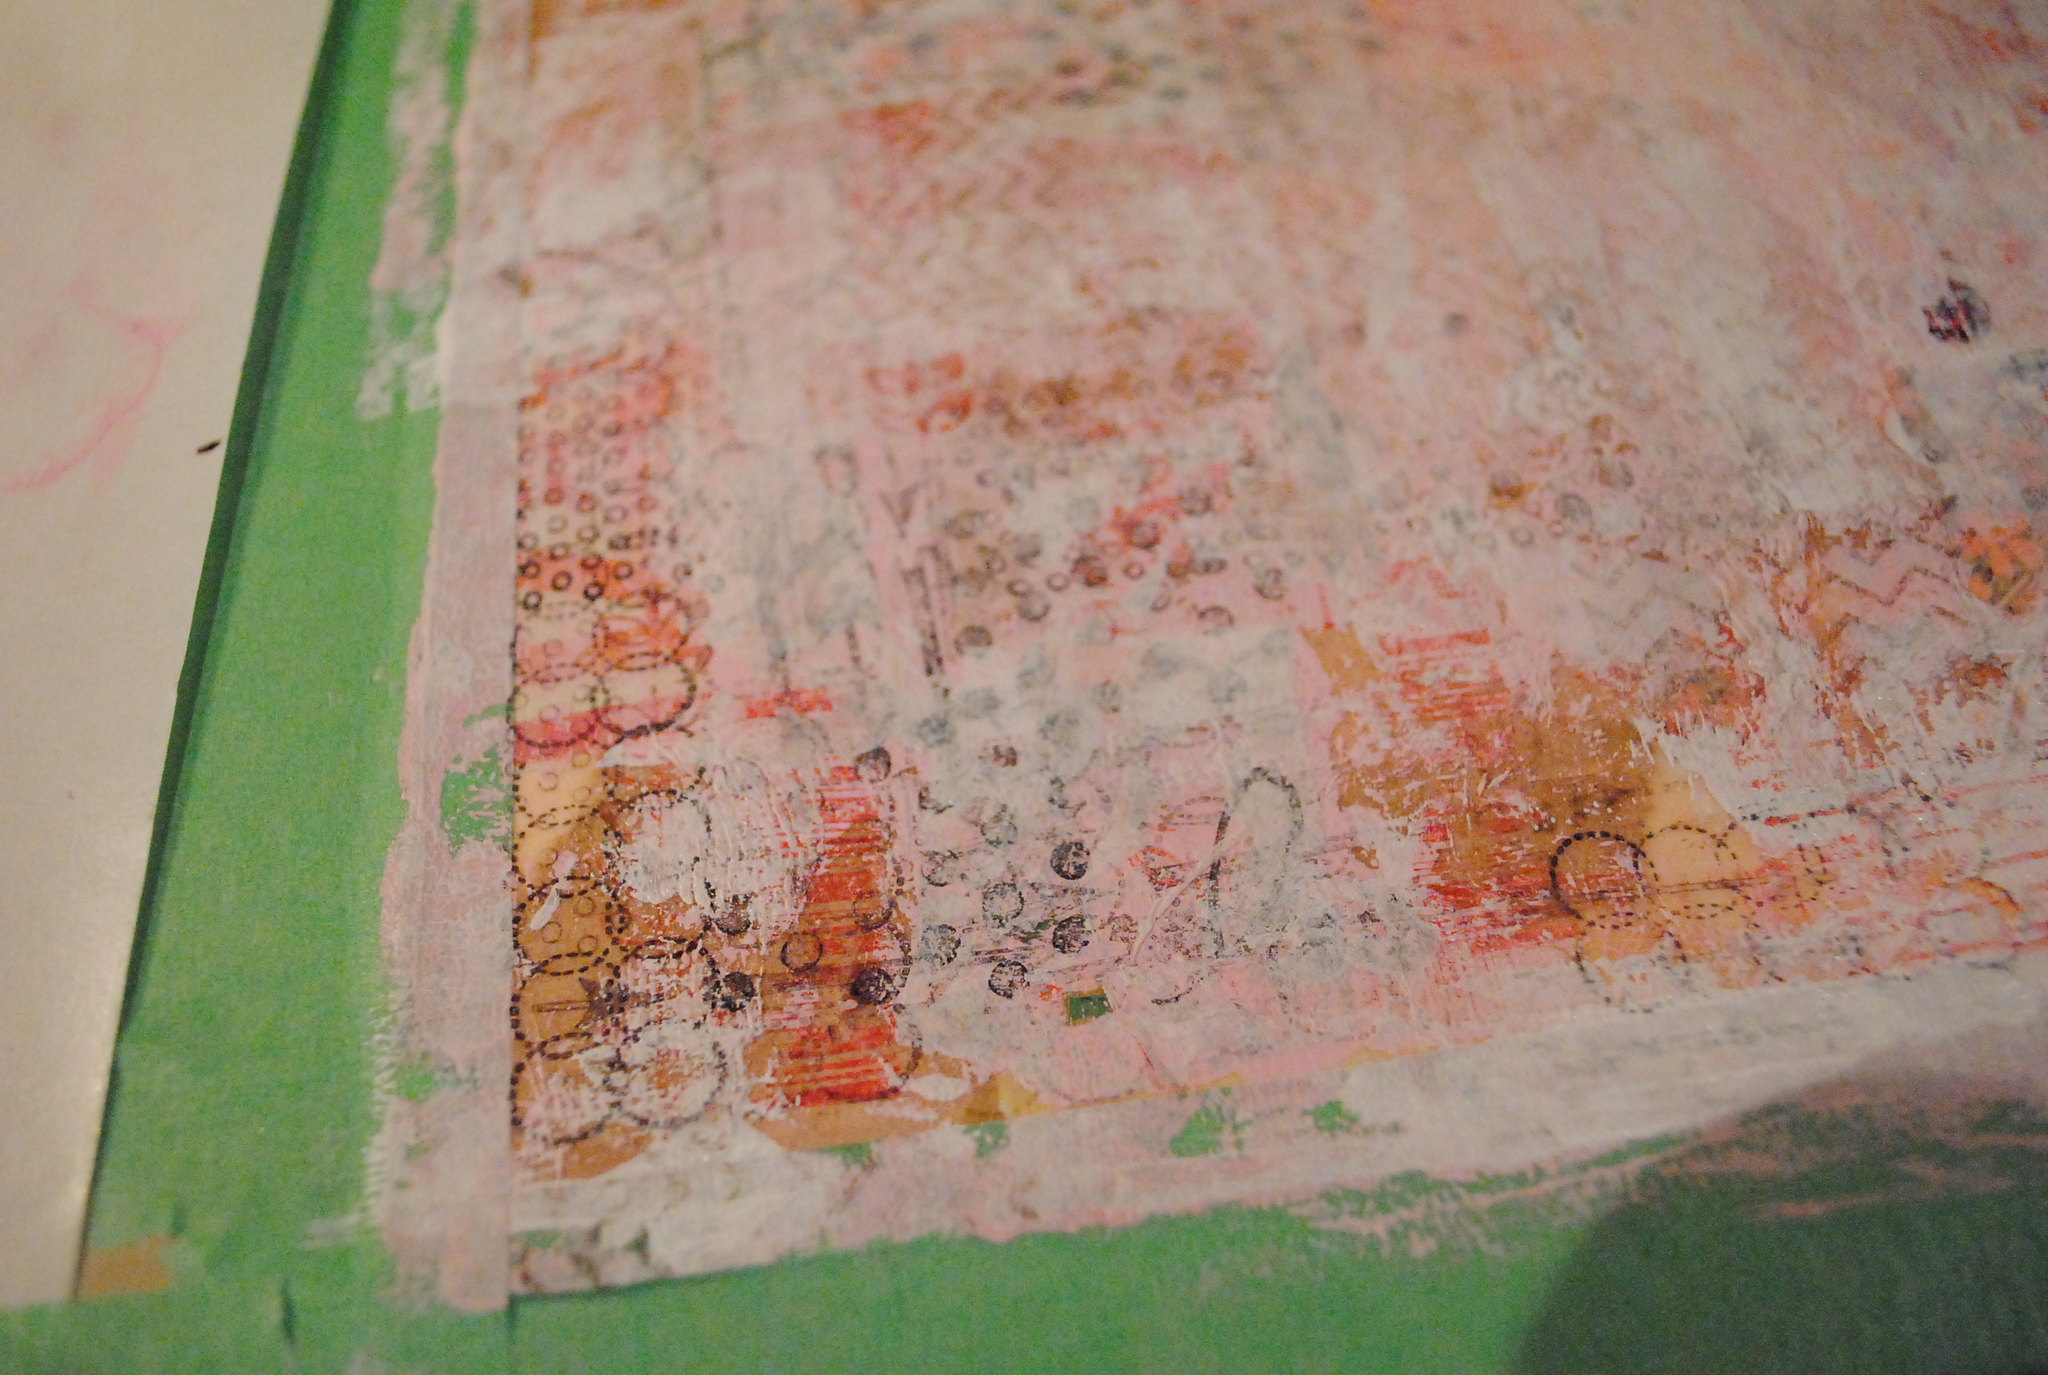
I haven't pulled out my many stamps in a while, so I went a little crazy with blank, brown and red inks. I used a bunch of different ones to add some texture, mostly around the edges.
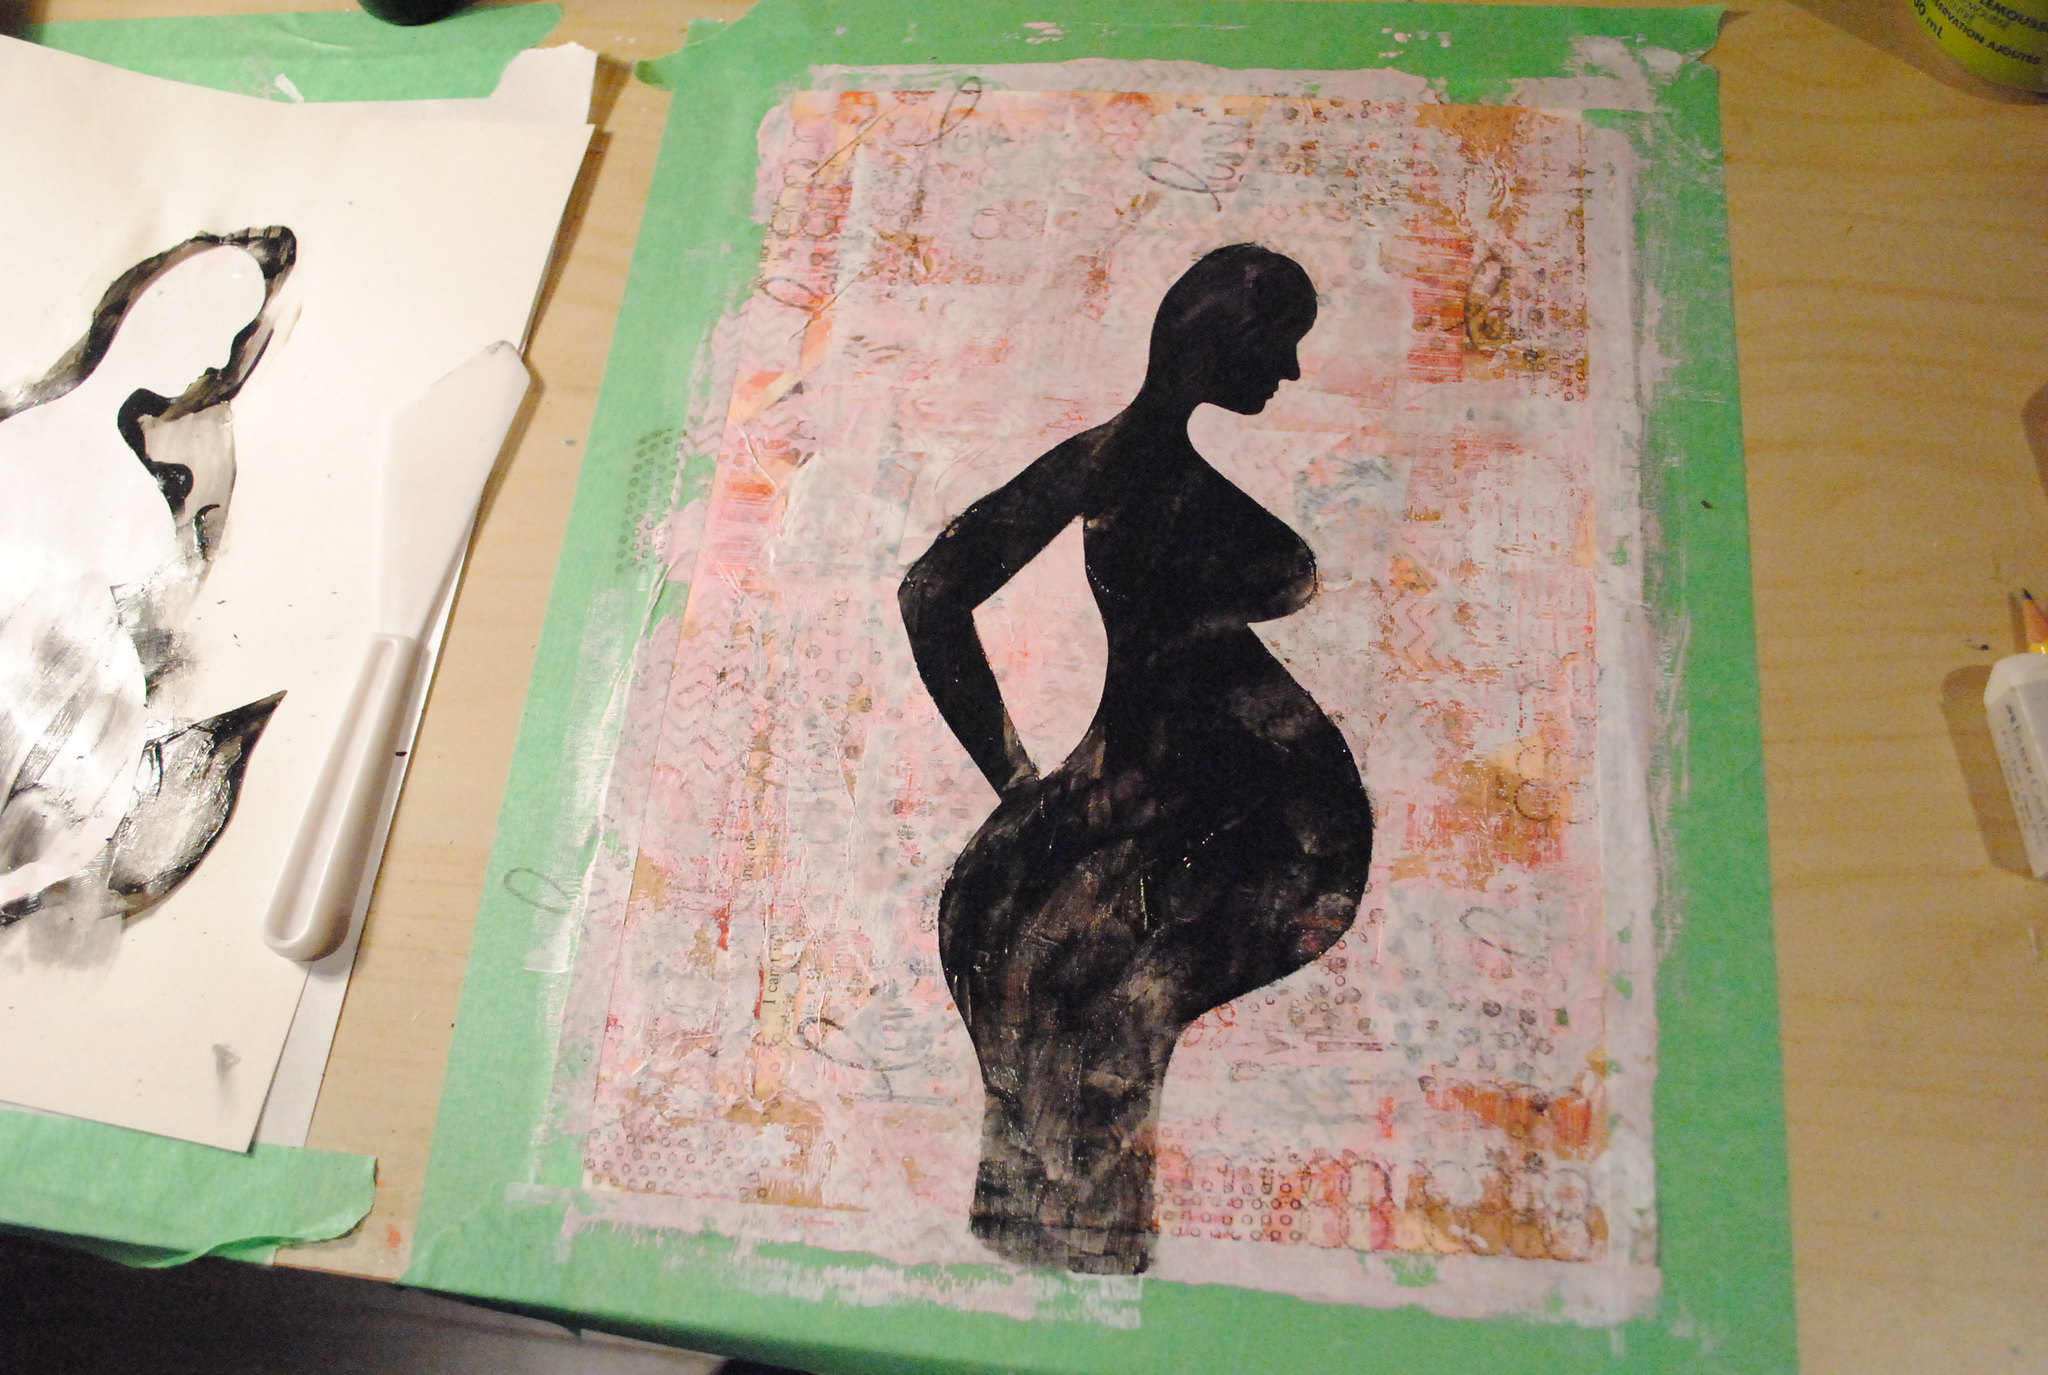
Now that I was happy with the background, I started on my figure. I created a stencil using cardstock (you can see it in the left of the next photo), sketching the outline and cutting it out. I then used a palette knife and oxide black paint to fill her it - I needed two layers for optimal coverage. This photo is after the first layer.
I didn't include hair in the stencil since that was a bit trickier to cut out than a bald head. Once I had the outline down though, I painted in her hair. Since I did all the following steps in one go, I didn't take any more photos until the piece was complete... but basically, I darkened the edges of the figure and page with Faber-Castell Pitt pens (light and medium flesh for around the figure, and medium flesh and raw umber around the edge) and Gelatos (metallic melon). I stamped the sentiment on watercolour paper, cut out the individual words and inked the edges of each piece before glueing them down. My final step was covering the whole piece in a protective layer of glossy medium.
Once dry, I removed the tape from the edges of the completed piece and realized I had done the collage before taping... but I actually really like how it looks.
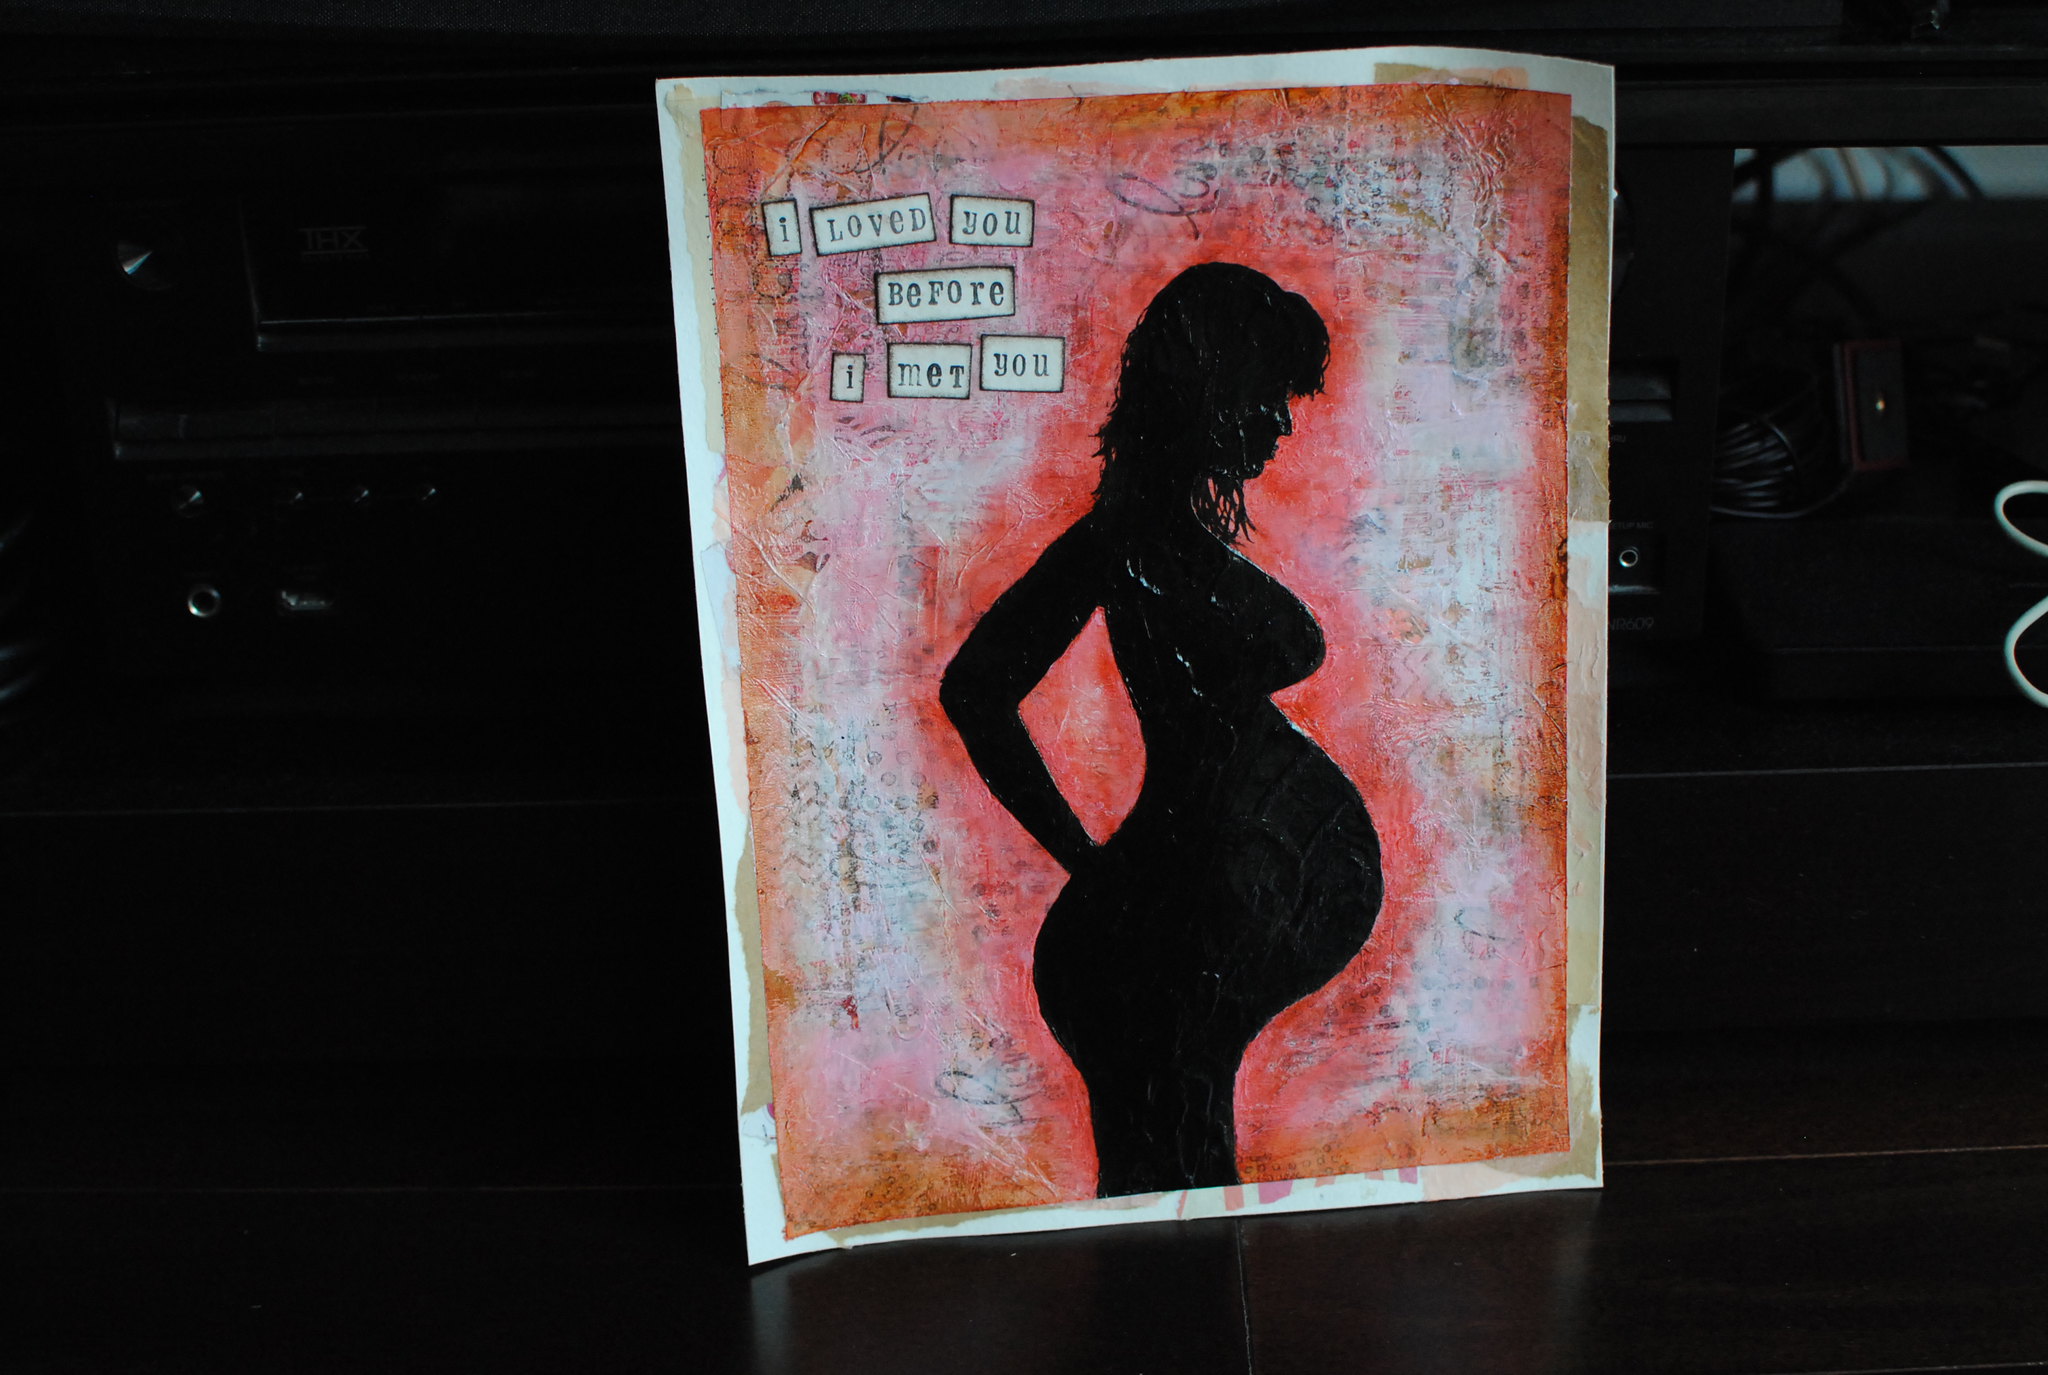
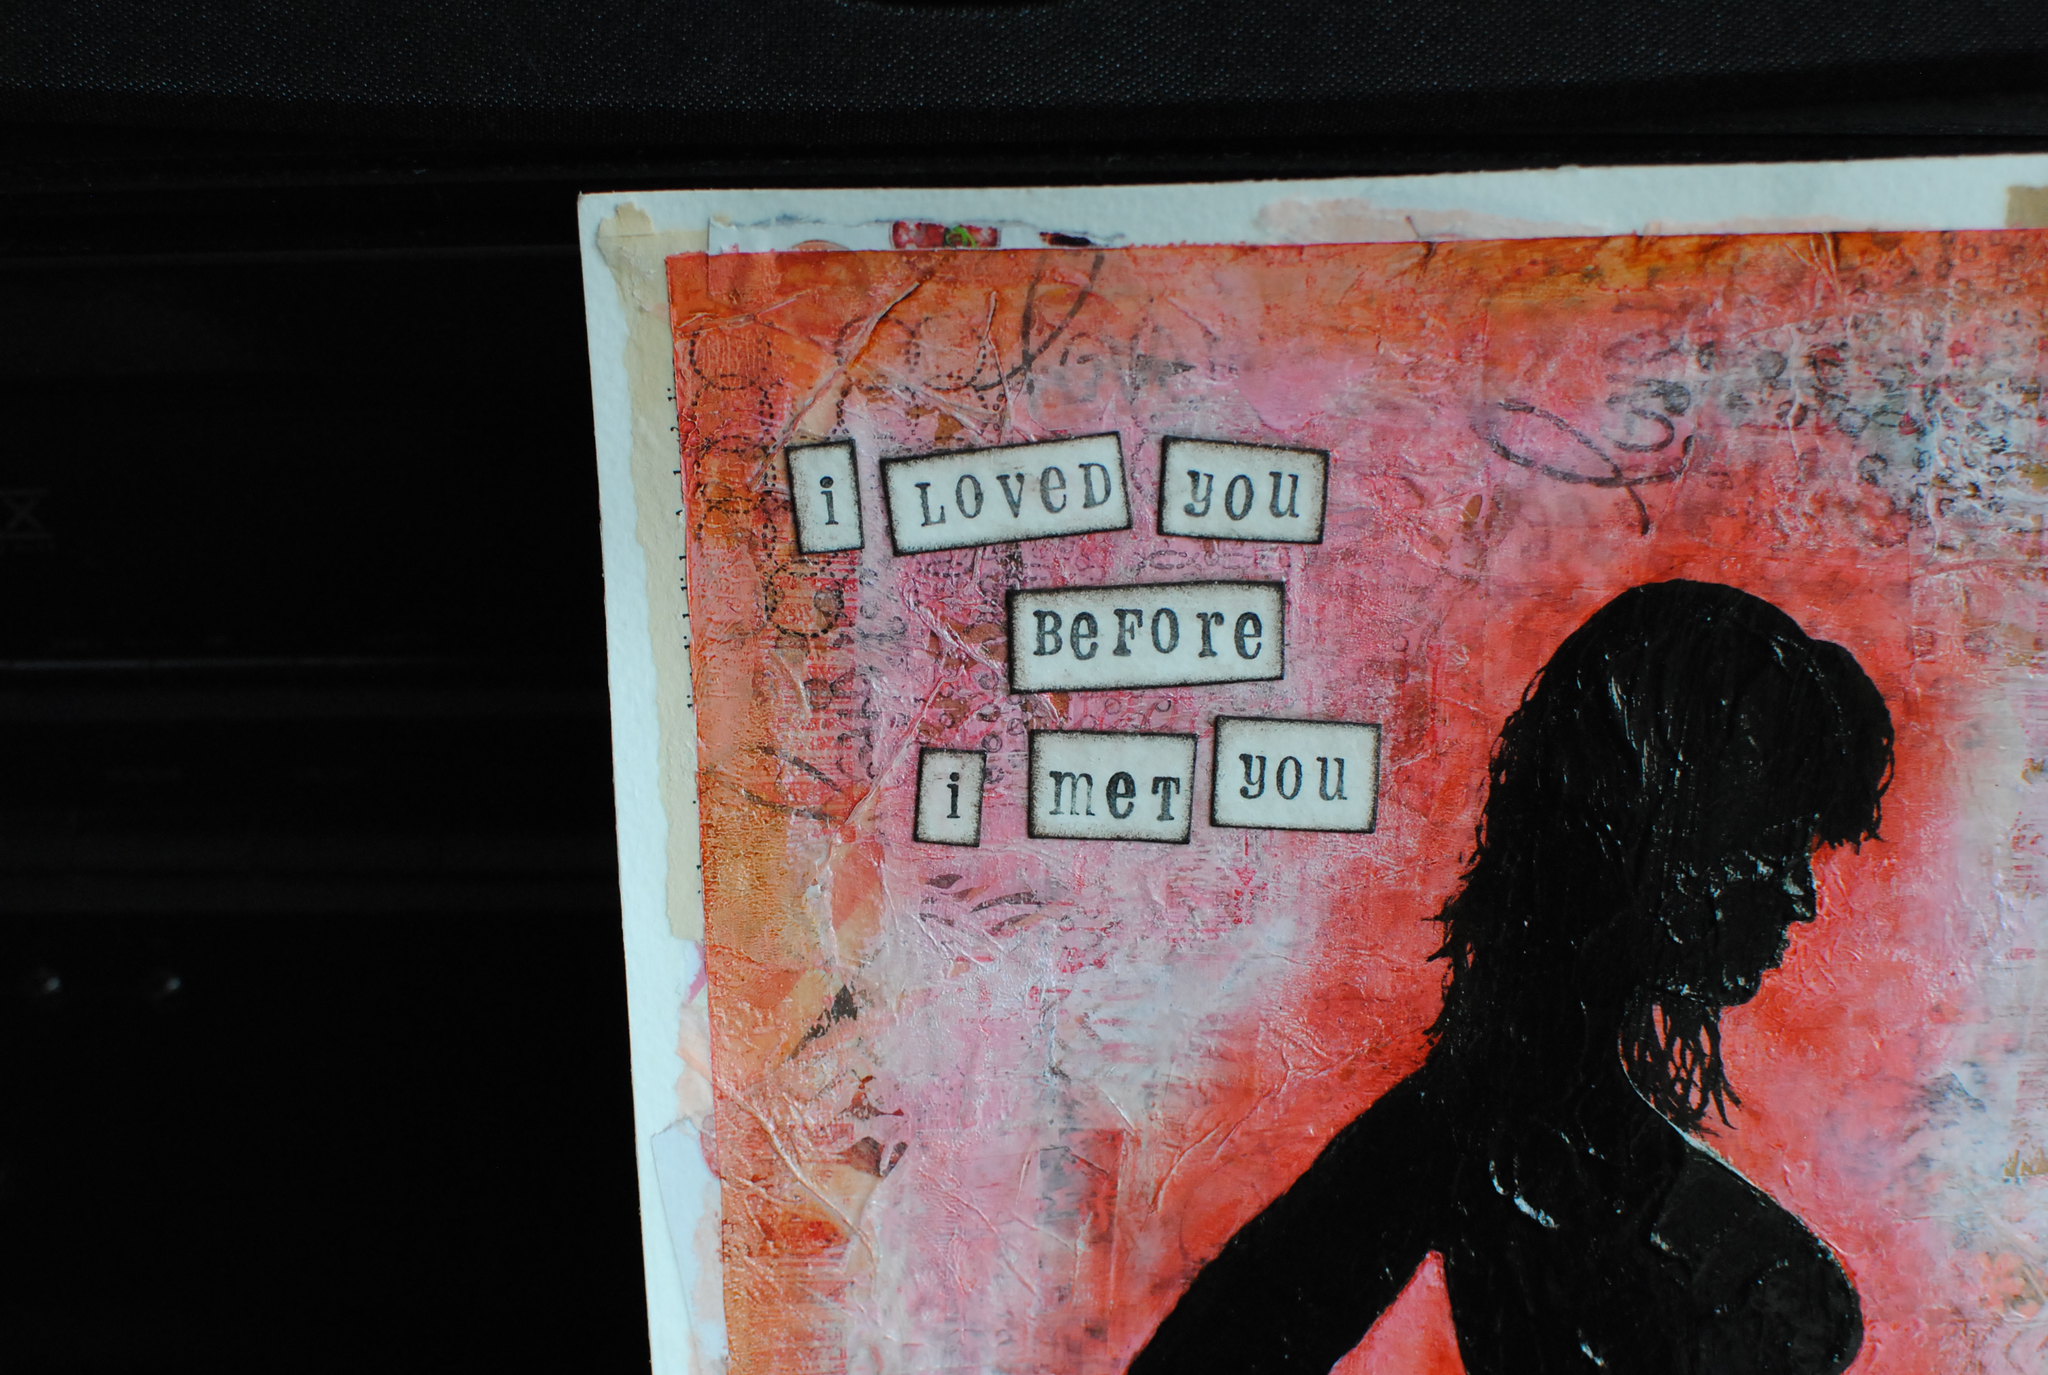
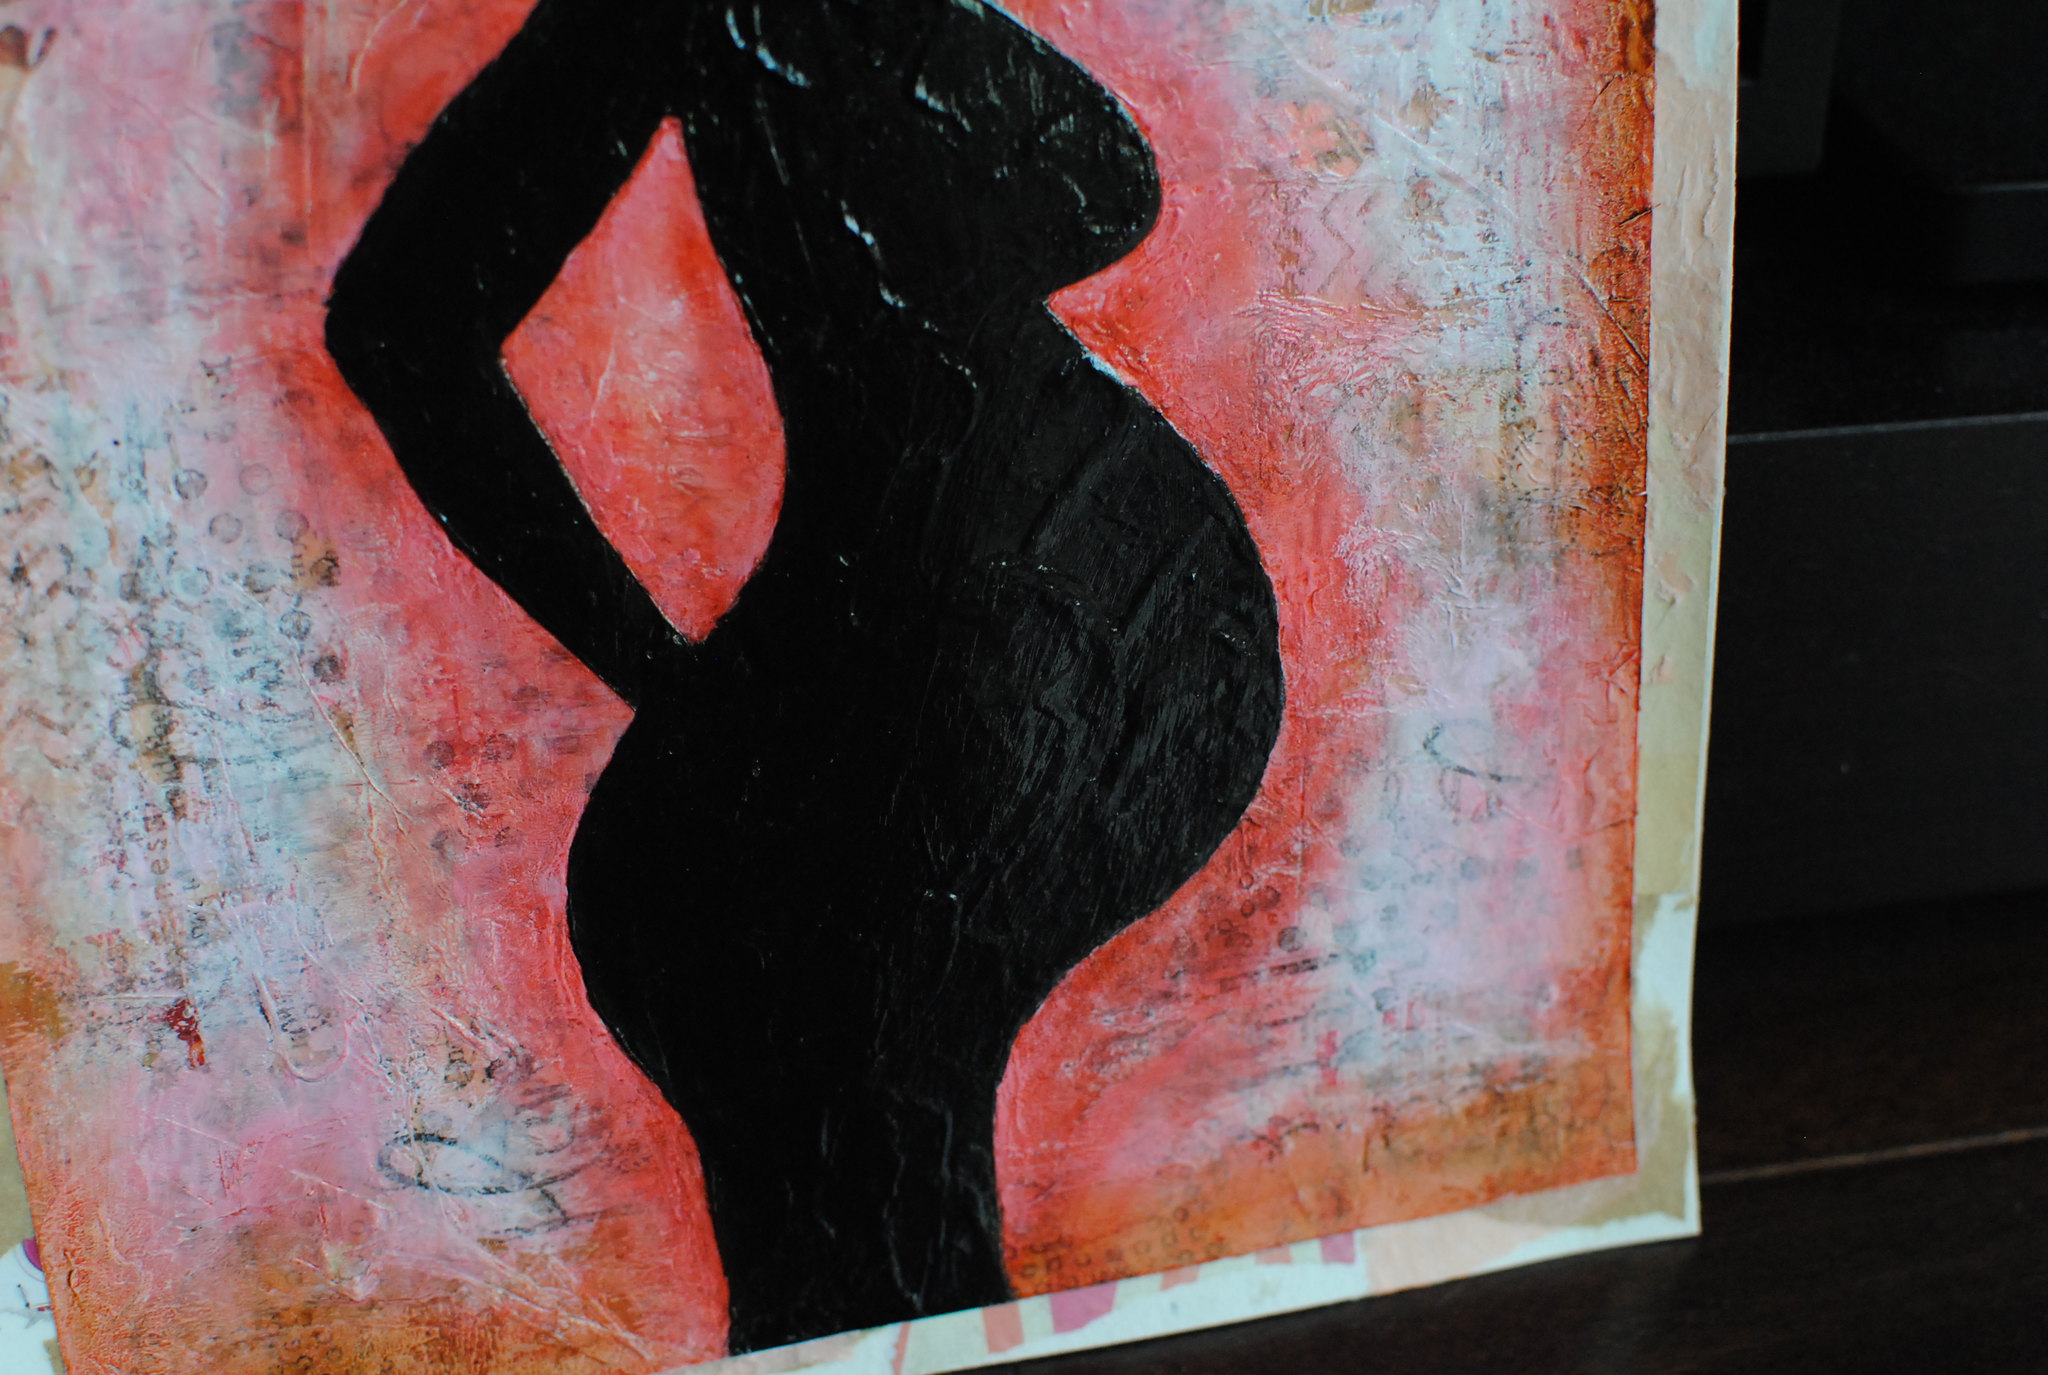
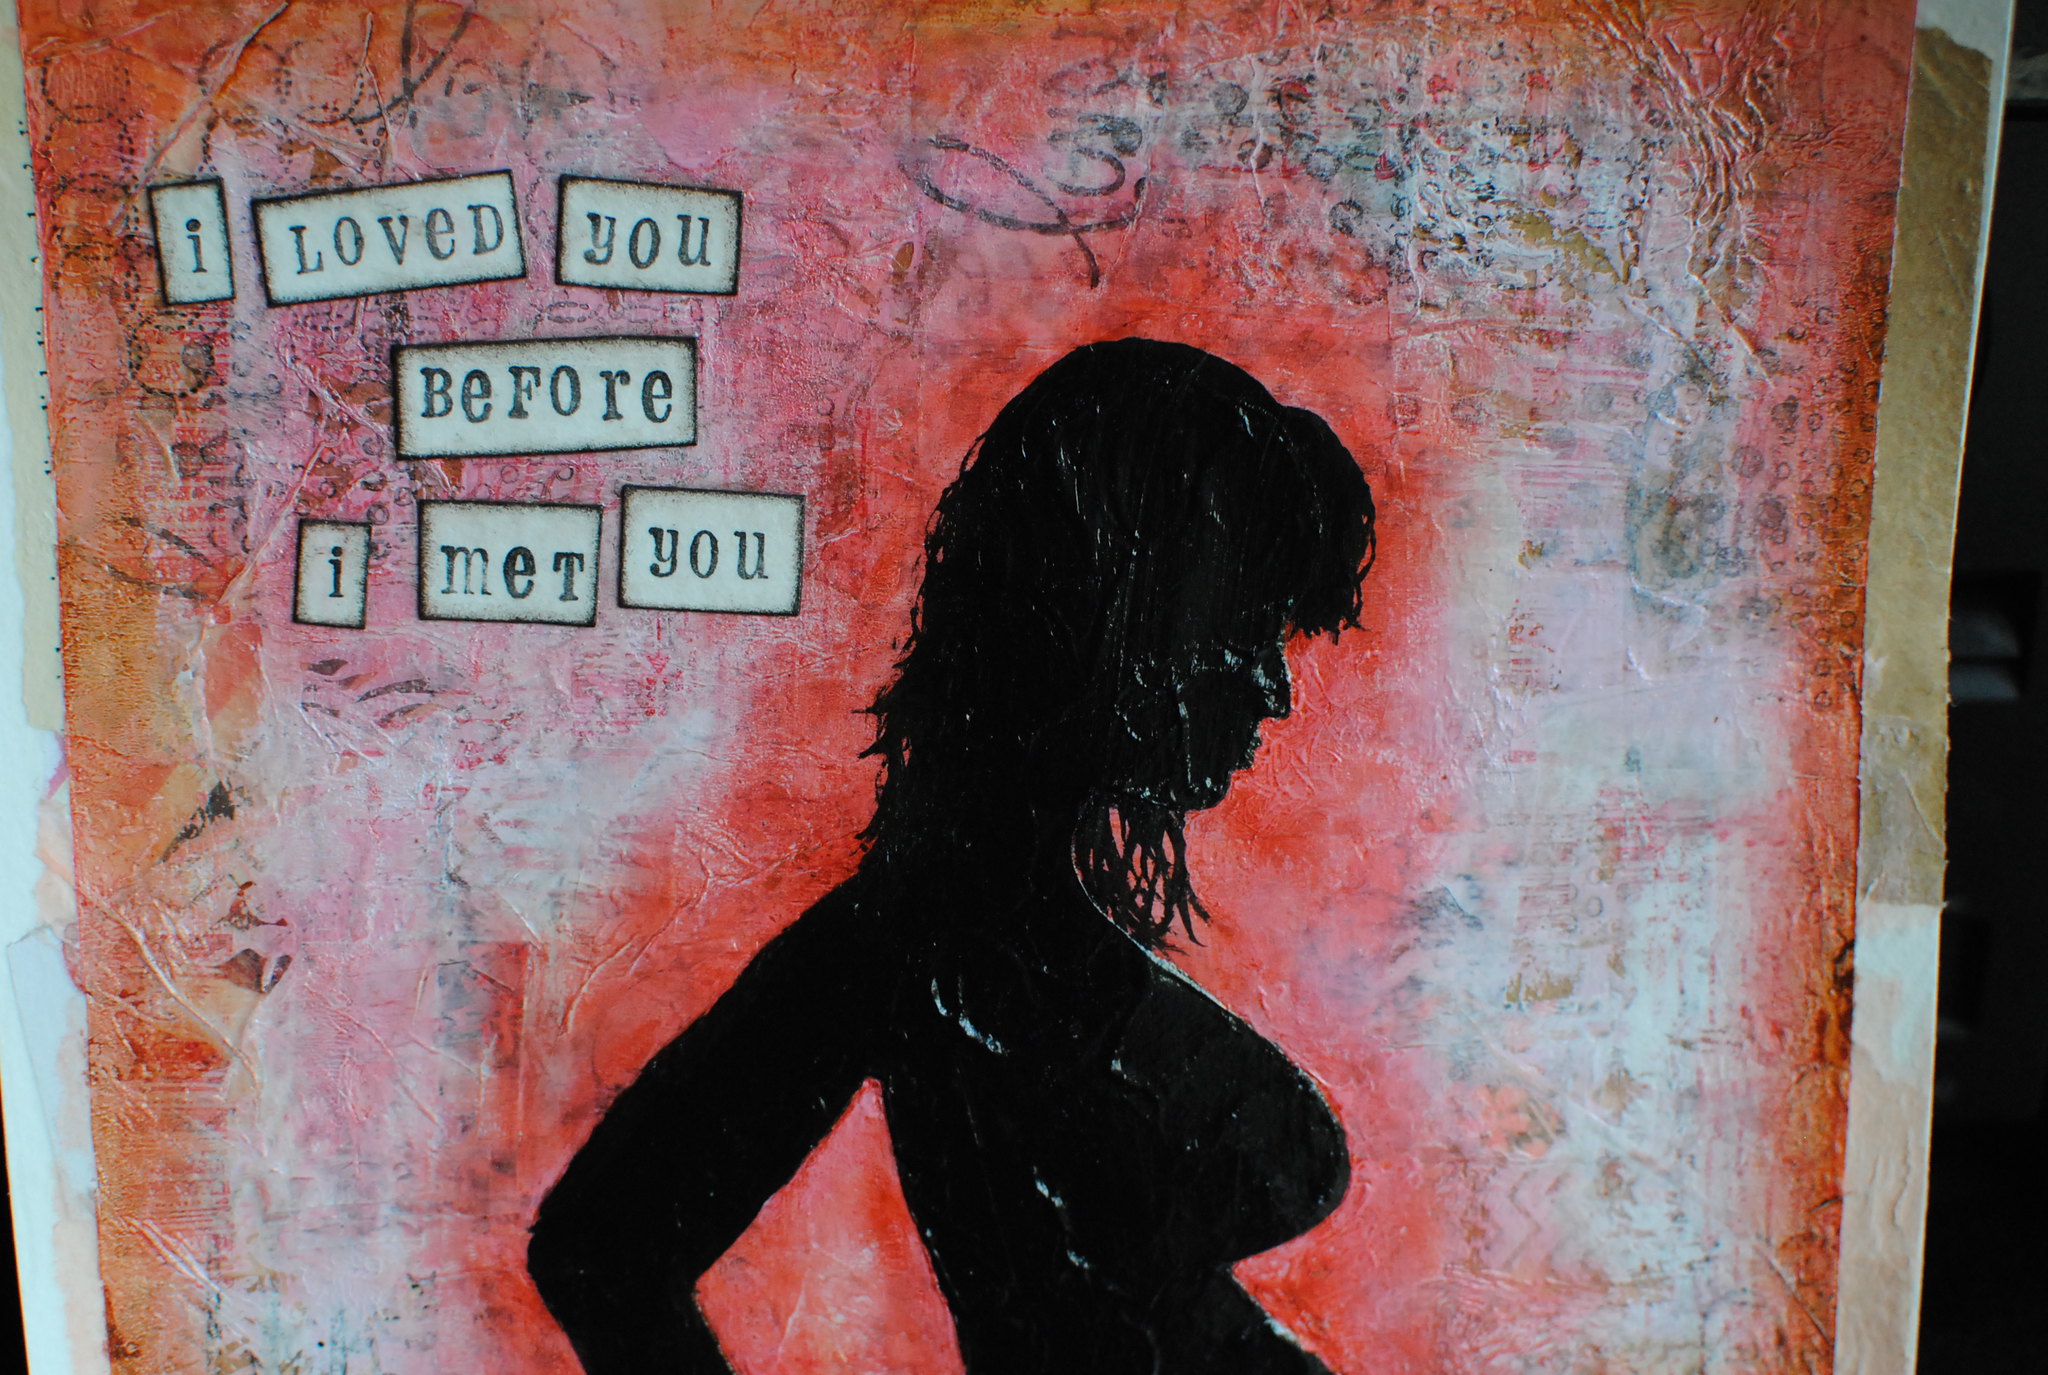 And there it is! SOOOOOO happy with how it turned out. This one deserves to be framed I think.
And yes, if you haven't guessed it by now, I am pregnant! So happy and excited! More in a future post.
First, I started with a collage. This is very typical for me - not only does it add great texture, but it helps to provide a good base, a colour scheme. Plus, I really love the look of some of the patterns peeking through the layers of paint added on top. Here, I used book pages, scrapbooking paper, magazine scraps, a brown paper bag and tissue paper.
I haven't been creating much lately, so for this piece I wanted to use some techniques I haven't used in a while. With that in mind, I added the first layers of paint with a brayer. Here it is with the first layer of pink (I mixed gesso with naphthol red medium and permanent red violet) - I added a bit of gesso on top of this before moving on to stamps.
I haven't pulled out my many stamps in a while, so I went a little crazy with blank, brown and red inks. I used a bunch of different ones to add some texture, mostly around the edges.
Now that I was happy with the background, I started on my figure. I created a stencil using cardstock (you can see it in the left of the next photo), sketching the outline and cutting it out. I then used a palette knife and oxide black paint to fill her it - I needed two layers for optimal coverage. This photo is after the first layer.
I didn't include hair in the stencil since that was a bit trickier to cut out than a bald head. Once I had the outline down though, I painted in her hair. Since I did all the following steps in one go, I didn't take any more photos until the piece was complete... but basically, I darkened the edges of the figure and page with Faber-Castell Pitt pens (light and medium flesh for around the figure, and medium flesh and raw umber around the edge) and Gelatos (metallic melon). I stamped the sentiment on watercolour paper, cut out the individual words and inked the edges of each piece before glueing them down. My final step was covering the whole piece in a protective layer of glossy medium.
Once dry, I removed the tape from the edges of the completed piece and realized I had done the collage before taping... but I actually really like how it looks.
And yes, if you haven't guessed it by now, I am pregnant! So happy and excited! More in a future post.
1 comment:
It's absolutely perfect! Best wishes on a super amazing delivery story and baby arrival! I love your creative posts!
Post a Comment